
Air Fryer Sweet and Sour Chicken is the dish you never knew you needed in your weekly rotation. It’s got everything you crave—crispy, juicy chicken coated in a deliciously sticky, sweet, and tangy sauce that clings to every nook and cranny. And the best part? You don’t need to deep-fry a single thing. Instead, we’re using the air fryer to achieve that beautiful golden crispiness without drowning our chicken in oil.
This recipe is a complete game-changer, especially if you’re someone who loves Asian-inspired dishes but prefers to keep things light and simple. It’s also incredibly versatile. You can serve it over rice for a comforting meal, or toss it with steamed veggies for a lighter option. Either way, it’s going to be the new favorite in your dinner rotation.
I first stumbled upon this air fryer version when I was trying to make my favorite takeout dishes at home. I wanted something that felt just as indulgent as the real deal but healthier and easier to prepare. The air fryer made it possible, delivering perfectly crispy chicken in minutes. And once you toss that chicken in the luscious sweet and sour sauce? Pure magic.
Let’s dive in and make this irresistible Air Fryer Sweet and Sour Chicken that’s better than takeout—every single time.
Why You’ll Love This Recipe
There are so many reasons to fall head over heels for this Air Fryer Sweet and Sour Chicken. Here’s why it’s bound to become a staple in your recipe collection:
Incredibly Easy to Make: With simple steps and everyday ingredients, this recipe is completely doable, even on a busy weeknight. The air fryer does all the hard work, leaving you with golden, crispy chicken pieces in just minutes.
Healthier Than Traditional Frying: By using the air fryer, you’re cutting down on excess oil without sacrificing that irresistible crispy texture. It’s a guilt-free way to enjoy your favorite dish.
Bursting with Flavor: The sauce is where the magic happens. It’s a perfect balance of sweet, tangy, and savory that clings to the chicken in the most delightful way.
Versatile and Adaptable: You can easily make this dish gluten-free by swapping soy sauce for tamari and Shaoxing wine for dry sherry. Plus, you can adjust the sweetness and tanginess to suit your personal taste.
Kid-Friendly: The crispy chicken coated in that glossy, vibrant sauce is a surefire hit with the kids. Serve it over rice, and you’ve got a family-friendly dinner everyone will love.
Minimal Clean-Up: Because the air fryer does most of the work, you don’t have to worry about messy oil splatters or complicated cooking techniques.
Honestly, once you try this recipe, you’ll wonder why you ever bothered ordering takeout. It’s fresher, healthier, and just plain better.
Health Benefits
It’s easy to think of sweet and sour chicken as pure comfort food, but this air fryer version actually comes with some impressive health perks:
Lower in Calories: Traditional deep-fried chicken can be loaded with unnecessary calories. By air frying, you significantly cut down on calorie intake while keeping the chicken crispy and delicious.
Reduced Fat Content: Air frying uses much less oil compared to deep frying. This makes the dish lower in unhealthy fats while still delivering that irresistible crunch.
Rich in Protein: Using chicken thighs provides a rich source of protein that keeps you feeling full and satisfied. Protein is essential for muscle growth, repair, and overall health.
Nutrient Boost from Vegetables: Adding bell peppers and onions not only enhances flavor but also adds valuable nutrients like vitamin C, vitamin A, and antioxidants. These nutrients help support the immune system and promote overall well-being.
Gluten-Free Option: If you opt for gluten-free soy sauce and dry sherry, this dish is entirely gluten-free, making it suitable for those with dietary restrictions.
Balanced Macros: The combination of protein, healthy fats, and carbohydrates (if served with rice) makes this a well-rounded meal that’s nourishing and satisfying.
Homemade Goodness: When you make your own sweet and sour chicken, you control the ingredients. No more mystery additives or overly processed sauces. Just pure, wholesome deliciousness.
Preparation Time, Servings, and Nutritional Information
Preparation Time: 20 minutes
Cooking Time: 15 minutes
Total Time: 35 minutes
Servings: 4
Calories per serving: Approximately 450 kcal
Protein: 30g
Carbohydrates: 40g
Fats: 15g
(Note: Nutritional values are estimates and may vary depending on the specific ingredients used.)
Ingredients List
The Chicken (Marinating & Cooking):
- Chicken Thighs (Boneless, Skinless): 1 lb, cut into 1-inch pieces (Chicken thighs are preferred for their juiciness and rich flavor, but chicken breasts work too.)
- Vegetable Oil: 1 tablespoon (Helps the chicken brown evenly.)
- Salt: 1/2 teaspoon (To season the chicken perfectly.)
- Cornstarch: 1/3 cup (Creates that crispy outer coating.)
The Sauce:
- Ketchup: 2 tablespoons (Adds sweetness and deep color.)
- Rice Vinegar: 2 tablespoons (Brings the essential tangy element.)
- Light Soy Sauce (or Tamari for gluten-free): 2 tablespoons (Adds umami and saltiness.)
- Brown Sugar: 3 tablespoons (Balances the tanginess with sweetness.)
- Water: 2 tablespoons (To thin out the sauce slightly.)
- Cornstarch: 2 teaspoons (To thicken the sauce to the perfect consistency.)
Cooking:
- Peanut Oil (or Vegetable Oil): 1 tablespoon (For stir-frying the vegetables.)
- Garlic (Minced): 2 cloves (Aromatic base for the sauce.)
- Ginger (Minced): 2 teaspoons (Adds warmth and depth of flavor.)
- White Onion (Chopped): 1/2 small (Adds a subtle sweetness and crunch.)
- Bell Pepper (Chopped, mixed colors preferred): 1 (For vibrant color and flavor.)
Optional Garnish:
- Green onions, chopped (For a fresh, bright finish.)
- Sesame seeds (For added texture and flavor.)
Step-By-Step Cooking Instructions
Marinate and Cook the Chicken:
- Marinate the Chicken:
- In a large bowl, combine the chicken pieces with vegetable oil and salt.
- Mix well and let it marinate for about 10 minutes to allow the flavors to absorb.
- Coat the Chicken:
- Add cornstarch to the marinated chicken.
- Stir until each piece is coated with cornstarch, but some dry spots should remain for extra crispiness.
- Air Fry the Chicken:
- Preheat your air fryer to 450°F (230°C).
- Place the chicken pieces in a single layer in the air fryer basket.
- Lightly spray with oil to ensure even browning.
- Cook for 8 minutes, then flip the pieces over.
- Cook for another 5–6 minutes or until golden brown and cooked through.
- Set the Chicken Aside:
- Transfer the crispy chicken to a plate and keep it warm while you prepare the sauce.
Prepare the Sauce
- Mix Sauce Ingredients:
- In a small bowl, combine ketchup, rice vinegar, soy sauce, brown sugar, water, and cornstarch.
- Stir well until the mixture is smooth and the cornstarch is fully dissolved.
- Cook the Sauce:
- Heat a tablespoon of peanut oil in a large skillet over medium heat.
- Add minced garlic and ginger, cooking for about 30 seconds until fragrant.
- Toss in the chopped onions and bell peppers. Stir-fry for 2-3 minutes until slightly softened.
- Add the Sauce:
- Pour the prepared sauce into the skillet.
- Bring to a simmer and cook for 2-3 minutes until the sauce thickens and becomes glossy.
- Combine with Chicken:
- Add the crispy chicken pieces to the sauce.
- Gently toss to coat each piece thoroughly.
- Cook for another minute to allow the chicken to absorb the flavors.

How to Serve
This Air Fryer Sweet and Sour Chicken is incredibly versatile when it comes to serving. Here are some ideas to make it a complete meal:
- Over Steamed Rice: Classic and comforting, the fluffy rice soaks up all the delicious sauce.
- With Fried Rice: Take it up a notch with some homemade fried rice for a real takeout experience.
- Stir-Fried Noodles: Serve over noodles for a hearty, satisfying option.
- With Veggies: Pair it with stir-fried or steamed vegetables like broccoli, snap peas, or bok choy.
- As an Appetizer: Serve on skewers with a dipping sauce for party vibes.
To add a bit of freshness, sprinkle chopped green onions and sesame seeds on top before serving.
Pairing Suggestions
Pairing this dish with the right sides and drinks can elevate your meal to a whole new level.
- Side Dishes:
- Egg Drop Soup: Light and comforting, perfect as a starter.
- Cucumber Salad: A crisp, refreshing contrast to the tangy chicken.
- Vegetable Spring Rolls: Adds a crunchy and fresh element.
- Drinks:
- Iced Green Tea: Refreshing and balances the bold flavors.
- Sparkling Water with Lime: Keeps it light and fresh.
- Ginger Ale: Complements the gingery notes in the sauce.
- Desserts:
- Mango Sticky Rice: A creamy, sweet finish.
- Coconut Tapioca Pudding: Light and mildly sweet, a great palate cleanser.
Storage, Freezing & Reheating Instructions
Leftovers? No problem! This dish stores and reheats beautifully.
Refrigeration:
- Store leftovers in an airtight container for up to 3 days.
- Keep the sauce and chicken separate if possible to maintain crispiness.
Freezing:
- Freeze the chicken and sauce separately for up to 3 months.
- Use freezer-safe bags or containers and label them clearly.
Reheating:
- Air Fryer: Preheat to 350°F (175°C) and cook for 5 minutes to regain crispiness.
- Stovetop: Heat the sauce in a skillet, add chicken, and cook until heated through.
- Microwave: Heat in short bursts to avoid drying out the chicken.
Common Mistakes to Avoid
- Overcrowding the Air Fryer: This prevents the chicken from getting crispy. Cook in batches if needed.
- Skipping the Oil Spray: A light coat of oil helps achieve that golden, crispy texture.
- Not Marinating Long Enough: Allowing at least 10 minutes of marinating time helps the flavors penetrate the chicken.
- Not Flipping the Chicken: Flipping halfway through cooking ensures even crispiness.
- Using Too Much Cornstarch: A light coating is enough. Excess can lead to a gummy texture.
Pro Tips
- Use Chicken Thighs: They stay juicier than chicken breasts and are less likely to dry out.
- Drain Excess Marinade: This prevents sogginess and helps achieve a better crust.
- Adjust the Sweetness: Taste the sauce before adding it to the chicken and tweak the sugar as needed.
- Make It Spicy: Add a pinch of red pepper flakes or a dash of sriracha to the sauce for a kick.
- Use Fresh Garlic and Ginger: Fresh ingredients make a noticeable difference in flavor and aroma.
Frequently Asked Questions (FAQs)
Can I use chicken breasts instead of thighs?
Yes, but keep an eye on cooking time as breasts tend to dry out faster.
Can I make this dish ahead of time?
Yes, prepare the sauce and chicken separately. Store them in the fridge and combine them when ready to serve.
What if I don’t have an air fryer?
You can bake the chicken at 425°F (220°C) for about 20 minutes, flipping halfway through.
Is this recipe gluten-free?
Simply swap soy sauce for tamari and use gluten-free cornstarch.
Can I use different vegetables?
Absolutely! Pineapple chunks, zucchini, or snap peas are great additions.
How do I make the sauce less sweet?
Reduce the amount of brown sugar or add a little more vinegar to balance the sweetness.
What’s the best way to reheat without losing crispiness?
The air fryer is your best bet. Heat at 350°F (175°C) for 5 minutes.
Can I make this spicy?
Yes, add chili flakes or a drizzle of hot sauce to the sauce mixture.
Can I substitute rice vinegar?
Apple cider vinegar or white vinegar can work, though the flavor will be slightly different.
Why did my chicken turn out soggy?
This might be due to overcrowding the air fryer or not using enough cornstarch.
Conclusion & Call to Action
Air Fryer Sweet and Sour Chicken is everything you love about takeout but made healthier and tastier right in your own kitchen. The air fryer gives the chicken that irresistible crispiness, while the homemade sweet and sour sauce ties everything together with its perfect balance of flavors.
This recipe is a great option for weeknight dinners, family meals, or even when hosting friends. It’s quick, easy, and absolutely delicious. Plus, you get the satisfaction of making your favorite takeout dish without any guilt.
If you’ve never tried making sweet and sour chicken at home, this is the perfect recipe to start with. It’s approachable, flavorful, and surprisingly simple. So go ahead, give it a shot, and let me know how it turns out!
Don’t forget to share your results! Snap a picture, post it on social media, and tag me so I can see your delicious creations. Happy cooking!
Print
Air Fryer Sweet and Sour Chicken
- Total Time: 35 minutes
- Yield: 4 servings 1x
Description
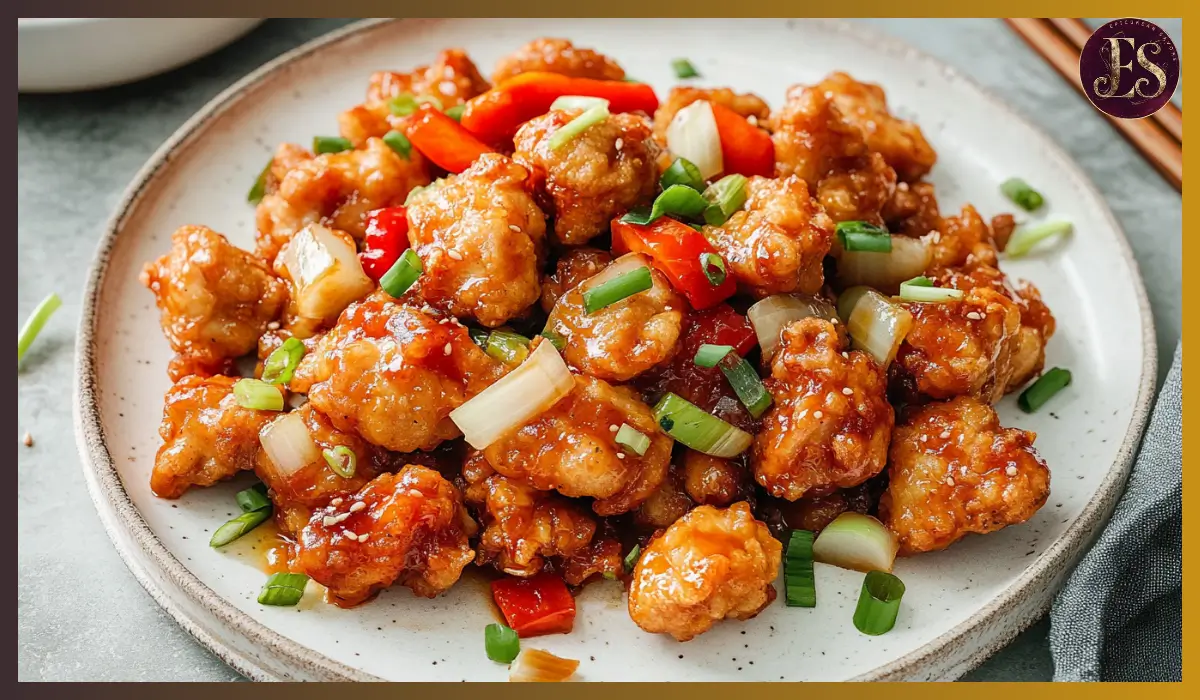
This Air Fryer Sweet and Sour Chicken is a healthier, easier version of your favorite takeout. Juicy chicken thighs are air-fried to perfection and coated in a glossy, sweet, and tangy sauce loaded with vibrant vegetables. Enjoy all the flavor without the excess oil!
Ingredients
For the Chicken (Marinating & Cooking):
-
1 lb chicken thighs, boneless and skinless, cut into 1-inch pieces
-
1 tbsp vegetable oil
-
1/2 tsp salt
-
1/3 cup cornstarch
For the Sauce:
-
2 tbsp ketchup
-
2 tbsp rice vinegar
-
2 tbsp light soy sauce (or tamari for gluten-free)
-
3 tbsp brown sugar
-
2 tbsp water
-
2 tsp cornstarch
For Cooking:
-
1 tbsp peanut oil (or vegetable oil)
-
2 cloves garlic, minced
-
2 tsp ginger, minced
-
1/2 small white onion, chopped
-
1 bell pepper, chopped (mixed colors preferred)
Instructions
- Marinate Chicken: Mix chicken pieces with vegetable oil and salt. Let it marinate for 10 minutes.
- Coat Chicken: Add cornstarch to chicken and stir until coated.
- Air Fry Chicken: Preheat air fryer to 450°F (230°C). Spread chicken pieces in a single layer, spray with oil, and cook for 8 minutes. Flip and cook for another 5-6 minutes until golden and crispy.
- Prepare Sauce: Mix ketchup, rice vinegar, soy sauce, brown sugar, water, and cornstarch.
- Cook Vegetables: Heat oil in a skillet. Add garlic and ginger, cook until fragrant. Add onions and bell peppers and stir-fry for 2-3 minutes.
- Add Sauce: Pour sauce into the skillet and simmer for 2-3 minutes until thickened.
Notes
- Use tamari for a gluten-free version.
- For extra heat, add red pepper flakes or sriracha to the sauce.
- Store leftovers in an airtight container for up to 3 days.
- Prep Time: 20 minutes
- Cook Time: 15 minutes
- Category: Main Course
- Method: Air Fryer
- Cuisine: Chinese-American