
No-Bake Banana Split Pie is an amazing dessert that combines the classic flavors of a banana split in a delightful, easy-to-make pie. With its creamy filling, crunchy crust, and luscious toppings, this pie is sure to impress family and friends alike. It’s the perfect option for hot summer days when you want a sweet treat without the hassle of baking. Simply assemble, chill, and serve!
If you’ve ever enjoyed the classic banana split ice cream treat, you’ll love this pie. Each slice captures the essence of that traditional favorite but presents it in a new and exciting way. It’s a wonderful dish for gatherings, parties, or just a relaxed evening at home with family. This incredible No-Bake Banana Split Pie is not only delicious but also easy to prepare, making it a go-to recipe for dessert enthusiasts of all levels.
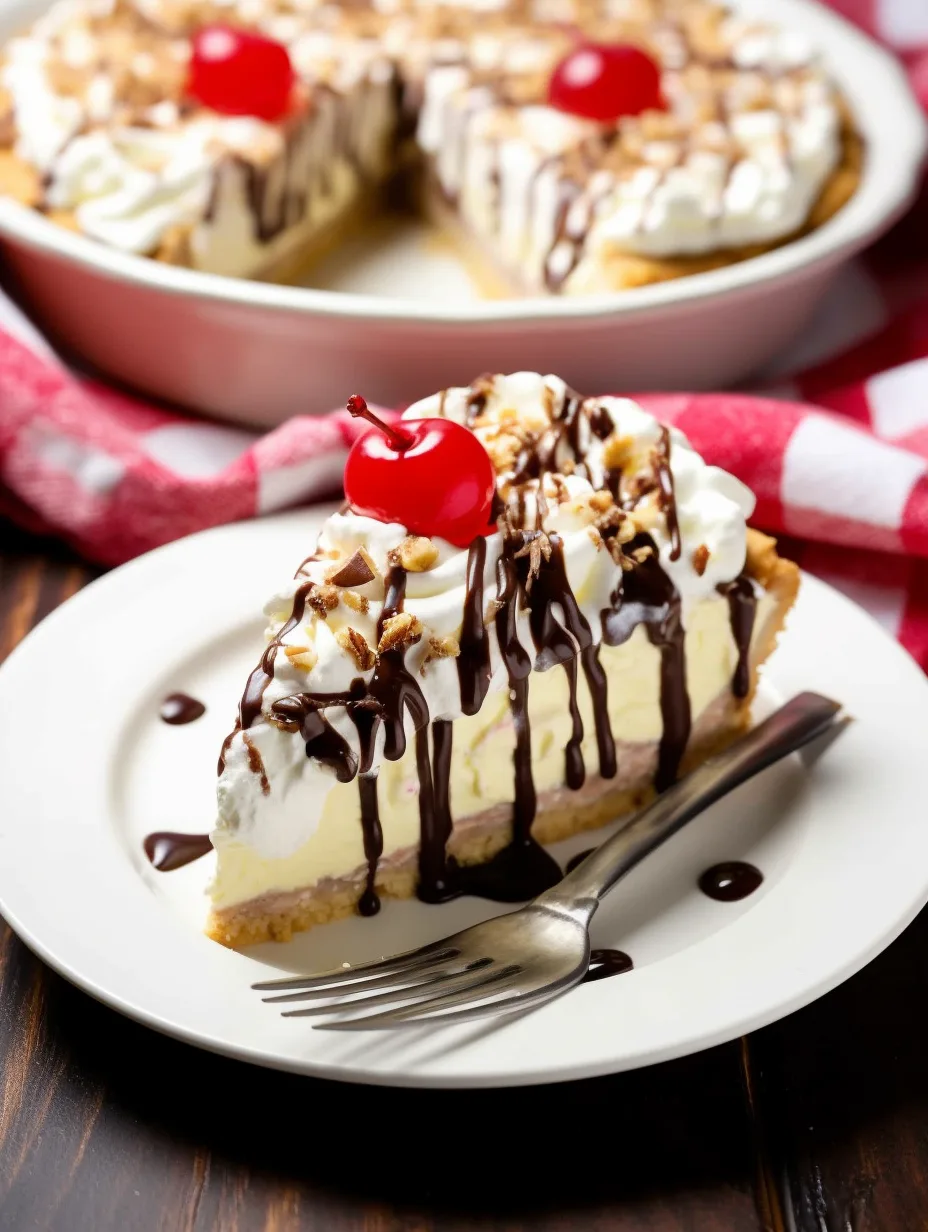
With its combination of ripe bananas, rich custard, and luscious whipped cream, this pie offers a delightful explosion of flavors and textures. The crust adds the perfect crunch while the vibrant toppings make it as visually appealing as it is delicious. In this guide, you will learn why this recipe is so beloved, the preparation steps, and how to serve it in the best way possible. Let’s dive into the details and see why No-Bake Banana Split Pie should be the highlight of your dessert table!
Why You’ll Love This Recipe
No-Bake Banana Split Pie is an absolute crowd-pleaser for many reasons. Here are some highlights that make this dessert stand out:
1. No Baking Required: The fact that you don’t need to bake makes this recipe incredibly easy and accessible for everyone.
2. Simple Ingredients: Most of the ingredients are pantry staples, and you may even have them on hand.
3. Versatile: This pie can be customized with your favorite toppings, making it adaptable for anyone’s taste preferences.
4. Perfect for Any Occasion: Whether it’s a birthday party, family gathering, or a casual get-together, this pie fits perfectly.
5. Visual Appeal: The vibrant colors of the bananas, whipped cream, and toppings make this pie a showstopper on any dessert table.
6. Timely Preparation: You can whip it up in a short amount of time, leaving you with more time to enjoy with your loved ones.
These qualities make No-Bake Banana Split Pie a favorite among dessert lovers. Each bite transports you to a fun summer day as your taste buds rejoice in the fusion of flavors.
Preparation and Cooking Time
Creating your No-Bake Banana Split Pie won’t take much of your time at all. Here’s a breakdown of what you can expect:
– Preparation Time: 20-30 minutes
– Chilling Time: 4-6 hours (or overnight for the best results)
– Total Time: Approximately 4 hours and 30 minutes (including chilling time)
These estimates can vary based on your kitchen setup and efficiency, but this gives a good idea of what to expect.
Ingredients
– 1 ½ cups graham cracker crumbs
– ⅓ cup granulated sugar
– ½ cup unsalted butter, melted
– 1 (8-ounce) package cream cheese, softened
– 1 cup powdered sugar
– 1 (8-ounce) container of whipped topping, thawed
– 2 ripe bananas, sliced
– 1 cup chocolate syrup (or hot fudge sauce)
– 1 cup crushed pineapple, drained
– Additional whipped topping, for topping
– Maraschino cherries, for garnish
– Chopped nuts (such as walnuts or peanuts), for garnish
– Sliced strawberries or any other fruit, for garnish
Step-by-Step Instructions
Follow these simple steps to create your No-Bake Banana Split Pie:
1. Prepare the Crust: In a medium bowl, combine graham cracker crumbs and granulated sugar. Pour in the melted butter, mixing thoroughly until the crumbs are evenly coated. Press this mixture evenly into the bottom and up the sides of a 9-inch pie plate to form the crust. Refrigerate while you prepare the filling.
2. Prepare the Cream Cheese Filling: In a mixing bowl, beat the softened cream cheese until smooth. Gradually add the powdered sugar, mixing until combined and fluffy. Fold in 1 cup of whipped topping gently until well incorporated.
3. Layer the Ingredients: Spread a layer of the cream cheese mixture over the chilled crust, smoothing it out evenly. Next, add a layer of sliced bananas followed by a layer of crushed pineapple.
4. Add Chocolate Syrup: Drizzle a generous amount of chocolate syrup over the pineapple layer, ensuring even coverage.
5. Top with Remaining Cream Cheese Mixture: Spread the remaining cream cheese mixture over the top, smoothing it out gently.
6. Add Whipped Topping: Spread the remaining whipped topping evenly over the pie. Be sure to cover all the cream cheese filling.
7. Garnish: Decorate with maraschino cherries, chopped nuts, and any additional fruit you like for enhanced visual appeal.
8. Chill: Cover the pie with plastic wrap and refrigerate for at least 4 hours or overnight. This helps the flavors meld beautifully.
9. Serve: Once chilled, slice and serve with an extra drizzle of chocolate syrup, additional whipped topping, or fresh fruit, if desired.
By following these instructions, you’ll create a pie that is truly delightful and bursting with flavor.
How to Serve
Serving your No-Bake Banana Split Pie is just as important as making it! Here are some ideas for making your serving experience even better:
1. Presentation Matters: Use a pie server and a beautiful pie dish to enhance the visual appeal. Consider placing fresh fruit or a sprig of mint on top of each slice for added decoration.
2. Accompaniments: Serve with extra chocolate syrup or caramel sauce for those who want to indulge further. Fresh whipped cream on the side adds a lovely touch too.
3. Slice Size: Offer generous slices, ensuring that they are easy to manage. This will encourage guests to go back for seconds!
4. Beverage Pairing: Pair your pie with cold milk, iced coffee, or a fruity punch. This will complement the richness of the pie and enhance the overall experience.
5. For Special Occasions: Consider adding themed sprinkles or decorations for special celebrations, like birthdays or holidays, to make the pie even more festive.
By considering these serving tips, you can elevate the experience for your guests, providing them with not just a dessert, but a memorable moment of indulgence!
Additional Tips
– Use Ripe Bananas: For the best flavor and sweetness, choose overripe bananas. Their profound sweetness harmonizes perfectly with the pie’s other ingredients.
– Chill Thoroughly: Allow your pie to chill for at least 4 hours, preferably overnight. This helps the flavors meld and allows the pie to set properly.
– Small Details Matter: When garnishing, consider sprinkling some crushed nuts on top for added texture and flavor.
– Brighten with Citrus: A few drops of lemon juice on the bananas can prevent browning and add a zesty twist.
– Experiment with Toppings: Try adding shredded coconut, different nuts, or even crushed cookies to personalize your pie.
Recipe Variation
Feel free to get creative! Here are some exciting variations for your No-Bake Banana Split Pie:
1. Peanut Butter Twist: Swirl in some creamy or crunchy peanut butter into the filling for a delicious twist.
2. Chocolate Lovers’ Delight: Add a layer of chocolate mousse between the cream cheese filling and the banana layer for a richer taste.
3. Gluten-Free Option: Substitute graham cracker crumbs with gluten-free cookie crumbs to make it suitable for gluten-sensitive diets.
4. Tropical Touch: Incorporate other tropical fruits, such as mango or kiwi, for an exotic flair.
5. Toasted Coconut Topping: For a more decadent texture, sprinkle toasted coconut flakes on top before serving.
Freezing and Storage
– Storage: Keep your No-Bake Banana Split Pie covered in the refrigerator. Ideally, it will stay fresh for about 3-5 days.
– Freezing: You can freeze individual slices for up to 2 months. Wrap them tightly in plastic wrap and then in aluminum foil to prevent freezer burn. Thaw in the refrigerator before serving.
Special Equipment
While the preparation of No-Bake Banana Split Pie is straightforward, having the right tools can make the process easier:
– 9-Inch Pie Plate: Essential for assembling your pie.
– Mixing Bowls: Use separate bowls for crust and filling preparation.
– Electric Mixer: For achieving a smooth texture in the cream cheese filling.
– Spatula: Handy for spreading the filling evenly across the crust.
– Plastic Wrap: Important for covering the pie while it chills in the refrigerator.
Frequently Asked Questions
Can I use a different crust?
Yes, feel free to experiment with different crusts such as an Oreo crust or a gluten-free option.
What can I do if my bananas start browning too quickly?
A sprinkle of lemon juice can help prevent browning on the bananas.
Is the pie safe to leave out at room temperature?
While it can sit out for a short period during serving, it’s best kept chilled. Avoid leaving it out for longer than two hours.
Can I make this pie vegan?
You can substitute the cream cheese with a vegan cream cheese alternative and the whipped topping with a coconut or almond-based whipped cream.
How can I enhance the flavor of the filling?
Consider adding a splash of vanilla extract or a hint of almond extract to the cream cheese mixture for an added flavor boost.
Conclusion
No-Bake Banana Split Pie is the ultimate dessert for those looking to indulge in the classic flavors of banana splits without the hassle of baking. Its creamy, luscious layers and crunchy crust provide a delightful experience that’s perfect for any occasion. Easy to prepare and visually stunning, this pie is bound to become a dessert table favorite. Don’t wait—gather your ingredients and bring this delectable treat to your home!

No-Bake Banana Split Pie: An Incredible Ultimate Recipe
- Total Time: 15 minutes
Ingredients
– 1 ½ cups graham cracker crumbs
– ⅓ cup granulated sugar
– ½ cup unsalted butter, melted
– 1 (8-ounce) package cream cheese, softened
– 1 cup powdered sugar
– 1 (8-ounce) container of whipped topping, thawed
– 2 ripe bananas, sliced
– 1 cup chocolate syrup (or hot fudge sauce)
– 1 cup crushed pineapple, drained
– Additional whipped topping, for topping
– Maraschino cherries, for garnish
– Chopped nuts (such as walnuts or peanuts), for garnish
– Sliced strawberries or any other fruit, for garnish
Instructions
Follow these simple steps to create your No-Bake Banana Split Pie:
1. Prepare the Crust: In a medium bowl, combine graham cracker crumbs and granulated sugar. Pour in the melted butter, mixing thoroughly until the crumbs are evenly coated. Press this mixture evenly into the bottom and up the sides of a 9-inch pie plate to form the crust. Refrigerate while you prepare the filling.
2. Prepare the Cream Cheese Filling: In a mixing bowl, beat the softened cream cheese until smooth. Gradually add the powdered sugar, mixing until combined and fluffy. Fold in 1 cup of whipped topping gently until well incorporated.
3. Layer the Ingredients: Spread a layer of the cream cheese mixture over the chilled crust, smoothing it out evenly. Next, add a layer of sliced bananas followed by a layer of crushed pineapple.
4. Add Chocolate Syrup: Drizzle a generous amount of chocolate syrup over the pineapple layer, ensuring even coverage.
5. Top with Remaining Cream Cheese Mixture: Spread the remaining cream cheese mixture over the top, smoothing it out gently.
6. Add Whipped Topping: Spread the remaining whipped topping evenly over the pie. Be sure to cover all the cream cheese filling.
7. Garnish: Decorate with maraschino cherries, chopped nuts, and any additional fruit you like for enhanced visual appeal.
8. Chill: Cover the pie with plastic wrap and refrigerate for at least 4 hours or overnight. This helps the flavors meld beautifully.
9. Serve: Once chilled, slice and serve with an extra drizzle of chocolate syrup, additional whipped topping, or fresh fruit, if desired.
By following these instructions, you’ll create a pie that is truly delightful and bursting with flavor.
- Prep Time: 15 minutes
- Cook Time: 0 minutes
Nutrition
- Serving Size: 8
- Calories: 320 kcal
- Fat: 14g
- Protein: 2g