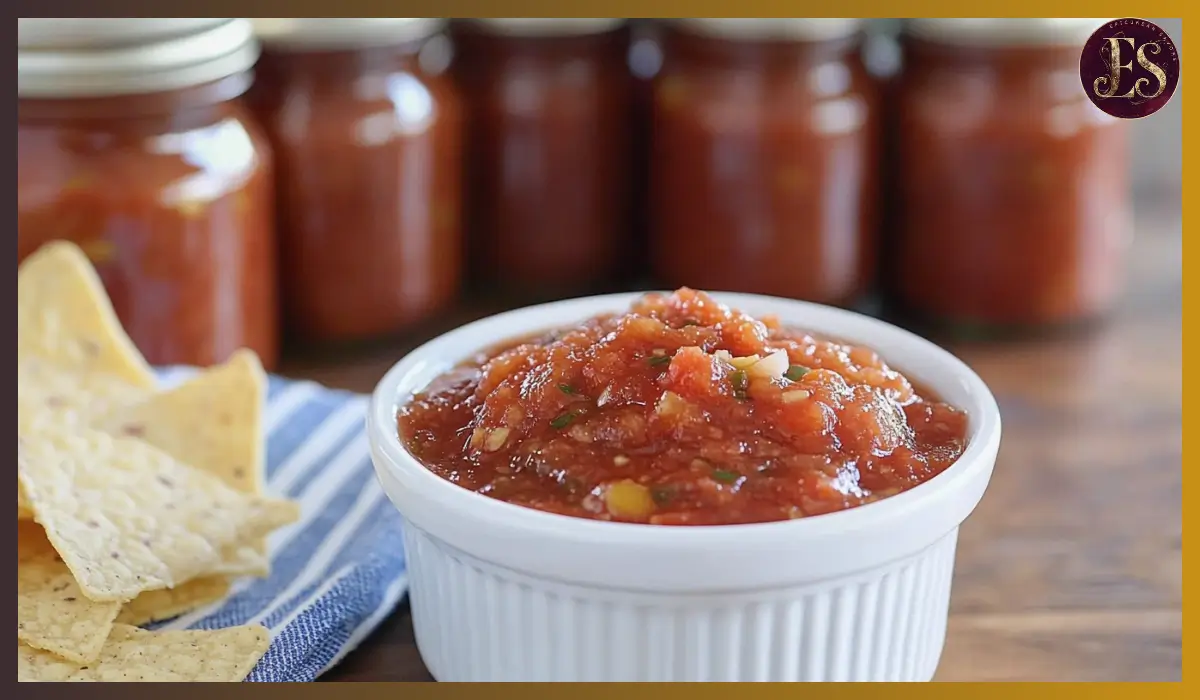
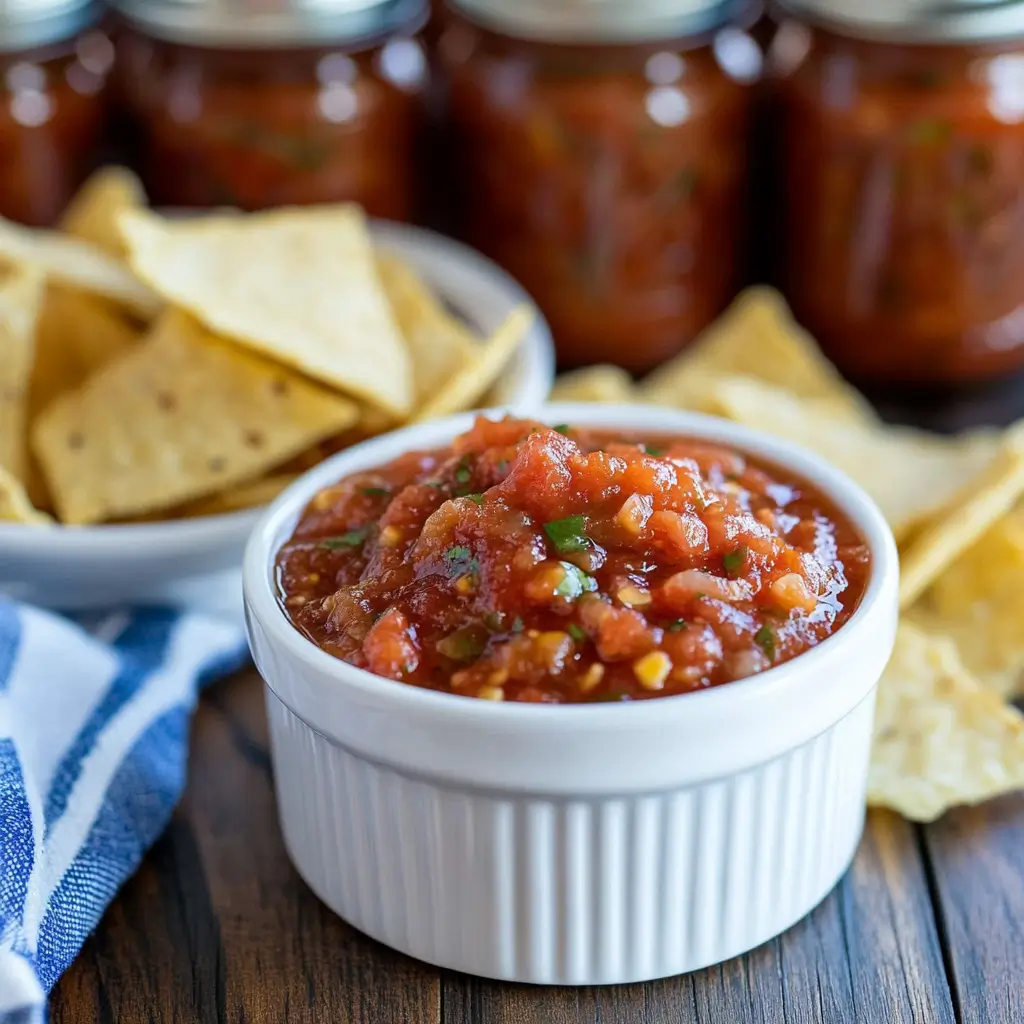
There’s just something magical about homemade salsa. Whether you’re scooping it up with a crunchy tortilla chip, spooning it over grilled chicken, or preserving it to enjoy on a snowy winter night, salsa made from fresh ingredients is one of those things that never disappoints. The Best Homemade Salsa recipe from Mel’s Kitchen Cafe is a standout favorite—not just for its bright, fresh flavor, but also because it’s perfect for canning. That means you can enjoy garden-fresh tomato flavor any time of year.
What sets this recipe apart is its perfect balance. It’s not overwhelmingly spicy, which makes it a crowd-pleaser for family gatherings and picky eaters alike. The depth of flavor comes from the thoughtful combination of vine-ripened tomatoes, onions, garlic, and green peppers—simple ingredients that come together with just the right amount of seasoning to create something really special.
Personally, this homemade salsa is the best and has become my go-to for both everyday snacking and long-term preserving. I first made it during late summer when my backyard tomato plants were overflowing, and since then, I’ve never looked back. It’s now part of my annual canning routine. The method is surprisingly easy, and with a few helpful tools and tips, you’ll feel like a canning pro in no time. Whether you’re new to homemade salsa or have tried dozens of versions before, this one might just become your new favorite.
Why You’ll Love This Recipe
There are so many reasons to love this salsa recipe, and once you try it, you’ll understand why it’s rated 4.65 stars by thousands of home cooks.
It’s Easy to Make: The steps are straightforward, and even the tomato prep (often the most time-consuming part of salsa-making) is simplified by broiling and draining the tomatoes instead of boiling and peeling.
Balanced Flavor: This salsa doesn’t lean too spicy or too sweet. It hits that perfect middle ground—zesty, savory, and just a little tangy. That means it pairs well with a wide variety of dishes.
Family-Friendly: Because it’s not too hot, it’s perfect for kids and adults alike. You can always add more heat later with jalapeños or hot sauce, but the base flavor is mellow and approachable.
Preserving Made Simple: Whether you use a steam canner or water bath, this recipe has been tested for safe pH levels, which is crucial when canning tomato-based sauces. That peace of mind alone makes it a standout.
Versatile Use: It’s great served fresh with chips, folded into breakfast burritos, spooned over rice bowls, or added to tacos. And when canned, it becomes a pantry essential you’ll be thankful for during colder months.
Satisfying Texture: Thanks to peeling and draining the tomatoes, you avoid the common pitfalls of watery or mushy salsa. The result is a thick, scoopable texture that holds up beautifully on your favorite chip.
Health Benefits
Homemade salsa isn’t just delicious—it’s also surprisingly healthy. When you make it yourself, you control everything that goes into it, which means you can skip preservatives, excess sodium, and added sugars that are common in store-bought versions.
Rich in Antioxidants: Tomatoes are a powerhouse of lycopene, an antioxidant known for its heart-protective benefits and anti-inflammatory properties.
Low in Calories: One serving of this salsa is low in calories but high in flavor, making it an excellent option for snacking without guilt.
Full of Fiber: The vegetables used—tomatoes, onions, and peppers—are all great sources of dietary fiber, which supports digestion and helps keep you full.
Hydrating and Nutrient-Dense: With high water content and essential vitamins like vitamin C, potassium, and vitamin A, salsa supports immune health and hydration.
No Artificial Ingredients: This recipe is made from real, whole foods. That means no additives, colorings, or processed ingredients.
Whether you’re looking for a healthy snack or a way to use up garden vegetables, this salsa checks all the right boxes.
Preparation Time, Servings, and Nutritional Information
Total Time:
Prep Time: 45 minutes
Cook Time: 30 minutes
Canning Time: 40 minutes (if preserving)
Servings: Yields 8–9 pints
Nutritional Information (per 2-tablespoon serving):
Calories: 10
Protein: 0.5g
Carbohydrates: 2g
Fat: 0g
Fiber: 0.5g
Sugar: 1g
Sodium: 90mg
Ingredients List
- 10 cups peeled, cored, chopped tomatoes (about 6 pounds of fresh tomatoes)
- 5 cups chopped onions
- 2½ cups chopped green bell peppers
- 1¼ cups white vinegar (5% acidity)
- 3 cloves garlic, minced
- 1 tablespoon salt
- 1 tablespoon sugar
- 1 tablespoon ground cumin
- 1 tablespoon dried oregano
- ½ tablespoon black pepper
- Optional: 1–2 jalapeños or other hot peppers, finely chopped (if you prefer heat)
Tomatoes: Use ripe, red tomatoes for the best flavor. Roma or paste tomatoes are ideal because they’re meaty and not too watery.
Onions: White or yellow onions work best. They add a slightly sweet bite and help round out the salsa’s flavor.
Green Peppers: These add color, crunch, and a subtle sweetness that balances the acidity of the tomatoes and vinegar.
White Vinegar: Essential for canning to maintain safe acidity levels.
Spices and Garlic: Add depth, warmth, and just the right amount of kick.
Step-By-Step Cooking Instructions
- Prepare the Tomatoes
- Preheat your broiler.
- Cut the tomatoes in half and place them cut-side down on a baking sheet.
- Broil for 3–4 minutes, or until the skins start to blacken and loosen.
- Remove and let cool slightly. Peel off the skins and discard them.
- Chop the peeled tomatoes and place them in a colander to drain for 20–30 minutes. This helps prevent watery salsa.
- Chop the Vegetables
- While the tomatoes are draining, chop the onions, green peppers, and optional hot peppers. A food processor works great here for even, quick chopping.
- Mince the garlic finely.
- Combine the Ingredients
- In a large stockpot, combine the drained tomatoes, onions, green peppers, garlic, vinegar, salt, sugar, cumin, oregano, and black pepper.
- Stir well to mix everything evenly.
- Cook the Salsa
- Bring the mixture to a gentle boil over medium-high heat, stirring frequently.
- Once boiling, reduce the heat and simmer uncovered for 30 minutes, stirring occasionally to prevent sticking.
- Taste and Adjust
- Taste the salsa and adjust seasonings if needed. You can add more salt, sugar, or cumin depending on your preference.
- Prepare Jars for Canning (Optional)
- If canning, sterilize your jars and prepare lids according to your canning method.
- Ladle the hot salsa into the jars, leaving ½ inch of headspace. Wipe the rims clean and secure the lids.
- Canning Process
- Process the jars using a steam canner or water bath canner for 15–20 minutes (adjust for altitude).
- Let the jars cool for 12–24 hours. Check seals before storing.
- If Serving Fresh
- Let the salsa cool, then store it in an airtight container in the fridge. It will keep for up to 7 days.
How to Serve
- As a classic dip with tortilla chips
- Spooned over tacos, burritos, or enchiladas
- Stirred into scrambled eggs or omelets for a fresh twist
- Topped on grilled chicken or fish
- Added to rice bowls or wraps for a burst of flavor
Pairing Suggestions
Side Dishes:
- Serve with homemade tortilla chips or baked pita chips
- Pair with fresh guacamole or creamy hummus
- Offer alongside a grilled corn salad or black bean dip
Main Courses:
- Perfect with grilled chicken fajitas
- Adds flavor to beef or turkey tacos
- Great on top of baked potatoes with sour cream and cheese
Kid-Friendly Pairings:
- Serve with quesadillas or cheese toast
- Mix with cooked rice for a simple, flavorful side
Storage, Freezing & Reheating Instructions
Storage (Fresh Salsa):
Keep fresh salsa in an airtight container in the refrigerator. It will stay fresh for up to 7 days.
Freezing:
You can freeze salsa, but note that the texture may change slightly. Let it cool completely, then place in freezer-safe bags or containers, leaving space for expansion. Freeze for up to 3 months.
Reheating:
To enjoy thawed salsa warm, heat gently on the stovetop. You may need to stir well to recombine the ingredients after thawing.
Canned Salsa:
Store sealed jars in a cool, dark place. Once opened, refrigerate and use within 1 week.
Common Mistakes to Avoid
- Skipping the draining step: This leads to watery salsa. Always drain the tomatoes well.
- Using untested canning methods: For safety, only use water bath or steam canning. Pressure canning is not recommended for this recipe.
- Improper peeling: Not peeling the tomatoes can result in tough, unappetizing skins in your salsa.
- Inaccurate vinegar amount: Don’t reduce the vinegar—it’s essential for food safety when canning.
- Overcooking: Boiling too long can make the salsa overly thick or reduce the bright tomato flavor.
Pro Tips
- Use an over-the-sink colander to save counter space and make draining easier.
- Toast your cumin briefly in a dry pan before adding it to deepen the flavor.
- If using jalapeños, wear gloves while chopping to avoid skin irritation.
- For smoother salsa, blend part of the mixture before simmering.
- Let the salsa sit overnight before serving to allow the flavors to meld beautifully.
Frequently Asked Questions (FAQs)
Can I use store-bought tomatoes?
Yes, but fresh, ripe tomatoes provide the best flavor. If using canned tomatoes, make sure to drain them well.
Can I reduce the vinegar for a less tangy taste?
No, vinegar helps maintain the acidity level for safe canning. Do not reduce it.
How spicy is this salsa?
It’s mild. Add jalapeños or other hot peppers if you prefer a spicier version.
Can I use a blender instead of chopping by hand?
Yes. A food processor or blender works well, but be careful not to over-process if you want a chunky texture.
What’s the shelf life for canned salsa?
Properly sealed jars can last up to 12 months in a cool, dark place.
Can I freeze this salsa instead of canning it?
Absolutely. Just let it cool and store in freezer-safe containers. Use within 3 months for best flavor.
Why do I need to peel the tomatoes?
The skins become tough and chewy in the final salsa. Removing them improves both texture and flavor.
Is it safe to add more garlic or herbs?
Yes, but don’t reduce the vinegar or change the main acid-to-vegetable ratio when canning.
Can I make this salsa sugar-free?
Yes. You can omit the sugar if you prefer a tangier salsa without added sweetness.
How do I know if my canned jars sealed properly?
You’ll hear a pop as they seal. After 12 hours, press the center of the lid—if it doesn’t move, the jar is sealed.
Conclusion & Call to Action
This homemade salsa recipe truly delivers on every front—it’s flavorful, adaptable, safe for canning, and packed with fresh ingredients. Whether you’re preserving summer’s bounty or just looking for a better alternative to store-bought salsa, this recipe is one you’ll return to again and again.
Now it’s your turn to bring the Best homemade salsa to life in your own kitchen. Try it out, and don’t forget to share your experience. I’d love to hear how it turned out for you! If you’re sharing photos online, tag your creations so others can get inspired, too. There’s nothing better than seeing good food bring people together.
Print
Best Homemade Salsa
- Total Time: 1 hour 15 minutes
- Yield: 8–9 pints 1x
- Diet: Vegan
Description
A flavorful, perfectly balanced homemade salsa recipe using fresh tomatoes. Ideal for eating fresh or preserving through canning. Easy, safe, and delicious.
Ingredients
-
10 cups peeled, chopped tomatoes (about 6 lbs)
-
5 cups chopped onions
-
2½ cups chopped green bell peppers
-
1¼ cups white vinegar (5% acidity)
-
3 cloves garlic, minced
-
1 tbsp salt
-
1 tbsp sugar
-
1 tbsp ground cumin
-
1 tbsp dried oregano
-
½ tbsp black pepper
-
Optional: 1–2 chopped jalapeños (for heat)
Instructions
-
Broil tomatoes cut-side down for 3–4 mins to loosen skins. Peel and chop.
-
Drain tomatoes in colander for 20–30 minutes.
-
Chop onions, green peppers, and garlic.
-
Combine all ingredients in a large pot.
-
Bring to a boil, reduce heat, and simmer for 30 minutes.
-
Taste and adjust seasonings as needed.
-
For canning: ladle into sterilized jars, leaving ½-inch headspace.
-
Process using water bath or steam canner for 15–20 mins.
-
Cool completely and check seals.
Notes
- Do not skip draining the tomatoes.
- Do not reduce the vinegar amount for canning safety.
- Great for fresh use or long-term storage.
- Adjust spice by adding more or fewer hot peppers.
- Prep Time: 45 minutes
- Cook Time: 30 minutes
- Category: Sauces & Condiments
- Method: Stove + Canning
- Cuisine: American, Mexican-Inspired


