
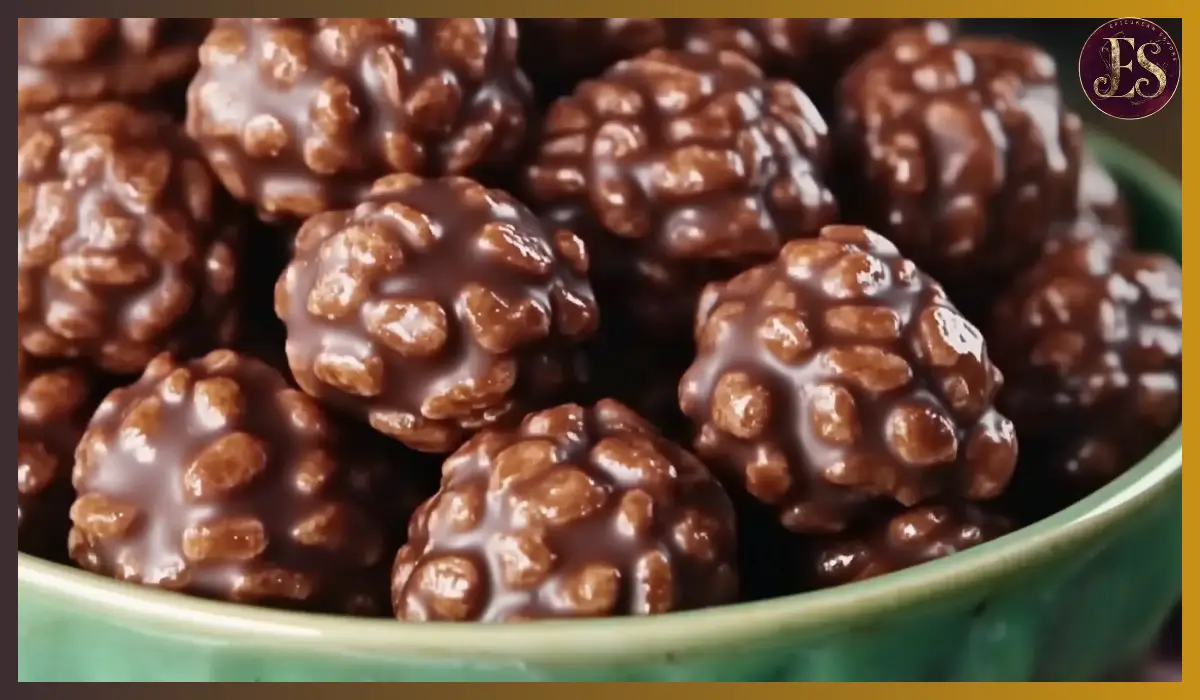
These delightful Chocolate Rice Krispie Balls are an easy, no-bake treat perfect for snacks, parties, or a fun family activity. They offer a mouthwatering combination of crispy cereal, creamy peanut butter, and rich chocolate, making them completely irresistible. With just a handful of simple ingredients and minimal prep time, you can whip up these sweet treats whenever you need a quick dessert or snack to share.
I first discovered this recipe when I was looking for something fun and easy to make with my kids on a rainy afternoon. They loved rolling the sticky cereal mixture into balls and, of course, dipping them into smooth, melted chocolate. It became a family favorite instantly, and now, these Chocolate Rice Krispie Balls make an appearance at most of our celebrations and gatherings. Plus, they’re super versatile—you can customize them with toppings or add-ins to suit your taste.
Whether you’re planning a holiday dessert platter, making goodies for a bake sale, or just want something sweet to snack on, these treats are guaranteed to be a hit. And the best part? You don’t need to turn on your oven! Let’s dive into why you’ll love this recipe and how to make it perfect every time.
Why You’ll Love This Recipe
There are so many reasons to love these Chocolate Rice Krispie Balls, but let’s break down a few of the best:
- Easy, No-Bake Recipe: No need to heat up your kitchen or wait for the oven to preheat. This is a straightforward recipe that anyone can tackle.
- Kid-Friendly Fun: Making these treats is a perfect activity to do with kids. They love mixing, rolling, and dipping—and, of course, tasting!
- Versatile and Customizable: You can add all sorts of fun mix-ins like marshmallows, M&Ms, or even dried fruit. The chocolate coating can also be varied with white or dark chocolate for different flavors.
- Perfect for Gifting and Sharing: These treats look adorable when packed in pretty boxes or gift bags. They also make fantastic party favors or holiday goodies.
- Long Shelf Life: You can make these ahead of time and store them for later. They hold up well in the fridge or freezer, so they’re perfect for meal-prepping snacks or desserts.
- Gluten-Free Option: As long as you use certified gluten-free Rice Krispies, this recipe becomes a fantastic gluten-free treat.
- Rich, Sweet, and Crunchy: The contrast between the crunchy cereal, creamy peanut butter, and smooth chocolate coating is pure bliss.
No matter your skill level in the kitchen, this recipe will leave you feeling like a pro. Let’s move on to the health benefits these tasty treats offer!
Health Benefits
While Chocolate Rice Krispie Balls are undeniably a sweet treat, there are a few ingredients that offer nutritional benefits worth noting:
- Peanut Butter: It’s not only creamy and delicious but also packed with protein and healthy fats. Peanut butter offers essential nutrients like vitamin E, magnesium, and potassium. If you opt for natural, unsweetened peanut butter, you’re also keeping sugar and unhealthy fats to a minimum.
- Rice Krispies Cereal: While not a health food per se, this cereal is low in fat and provides a light, crispy texture without adding significant calories. When made with whole-grain versions, it can provide extra fiber.
- Honey (if used instead of corn syrup): Honey is a natural sweetener rich in antioxidants and has antibacterial and anti-inflammatory properties. It’s also less processed than regular sugar, which is a plus.
- Dark Chocolate Option: If you choose to use dark chocolate instead of semi-sweet, you’ll benefit from antioxidants, flavonoids, and minerals like iron and magnesium. Dark chocolate is known to improve heart health and boost brain function.
Of course, these treats are still indulgent, but it’s nice to know that some of the ingredients bring along a few health perks. Plus, making these at home means you have control over what goes into them. You can choose natural, high-quality ingredients that suit your dietary preferences.
Preparation Time, Servings, and Nutritional Information
Total Time: 1 hour (including chilling time)
Active Time: 20 minutes
Servings: Approximately 20 balls
Nutritional Information (Per Ball):
Calories: 130 kcal
Protein: 2g
Carbohydrates: 15g
Sugar: 10g
Fat: 7g
Saturated Fat: 3g
Sodium: 50mg
Cholesterol: 10mg
These numbers are approximate and can vary depending on the specific brands and types of ingredients you use. For a healthier option, you can try using dark chocolate or a natural sweetener like honey.
Ingredients List
To make these delicious Chocolate Rice Krispie Balls, you’ll need the following ingredients:
- Rice Krispies Cereal: 3 cups (Choose gluten-free cereal if needed)
- Peanut Butter: 1/2 cup (Creamy or crunchy, whichever you prefer)
- Honey or Light Corn Syrup: 1/2 cup (Honey gives a more natural sweetness while corn syrup provides a smoother texture)
- Chocolate Chips: 1 cup (Semi-sweet, dark, or milk chocolate—your choice)
- Butter: 1/2 cup (Adds richness and helps bind the ingredients)
- Vanilla Extract: 1 teaspoon (For a hint of warm, sweet flavor)
- Optional Toppings: Sprinkles, crushed nuts, or shredded coconut for extra flair and flavor
These are all easy-to-find ingredients that you probably already have on hand. And if you prefer to switch things up, there are plenty of ways to customize this recipe, which I’ll cover later on.
Step-By-Step Cooking Instructions
Let’s break down the process of making these Chocolate Rice Krispie Balls, step by step. Whether you’re an experienced baker or a complete newbie, these instructions will guide you to sweet success.
Melt the Peanut Butter Mixture
- In a medium saucepan, combine peanut butter, honey (or corn syrup), and butter.
- Set the saucepan over medium-low heat.
- Stir frequently until the mixture is completely melted and smooth.
- Remove the saucepan from heat and stir in the vanilla extract.
The peanut butter mixture should be creamy, glossy, and slightly thick. If it’s too stiff, warm it for a few more seconds and keep stirring until it reaches the right consistency.
Mix with Cereal
- Pour the melted peanut butter mixture over the Rice Krispies cereal in a large mixing bowl.
- Gently stir the mixture until all the cereal is evenly coated.
It’s important to mix carefully to avoid crushing the cereal. A silicone spatula works well for this step.
Form the Balls
- Allow the mixture to cool slightly before handling.
- Using greased or wet hands, scoop portions of the mixture and roll them into small balls about 1 to 1.5 inches in diameter.
- Place the balls on a baking sheet lined with parchment paper.
To make rolling easier, keep your hands lightly greased with butter or oil. This prevents sticking and allows you to shape the balls more smoothly.
Melt the Chocolate
- In a microwave-safe bowl, melt the chocolate chips in 20-30 second intervals, stirring between each interval until smooth.
Coat the Balls
- Dip each ball into the melted chocolate using a fork or dipping tool.
- Roll the balls to fully coat them with chocolate.
- Place them back on the parchment-lined baking sheet.
- Optionally, sprinkle with your desired toppings like crushed nuts, sprinkles, or shredded coconut before the chocolate sets.
Chill and Set
- Refrigerate the chocolate-coated balls for about 30 minutes, or until the chocolate is firm.
- Once set, transfer them to an airtight container for storage.
That’s it! You’ve just made a batch of irresistible Chocolate Rice Krispie Balls.

How to Serve
These treats are super versatile and can be served in various fun and delicious ways:
- Party Platters: Arrange them on a festive tray with colorful toppings for a stunning dessert display.
- Gift Boxes: Pack them in small boxes or cellophane bags tied with ribbons for a thoughtful homemade gift.
- Snack Time: Enjoy them with a glass of milk or a hot cup of coffee for a comforting snack.
- Ice Cream Topping: Chop them up and sprinkle them over your favorite ice cream for a decadent dessert.
- Lunchbox Treats: Add them to kids’ lunchboxes for a sweet surprise.
No matter how you serve them, they’ll be a hit!
Pairing Suggestions
Although these Chocolate Rice Krispie Balls are perfect on their own, you can enhance the experience by pairing them with:
- Hot Beverages: Coffee, hot chocolate, or chai tea for a cozy treat.
- Cold Drinks: Vanilla or chocolate milkshakes make a creamy, satisfying pairing.
- Fruit Platters: Balance the sweetness by serving them alongside fresh strawberries, grapes, or apple slices.
- Ice Cream: Enjoy with vanilla, chocolate, or peanut butter-flavored ice cream for an indulgent dessert.
- Trail Mix: Add them to a sweet and salty snack mix with pretzels, dried fruits, and nuts.
These pairings make your treat experience even more delightful!
Storage, Freezing & Reheating Instructions
Keeping these treats fresh is easy if you follow these simple steps:
Room Temperature:
- Store the balls in an airtight container at room temperature for up to 1 week.
- Keep them in a cool, dry place to prevent the chocolate from melting.
Refrigeration:
- For longer freshness, store them in the fridge for up to 2 weeks.
- Allow them to sit at room temperature for a few minutes before serving if you prefer a softer texture.
Freezing:
- Place the balls on a baking sheet and freeze until solid, about 1 hour.
- Transfer them to a freezer-safe bag or container and store for up to 3 months.
- Thaw in the refrigerator or at room temperature before serving.
Reheating Chocolate (If Needed):
- If the chocolate becomes too hard before dipping all the balls, microwave it in short intervals until smooth again.
Common Mistakes to Avoid
Even though this recipe is simple, there are a few common mistakes you’ll want to avoid:
- Overheating the Chocolate: Melting chocolate too quickly or at high heat can cause it to seize up and become lumpy. Always melt chocolate in short intervals and stir frequently.
- Using Too Much Heat: Melting the peanut butter mixture over high heat can cause it to scorch. Keep the heat at medium-low and stir often.
- Rushing the Cooling Process: If you try to roll the balls when the mixture is too hot, they won’t hold their shape. Let it cool for a few minutes before shaping.
- Not Greasing Your Hands: The mixture is sticky, so grease your hands with butter or oil to make rolling the balls easier.
- Skipping the Chilling Step: Allowing the balls to set properly in the fridge is essential for firming up the chocolate coating. Don’t rush this step!
Avoiding these mistakes will ensure your Chocolate Rice Krispie Balls turn out perfectly every time.
Pro Tips
Here are some expert tips to make your treats even better:
- Add Texture: Mix in chopped nuts, dried fruits, or mini marshmallows to the cereal mixture for added crunch and flavor.
- Use High-Quality Chocolate: Opt for good-quality chocolate chips or chocolate bars for a smoother, richer coating.
- Keep Your Hands Wet: Wetting your hands slightly with water or oil helps prevent sticking when rolling the balls.
- Decorate While Wet: If you’re adding sprinkles or nuts, do so while the chocolate is still wet to ensure they stick.
- Make It Nut-Free: If you need a nut-free option, swap peanut butter for sunflower seed butter or another allergen-friendly alternative.
These tips will enhance your results and make the process even more enjoyable.
Frequently Asked Questions (FAQs)
Can I use natural peanut butter?
Yes, but make sure to stir it well before using, as natural peanut butter tends to be runnier.
What can I use instead of peanut butter?
You can use almond butter, cashew butter, or sunflower seed butter for a nut-free version.
Can I make these balls ahead of time?
Absolutely! They store well at room temperature, in the fridge, or in the freezer, so you can prepare them in advance.
What if I don’t have corn syrup or honey?
Maple syrup can work, but it may result in a softer, less cohesive mixture. Honey or corn syrup provides the best texture.
How do I prevent the balls from falling apart?
Make sure to mix the cereal mixture well and allow it to cool slightly before forming the balls. Keeping your hands slightly damp or greased will help too.
Can I use dark chocolate instead of semi-sweet?
Yes! Dark chocolate works beautifully and provides a richer, more intense flavor.
How can I make this recipe healthier?
Use natural peanut butter, honey instead of corn syrup, and dark chocolate instead of semi-sweet. You can also try mixing in some protein powder for an added boost.
Why is my chocolate coating not smooth?
You may have overheated the chocolate or let water come into contact with it. Melt chocolate slowly and stir frequently.
Conclusion & Call to Action
Chocolate Rice Krispie Balls are the ultimate no-bake treat that delivers on texture, flavor, and fun. They’re easy to make, delightfully customizable, and perfect for just about any occasion. Whether you’re sharing them at a party, giving them as gifts, or just enjoying a cozy night in, these sweet little bites never disappoint.
Now it’s your turn! Gather your ingredients, roll up your sleeves, and make a batch of these delicious Chocolate Rice Krispie Balls. Don’t forget to share your creations and let me know how you made them your own. Did you add sprinkles? Go for dark chocolate? Try a fun new topping? I’d love to hear all about it.
Give them a try, and prepare to fall in love with your new favorite snack!
Print
Chocolate Rice Krispie Balls
- Total Time: 1 hour (Including Chilling)
- Yield: 20 balls
- Diet: Vegetarian
Description
These Chocolate Rice Krispie Balls are a fun, no-bake dessert made with crispy rice cereal, creamy peanut butter, and rich melted chocolate. They’re perfect for snacks, parties, and holiday gifts. Easy to make and customize with your favorite toppings!
Ingredients
- Rice Krispies Cereal: 3 cups (use gluten-free if needed)
- Peanut Butter: 1/2 cup (creamy or crunchy)
- Honey or Light Corn Syrup: 1/2 cup
- Chocolate Chips: 1 cup (semi-sweet, dark, or milk chocolate)
- Butter: 1/2 cup
- Vanilla Extract: 1 teaspoon
- Optional Toppings: Sprinkles, crushed nuts, or shredded coconut
Instructions
- Melt Peanut Butter Mixture: Combine peanut butter, honey (or corn syrup), and butter in a saucepan. Melt over medium-low heat, stirring frequently until smooth. Remove from heat and stir in vanilla extract.
- Mix with Cereal: Pour melted mixture over Rice Krispies in a large bowl. Stir gently until evenly coated.
- Form Balls: Allow mixture to cool slightly. Roll into 1 to 1.5-inch balls with greased hands. Place on parchment-lined baking sheet.
- Melt Chocolate: Microwave chocolate chips in 20-30 second intervals, stirring until smooth.
- Coat Balls: Dip balls in melted chocolate and place back on the baking sheet. Add toppings if desired.
- Chill & Set: Refrigerate for 30 minutes until the chocolate is firm.
Notes
- Store at room temperature for up to 1 week, in the fridge for 2 weeks, or in the freezer for 3 months.
- For nut-free options, replace peanut butter with sunflower seed butter.
- Prep Time: 20 minutes
- Cook Time: 10 minutes (Melting & Mixing)
- Category: Dessert, Snack
- Method: No-Bake
- Cuisine: American