
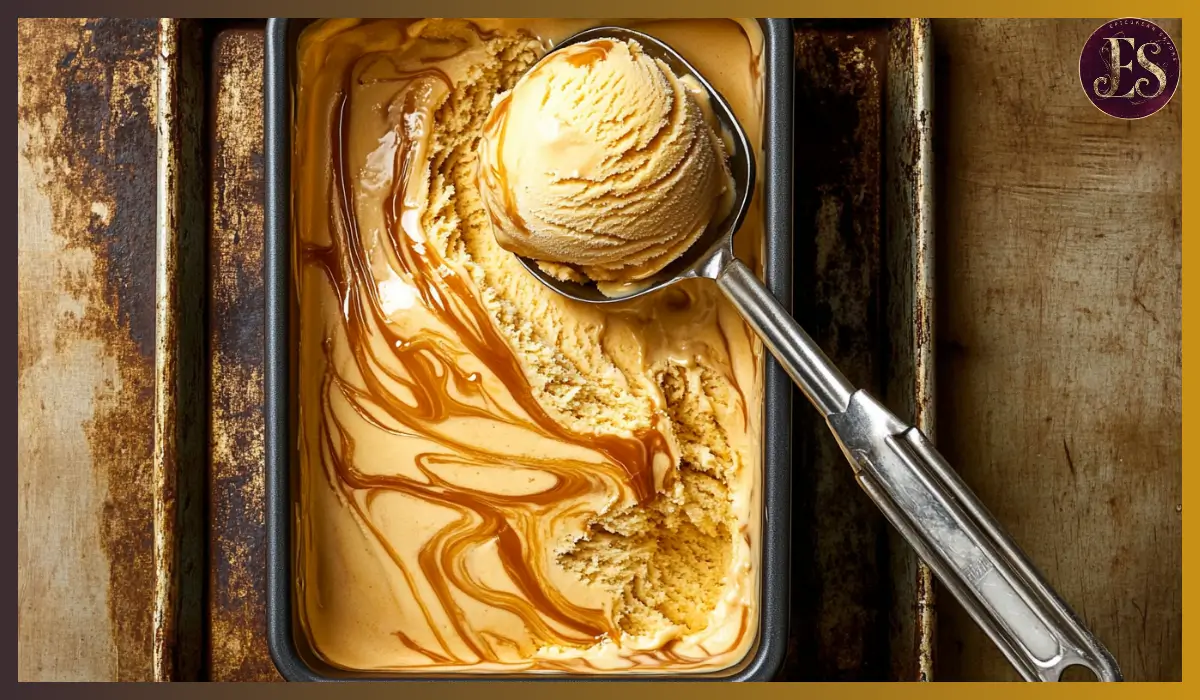
There’s something utterly magical about ice cream that doesn’t ask too much of you. No ice cream maker? No problem. Just a few ingredients, a bowl, and a little patience as it freezes. That’s where this Dulce de Leche Ice Cream steps in—and trust me, it’s a total game changer.
I first tried a version of this while visiting a friend’s summer potluck. She brought out a loaf pan from the freezer, scooped what looked like homemade ice cream into bowls, and casually said, “Oh, it’s just something I whipped up—no machine needed.” One bite in and I was hooked. Creamy, dreamy, and deeply caramelized thanks to the dulce de leche, it tasted like it came straight from a boutique ice cream shop.
This Dulce de Leche Ice Cream recipe is inspired by the incredibly simple yet decadent no-churn method made popular by Baking Mischief, but I’ve added a few personal tweaks and serving ideas to make it an unforgettable treat in your own kitchen. Whether you’re hosting a gathering or just want a scoop after dinner on a Tuesday night, this ice cream delivers every time.
The combination of airy whipped cream and thick, luscious dulce de leche gives you a texture that’s unbelievably smooth. And the flavor? Imagine slow-cooked caramel turned into ice cream—it’s pure bliss. Plus, with only three main ingredients and a few minutes of hands-on time, it’s a recipe anyone can tackle.
Why You’ll Love This Recipe
- Effortless and No-Churn: You won’t need an ice cream machine, custards, or fancy equipment. A whisk or hand mixer does the job beautifully.
- Rich and Creamy Texture: Thanks to the whipped cream base, you get a silky-smooth scoop every single time.
- Incredible Flavor: Dulce de leche brings that deep, toasted caramel flavor that’s sweet without being cloying. The vanilla enhances it perfectly.
- Customizable: You can swirl in more dulce de leche, add crunchy bits like chocolate or nuts, or even fold in chopped fruit.
- Family-Friendly: Kids love the creamy sweetness, and adults appreciate the sophisticated flavor.
With each spoonful, you’ll get creamy notes of caramel, subtle hints of vanilla, and a texture that melts on your tongue. The best part? You probably already have the ingredients in your kitchen.
Health Benefits
Okay, so while this Dulce de Leche Ice Cream might not be labeled as health food, it does offer a few redeeming qualities when compared to store-bought varieties.
- Fewer additives: You know exactly what’s going into your dessert—no preservatives, artificial colors, or stabilizers.
- Controlled sweetness: You can slightly adjust the amount of dulce de leche if you’re looking to tone down the sugar.
- Simple ingredients: Whipping cream, dulce de leche, and vanilla. That’s it. No processed syrups or artificial flavorings.
- Calcium-rich: As a dairy-based dessert, this treat provides calcium, which is essential for bone health.
While it’s definitely a treat meant to be enjoyed in moderation, it’s nice to know that you’re indulging in something homemade and straightforward.
Preparation Time, Servings, and Nutritional Information
Total Time:
Prep: 15 minutes
Freezing Time: At least 6 hours (preferably overnight)
Servings:
Makes about 6–8 servings (depending on scoop size)
Nutritional Information (Per Serving):
Calories: 320
Protein: 3g
Carbohydrates: 25g
Fat: 24g
Sugar: 23g
Fiber: 0g
Ingredients List
Here’s what you’ll need for this no-churn masterpiece:
- 2 cups (1 pint) heavy whipping cream – This is the foundation of the recipe. It whips up into fluffy peaks, giving the ice cream its body and richness.
- 1 can (about 13.4 oz) dulce de leche – The star ingredient. You can use store-bought or homemade if you’re feeling adventurous.
- 1 teaspoon vanilla extract – Adds depth and enhances the caramel tones from the dulce de leche.
Optional Add-Ins:
- Extra dulce de leche for swirling
- Chopped nuts (like pecans or almonds)
- Mini chocolate chips
- Sea salt flakes (for a salted caramel vibe)
Step-By-Step Cooking Instructions
1. Prepare Your Pan
Start by grabbing a loaf pan or freezer-safe container. Line it with parchment paper if you’d like easy removal later, but it’s not strictly necessary.
2. Lighten the Dulce de Leche
Scoop your dulce de leche into a mixing bowl. Add 2–3 tablespoons of the cream and stir until it’s smooth and has a pudding-like consistency. This helps it fold more easily into the whipped cream without deflating it.
3. Whip the Cream
In a separate large mixing bowl, pour in the rest of your heavy cream and add the vanilla extract. Using a hand mixer or a stand mixer fitted with the whisk attachment, whip the cream until stiff peaks form. This usually takes about 3–5 minutes. Be careful not to over-whip—stop as soon as the peaks hold their shape.
4. Combine the Mixtures
Add the lightened dulce de leche to the whipped cream. Gently fold it in using a spatula. Use broad, sweeping motions to keep the mixture airy. Mix just until everything is combined and there are no streaks.
5. Layer and Swirl (Optional)
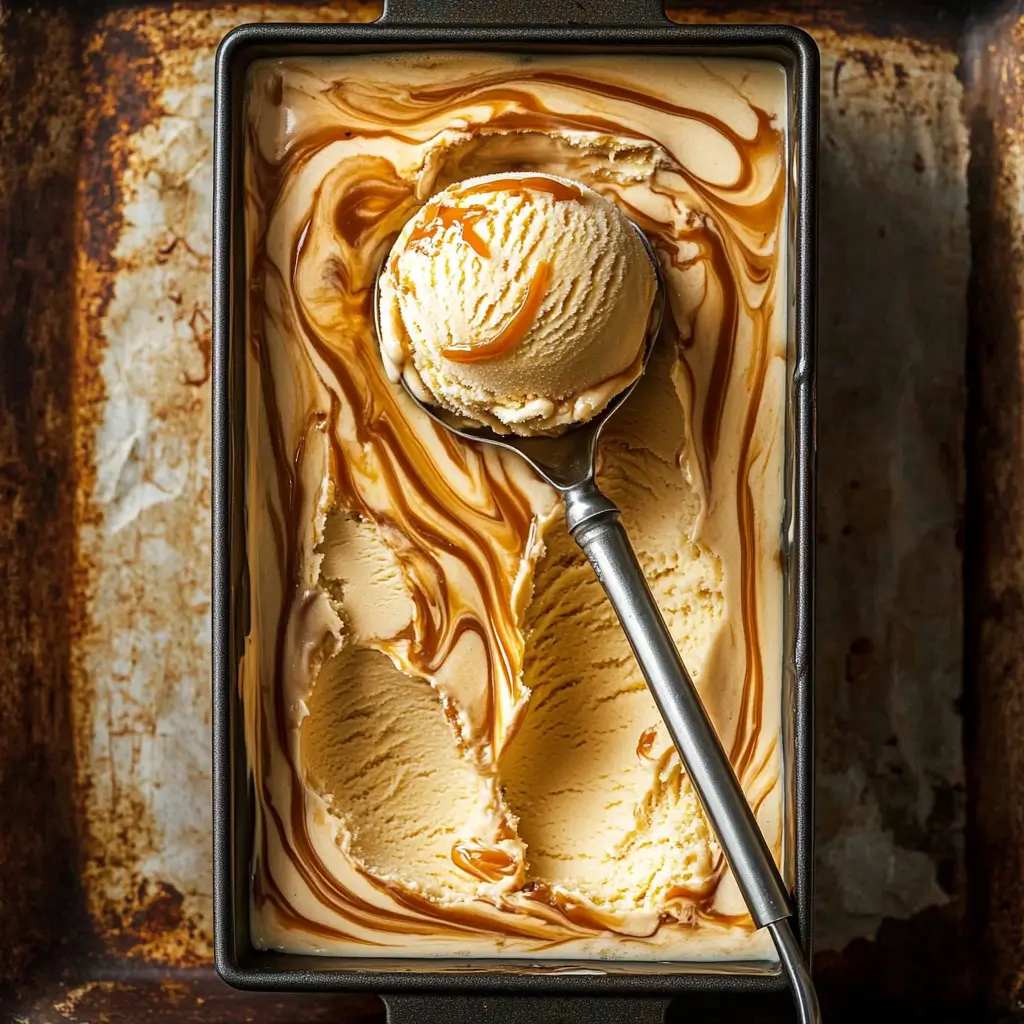
Pour half of the ice cream base into your loaf pan. Drizzle a couple of tablespoons of additional dulce de leche over the top, then swirl it with a knife or skewer. Repeat with the remaining base and dulce de leche. This creates a beautiful marbled effect and adds pockets of caramel flavor.
6. Freeze
Cover the pan tightly with plastic wrap or a lid. Freeze the mixture for at least 6 hours, though overnight is best for a firm, scoopable consistency.
7. Scoop and Enjoy
Once frozen solid, let the ice cream sit at room temperature for 5 minutes before scooping. This softens it slightly for the perfect texture.
How to Serve
There are so many fun and delicious ways to serve this ice cream. Here are a few ideas to get you started:
- Serve scooped in bowls with a drizzle of extra dulce de leche or chocolate sauce.
- Pile it into ice cream cones for a classic summer treat.
- Sandwich it between cookies for the ultimate ice cream sandwich.
- Use it as a topping for brownies, pies, or warm apple crisp.
- Garnish with crushed nuts or a pinch of sea salt to elevate the flavor.
Pairing Suggestions
Looking to round out your dessert experience? Here’s how to pair this ice cream like a pro:
- With baked goods: Serve alongside a slice of banana bread, cinnamon cake, or warm brownies.
- Fruit options: Fresh berries or grilled peaches add a tart contrast to the sweet creaminess.
- Beverages: Pair with hot drinks like espresso, Turkish coffee, or chai for a flavor contrast. For a refreshing summer combo, enjoy it with a cold glass of iced tea or sparkling lemonade.
Storage, Freezing & Reheating Instructions
Storage:
Keep the ice cream in an airtight container in the freezer. For the best texture and flavor, enjoy within two weeks.
Freezing:
Once your ice cream has frozen solid, you can portion it into individual containers or leave it in the loaf pan. Just ensure it’s tightly covered to prevent freezer burn.
Reheating?
Ice cream doesn’t need reheating, of course, but if it’s too hard to scoop, let it sit on the counter for 5–10 minutes to soften.
Common Mistakes to Avoid
- Over-whipping the cream: If the cream turns grainy, the final texture of the ice cream will suffer.
- Folding too vigorously: Stirring the dulce de leche into the whipped cream too roughly can deflate the mixture, resulting in a denser product.
- Skipping the swirl: The extra drizzle of dulce de leche adds both visual appeal and rich bursts of flavor—don’t skip it if you love caramel.
- Not freezing long enough: Six hours is the bare minimum. Overnight is best for that firm, scoopable texture.
- Using sweetened condensed milk instead of dulce de leche: They’re not interchangeable. Dulce de leche has a deeper, cooked flavor that sweetened condensed milk just can’t replicate.
Pro Tips
- Chill your bowl and beaters before whipping cream for the fastest and fluffiest results.
- Use homemade dulce de leche if you want full control over sweetness and flavor depth. You can make it by simmering a can of sweetened condensed milk in water.
- Add texture by folding in crushed cookies, nuts, or chocolate chips right before freezing.
- For a lighter version, use half whipping cream and half whole milk, but be aware it won’t be as creamy.
- Label and date your container before placing it in the freezer—especially helpful if you make multiple flavors.
Frequently Asked Questions (FAQs)
Can I make this without a mixer?
Yes! You can whip cream by hand with a whisk—it just takes longer and a bit more elbow grease.
Is dulce de leche the same as caramel?
Not quite. Caramel is made with sugar, butter, and cream, while dulce de leche is made by slowly heating sweetened condensed milk. It has a thicker texture and deeper flavor.
Can I use coconut cream instead of heavy cream?
You can, but it will have a coconut flavor and may not whip up the same way. Chill the coconut cream overnight and only use the solid part.
Can I reduce the sugar content?
Yes, use less dulce de leche, though this may affect the texture and flavor. Balance is key.
How long does this last in the freezer?
Up to two weeks for the best texture and flavor, though technically it can last longer if well sealed.
Can I make this gluten-free?
Yes, the base recipe is naturally gluten-free. Just be cautious with any mix-ins like cookies.
Is this recipe suitable for children?
Absolutely. There’s no alcohol or artificial ingredients—just creamy, caramel goodness.
Can I double the recipe?
Yes, just make sure you have a large enough bowl and container for freezing.
Do I need to cook anything?
Nope. This is a completely no-cook recipe, which makes it perfect for hot days.
Can I turn this into popsicles?
Definitely. Pour the mixture into popsicle molds for frozen dulce de leche pops.
Conclusion & Call to Action
If you’re craving a sweet, creamy dessert that feels indulgent but takes less than 15 minutes to throw together, this Dulce de Leche Ice Cream is exactly what you need. It’s simple, rich, and endlessly customizable, making it perfect for both special occasions and casual weeknight cravings.
I’d love to hear how this recipe turns out in your kitchen! If you give it a try, drop a comment, share your favorite mix-ins, or tag me on social media. Homemade ice cream doesn’t have to be complicated—and this recipe proves it in the most delicious way.
Now, go grab that can of dulce de leche and make yourself a batch of frozen caramel magic. You’ve totally got this.
Print
Dulce de Leche Ice Cream
- Total Time: 6 hours 15 minutes (includes freezing)
- Yield: 6–8 servings 1x
- Diet: Vegetarian
Description
This no-churn Dulce de Leche Ice Cream is ultra-creamy, rich, and made with just three ingredients. No ice cream machine required—just whip, mix, and freeze.
Ingredients
-
2 cups heavy whipping cream
-
1 can (13.4 oz) dulce de leche
-
1 teaspoon vanilla extract
-
Optional: extra dulce de leche, chopped nuts, chocolate chips, sea salt flakes
Instructions
-
Lighten the dulce de leche with 2–3 tablespoons of cream until smooth.
-
In a large bowl, whip the remaining cream with vanilla until stiff peaks form.
-
Gently fold in the dulce de leche mixture.
-
Pour half into a loaf pan, drizzle extra dulce de leche, and swirl.
-
Repeat with remaining mixture.
-
Cover and freeze for at least 6 hours or overnight.
-
Let sit at room temp for 5 minutes before scooping.
Notes
- Do not overwhip the cream to avoid grainy texture.
- You can swirl in extra dulce de leche or fold in crunchy add-ins before freezing.
- Store in an airtight container in the freezer for up to 2 weeks.
- Prep Time: 15 minutes
- Cook Time: 0 minutes
- Category: Dessert
- Method: No-Churn, Freezer
- Cuisine: Latin American-inspired, American