
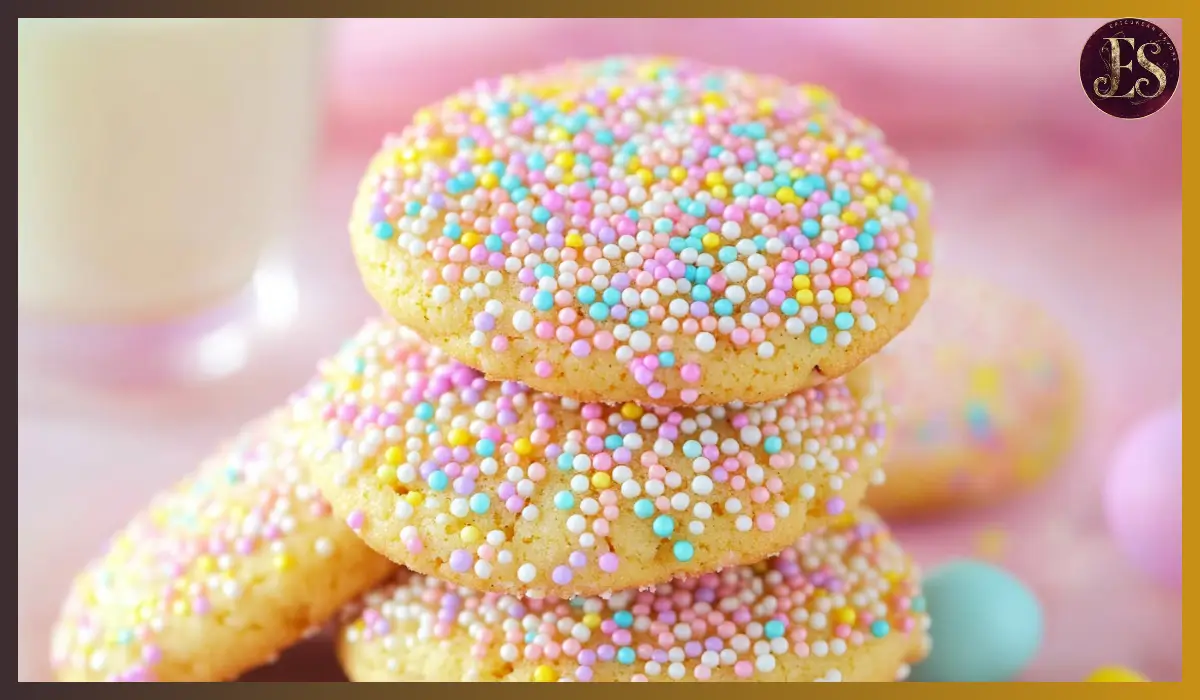
Easter is a time for celebration, family gatherings, and of course, delicious treats. One of the best ways to bring some extra joy to your holiday table is with a batch of homemade Easter cookies. These cookies are soft, chewy, and loaded with colorful sprinkles, making them as fun to look at as they are to eat. Whether you’re baking with kids, preparing a dessert for an Easter party, or just looking for a sweet snack, these cookies are the perfect choice.
What makes these Easter cookies special is their simplicity. The dough comes together in minutes, and there’s no need for refrigeration, meaning you can bake them right away. Plus, they have a melt-in-your-mouth texture that keeps everyone coming back for more. The best part? You can customize them with different sprinkles or mix-ins to make them your own.
Baking is a tradition in many households during Easter, and these cookies are a great addition to any dessert spread. They’re easy enough for beginners but delicious enough to impress your guests. Whether you’re serving them with a cup of tea, packing them in Easter baskets, or enjoying them as an afternoon treat, these cookies will quickly become a holiday favorite.
Why You’ll Love This Recipe
There are plenty of reasons to love these Easter cookies, but here are a few that stand out.
First, they’re incredibly easy to make. Some cookie recipes require chilling the dough before baking, but this one skips that step. That means you can go from mixing to baking in just a few minutes, making them perfect for last-minute baking.
Second, they have the perfect texture. These cookies are soft and chewy on the inside, with just the right amount of crispiness around the edges. The secret is using the right combination of butter and sugar to create that ideal balance.
Third, they’re customizable. While pastel-colored sprinkles make them perfect for Easter, you can switch things up by using different colors for other occasions. Want Halloween cookies? Use orange and black sprinkles. Need Christmas treats? Go for red and green. The possibilities are endless.
Lastly, they’re a hit with kids and adults alike. Children love helping decorate these cookies, and adults love eating them. They’re festive, delicious, and perfect for any springtime gathering.
Health Benefits
While cookies are undeniably a treat, that doesn’t mean they don’t have some redeeming qualities. Here’s what you need to know about the ingredients in these Easter cookies and their benefits.
Butter is a key ingredient in these cookies, and while it’s often seen as an indulgence, it actually contains healthy fats and fat-soluble vitamins like A, D, and E. When used in moderation, butter can be part of a balanced diet.
Eggs are another essential ingredient, providing protein, vitamins, and minerals. They also contribute to the soft and chewy texture of these cookies.
Flour, which forms the base of the cookie dough, is a source of carbohydrates that provide energy. If you want to add a little more fiber to your cookies, consider using a mix of all-purpose and whole wheat flour.
Sugar gives these cookies their sweetness, but you can adjust the amount if you prefer a less sweet treat. Additionally, using natural alternatives like coconut sugar can add a slight caramel flavor while reducing the refined sugar content.
Lastly, sprinkles don’t add much in terms of nutrition, but they do add a lot of fun. If you prefer, you can use naturally colored sprinkles that don’t contain artificial dyes.
Preparation Time, Servings, and Nutritional Information
Making these cookies is a quick process, making them perfect for busy schedules.
- Preparation Time: 10 minutes
- Baking Time: 10-12 minutes
- Total Time: 20-25 minutes
- Servings: 24 cookies
Nutritional Information (per cookie):
- Calories: 150
- Carbohydrates: 18g
- Protein: 2g
- Fat: 8g
- Sugar: 10g
- Fiber: 1g
Ingredients List
To make these soft and chewy Easter cookies, you’ll need:
- 1 cup (2 sticks) unsalted butter, softened
- 1 cup granulated sugar
- ½ cup brown sugar, packed
- 2 large eggs
- 2 teaspoons vanilla extract
- 2 ½ cups all-purpose flour
- 1 teaspoon baking soda
- ½ teaspoon baking powder
- ½ teaspoon salt
- 1 cup pastel-colored sprinkles
These simple pantry staples come together to create a perfect cookie dough. Make sure your butter is softened to ensure a smooth and creamy mixture when creaming with sugar.
Step-By-Step Cooking Instructions
Step 1: Preheat the Oven
Start by preheating your oven to 350°F (175°C). Line two baking sheets with parchment paper to prevent the cookies from sticking.
Step 2: Cream the Butter and Sugars
In a large mixing bowl, use a hand or stand mixer to beat the softened butter, granulated sugar, and brown sugar together until light and fluffy. This should take about 2-3 minutes. The mixture should look pale and creamy.
Step 3: Add the Eggs and Vanilla
Crack in the eggs one at a time, beating well after each addition. Stir in the vanilla extract to enhance the flavor of the cookies.
Step 4: Combine the Dry Ingredients
In a separate bowl, whisk together the flour, baking soda, baking powder, and salt. This ensures that all the dry ingredients are evenly distributed.
Step 5: Mix the Wet and Dry Ingredients
Gradually add the dry ingredients to the butter mixture, mixing on low speed until just combined. Be careful not to overmix, as this can make the cookies tough instead of soft and chewy.
Step 6: Fold in the Sprinkles
Gently stir in the pastel sprinkles, distributing them evenly throughout the dough.
Step 7: Scoop and Shape the Dough
Using a cookie scoop or a tablespoon, portion out the dough onto the prepared baking sheets. Leave about 2 inches between each cookie to allow for spreading.
Step 8: Bake the Cookies
Place the baking sheets in the preheated oven and bake for 10-12 minutes or until the edges are lightly golden. The centers may look slightly underbaked, but they will firm up as they cool.
Step 9: Cool the Cookies
Let the cookies cool on the baking sheet for 5 minutes before transferring them to a wire rack to cool completely.

How to Serve
These Easter cookies are best served fresh, when they’re still slightly warm and soft. They pair beautifully with a glass of cold milk, a warm cup of tea, or even a mug of hot chocolate. You can also package them up in decorative bags or boxes to give as gifts.
Pairing Suggestions
For a fun Easter spread, serve these cookies alongside other springtime desserts like carrot cake, lemon bars, or strawberry shortcake. If you’re planning an Easter brunch, they make a great addition to a dessert tray alongside fruit and pastries.
Storage, Freezing & Reheating Instructions
These cookies stay fresh for up to 5 days when stored in an airtight container at room temperature. If you want to keep them longer, freeze them for up to 3 months. Simply thaw at room temperature before serving.
Common Mistakes to Avoid
Even though this Easter cookies recipe is simple and beginner-friendly, there are a few common mistakes that can affect the final results. Avoiding these will ensure your cookies turn out soft, chewy, and picture-perfect every time.
One major mistake is overmixing the dough. After adding the flour mixture, mix just until the ingredients are combined. Overmixing activates the gluten in the flour, which can result in dense or tough cookies instead of the desired soft and chewy texture.
Another common issue is measuring ingredients incorrectly. Too much flour can make your cookies dry and crumbly, while too little flour may cause them to spread too much during baking. The best way to measure flour is to spoon it into a measuring cup and level it off with a knife instead of scooping directly from the bag.
Using butter that is too soft or melted can also cause cookies to spread excessively. The butter should be softened to room temperature but still slightly firm. If it’s too soft, refrigerate it for 10-15 minutes before using.
Not spacing the cookie dough properly on the baking sheet is another mistake to watch out for. These cookies spread as they bake, so be sure to leave at least 2 inches between them to prevent them from merging into each other.
Overbaking is a very common mistake that leads to hard cookies. The cookies should be removed from the oven when the edges are just turning golden brown, while the centers may still look slightly underdone. They will continue to firm up as they cool on the baking sheet.
Lastly, using old or expired baking soda and baking powder can prevent the cookies from rising properly. Always check the freshness of your leavening agents by testing them before baking. To test baking soda, mix a small amount with vinegar—if it bubbles, it’s still active. For baking powder, mix a little with warm water to check for fizzing.
By avoiding these common mistakes, you’ll ensure your Easter cookies turn out perfect every time.
Pro Tips
For the best results, use high-quality ingredients. Good-quality butter, fresh eggs, and pure vanilla extract will enhance the flavor of your cookies significantly. Avoid using margarine or butter substitutes, as they can affect the texture.
If you want extra-soft cookies, try replacing half of the granulated sugar with additional brown sugar. Brown sugar has more moisture, which helps keep the cookies chewy.
To get perfectly round cookies, use a cookie scoop to portion out the dough evenly. This not only ensures that all cookies bake at the same rate but also gives them a uniform shape. If your cookies spread unevenly, use a round cookie cutter or a spoon to gently reshape them right after they come out of the oven while they’re still warm.
Chilling the dough is not required for this recipe, but if you have time, refrigerating it for 30 minutes before baking can enhance the flavors and help control spreading. This is especially helpful if you live in a warm climate where butter softens quickly.
For an extra burst of flavor, add a small amount of almond extract in addition to the vanilla extract. Almond extract pairs beautifully with vanilla and gives the cookies a subtle, sweet aroma.
Lastly, always bake one tray at a time in the center rack of the oven. Baking multiple trays at once can cause uneven baking due to differences in heat distribution. If you need to bake multiple batches, rotate the trays halfway through baking for even results.
Frequently Asked Questions (FAQs)
Can I make these cookies ahead of time?
Yes! You can prepare the dough ahead of time and store it in the refrigerator for up to 2 days. When you’re ready to bake, let it sit at room temperature for about 10 minutes before scooping and baking.
Can I freeze the cookie dough?
Absolutely! Scoop the cookie dough onto a baking sheet and freeze until firm. Then transfer the dough balls to a freezer-safe bag and store them for up to 3 months. When baking from frozen, add an extra 1-2 minutes to the baking time.
Can I make these cookies gluten-free?
Yes! Substitute the all-purpose flour with a gluten-free baking flour blend that contains xanthan gum. The texture may vary slightly, but they will still be delicious.
What can I use instead of sprinkles?
If you prefer not to use sprinkles, you can mix in white chocolate chips, pastel M&Ms, or chopped nuts for added flavor and texture.
How do I keep my cookies soft for days?
Store the cookies in an airtight container with a slice of bread. The moisture from the bread will help keep them soft and fresh for longer.
Conclusion & Call to Action
Easter cookies are the perfect festive treat to bring joy to your holiday celebrations. With their soft and chewy texture, colorful sprinkles, and simple preparation, they’re a must-have for Easter gatherings, family get-togethers, or even just a fun baking project with kids.
This recipe is designed to be easy and beginner-friendly, so whether you’re an experienced baker or trying homemade cookies for the first time, you’ll achieve fantastic results. The dough comes together quickly, there’s no chilling required, and the cookies bake in just minutes, making them a stress-free and rewarding dessert option.
Now it’s your turn! Gather your ingredients, preheat your oven, and start baking these delicious Easter cookies today. If you try this recipe, let us know how it turned out by leaving a comment below. Did you make any fun variations? Share your experience and tips with fellow bakers!
If you enjoyed this recipe, be sure to save it for later and share it with friends and family. Tag us on social media with your beautiful cookie creations—we love seeing what you make! Happy baking, and have a wonderful Easter filled with sweet treats and joyful moments!
Print
Easter Cookies
- Total Time: 20-25 minutes
- Yield: 24 cookies 1x
- Diet: Vegetarian
Description
These soft and chewy Easter cookies are quick to make, require no chilling, and are packed with colorful sprinkles. Perfect for holiday baking!
Ingredients
- 1 cup unsalted butter, softened
- 1 cup granulated sugar
- ½ cup brown sugar, packed
- 2 large eggs
- 2 teaspoons vanilla extract
- 2 ½ cups all-purpose flour
- 1 teaspoon baking soda
- ½ teaspoon baking powder
- ½ teaspoon salt
- 1 cup pastel-colored sprinkles
Instructions
- Preheat oven to 350°F (175°C) and line baking sheets with parchment paper.
- Beat butter, granulated sugar, and brown sugar until light and fluffy.
- Add eggs one at a time, then mix in vanilla extract.
- In a separate bowl, whisk together flour, baking soda, baking powder, and salt.
- Gradually mix dry ingredients into the wet ingredients until just combined.
- Fold in pastel sprinkles.
- Scoop dough onto baking sheets, leaving space between cookies.
- Bake for 10-12 minutes, until edges are golden.
- Let cookies cool on baking sheet for 5 minutes, then transfer to a wire rack.
Notes
- Avoid overmixing the dough to keep cookies soft.
- Cookies may look slightly underbaked when removed from the oven but will firm up as they cool.
- Store in an airtight container for up to 5 days or freeze for up to 3 months.
- Prep Time: 10 minutes
- Cook Time: 10-12 minutes
- Category: Dessert
- Method: Baking
- Cuisine: American