
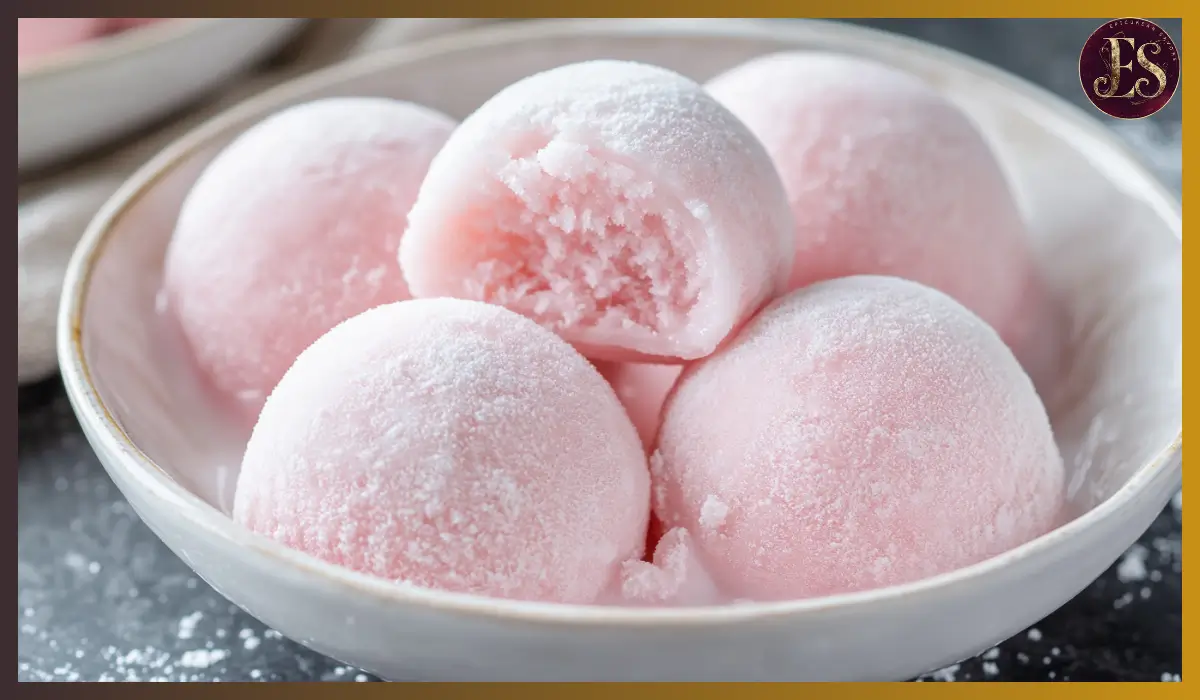
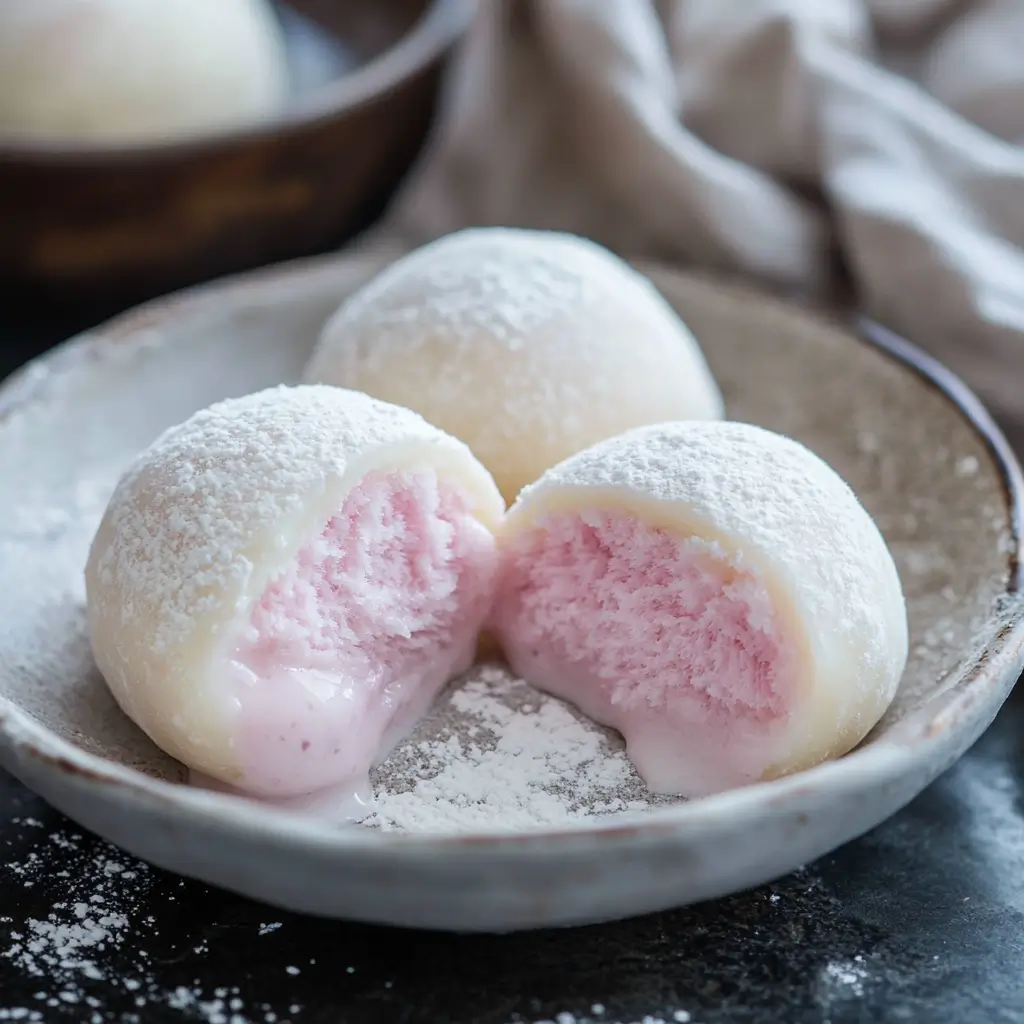
There’s something undeniably special about Homemade Mochi ice cream. That perfect combination of chewy, pillowy-soft mochi wrapped around creamy, cold ice cream makes for a dessert that’s both satisfying and fun to eat. If you’ve ever had store-bought mochi ice cream, you already know how delicious it is. But making it at home? That’s a whole new level of rewarding.
At first glance, homemade mochi ice cream may seem intimidating. After all, it’s a dessert with multiple components—the delicate mochi dough and the frozen ice cream filling. But don’t worry. With the right approach, a little patience, and some simple ingredients, you’ll be making your own mochi ice cream in no time.
This recipe is designed to be easy and approachable, perfect for beginners and experienced home cooks alike. It breaks everything down step by step, so you can confidently create these chewy, ice-cold treats in your own kitchen. Plus, homemade mochi ice cream means you get to customize it however you like. Want matcha-flavored mochi with vanilla ice cream? Done. Prefer chocolate mochi with strawberry ice cream? Go for it. The possibilities are endless.
And let’s not forget the fun factor. There’s something truly enjoyable about wrapping soft mochi around a frozen ball of ice cream. It’s a hands-on process that’s surprisingly therapeutic, and the end result is a dessert that feels special every single time.
So, if you’re ready to dive into the world of homemade mochi ice cream, keep reading. This guide will walk you through everything you need to know, from ingredients to storage tips. By the end, you’ll have a batch of perfectly chewy, creamy mochi ice cream that you can proudly say you made yourself.
Why You’ll Love This Recipe
There are so many reasons to love homemade mochi ice cream. Whether you’re new to making it or a longtime fan of this Japanese treat, here’s why this recipe is a must-try:
- Easier Than You Think – While it looks impressive, making mochi ice cream at home is simpler than you’d expect. The dough comes together quickly with just a few ingredients, and the rolling and wrapping process becomes easier with a little practice.
- Customizable Flavors – Unlike store-bought versions, homemade mochi ice cream allows you to mix and match flavors however you like. You can experiment with different ice cream flavors, add extracts to the mochi dough, or even try unique fillings like red bean paste or Nutella.
- Naturally Gluten-Free – Mochi is made with glutinous rice flour, which, despite the name, contains no gluten. That makes this a great dessert option for those with gluten sensitivities.
- Chewy and Creamy Texture – The contrast between the soft, slightly sticky mochi and the smooth, cold ice cream is what makes this dessert so irresistible. Each bite is a perfect balance of textures.
- Impresses Everyone – Whether you’re making mochi ice cream for a family gathering, a dinner party, or just for fun, it’s guaranteed to impress. Most people assume it’s difficult to make, so when you serve a homemade batch, you’ll get plenty of “Wow, you made this?” moments.
- A Fun and Hands-On Process – If you enjoy baking or working with dough, you’ll love making mochi. Rolling out the mochi, cutting circles, and wrapping them around ice cream balls is a satisfying, tactile experience. Plus, it’s a great activity to do with kids.
Health Benefits
While mochi ice cream is undoubtedly a treat, it does have some benefits that make it a better choice than many other desserts.
- Lower in Fat than Traditional Ice Cream Treats – Since mochi ice cream consists of a thin layer of dough wrapped around a small scoop of ice cream, each serving contains less ice cream than a standard scoop. This means lower overall fat and calorie content per piece.
- Made with Simple, Natural Ingredients – When you make mochi ice cream at home, you control what goes into it. Unlike store-bought versions, which may contain preservatives or artificial flavors, homemade mochi is made with just a few pantry staples.
- Rich in Energy-Boosting Carbohydrates – Mochi is made from glutinous rice flour, which is a great source of carbohydrates. This makes mochi ice cream a quick energy booster, perfect for an afternoon treat.
Preparation Time, Servings, and Nutritional Information
- Total Time: 2 hours (including freezing time)
- Active Time: 45 minutes
- Servings: 8 mochi ice cream pieces
Nutritional Information (Per Piece, Approximate)
- Calories: 120-150
- Carbohydrates: 25g
- Protein: 2g
- Fat: 2-5g (varies depending on the ice cream used)
Ingredients List
For the Mochi Dough:
- 1 cup glutinous rice flour (Mochiko or Shiratamako)
- ¼ cup granulated sugar
- 2 tablespoons powdered sugar
- 1 cup water
- ½ teaspoon vanilla extract (optional)
- Food coloring (optional)
- Cornstarch or potato starch (for dusting)
For the Filling:
- 1 pint ice cream of choice, pre-scooped and frozen
Step-By-Step Cooking Instructions
Step 1: Freeze Ice Cream Balls
Before you start making the mochi dough, you’ll need to prepare the ice cream filling.
- Line a baking sheet with parchment paper.
- Scoop small balls of ice cream (about 1 to 1.5 inches in diameter) and place them on the tray.
- Flatten the bottoms slightly so they sit evenly.
- Freeze for at least 1 hour until they are completely solid.
Step 2: Prepare the Mochi Dough
- In a microwave-safe bowl, whisk together the glutinous rice flour, granulated sugar, and powdered sugar until well combined.
- Add the water and stir until you get a smooth batter. If using food coloring, add a few drops and mix well.
- Cover the bowl with plastic wrap, leaving a small opening for steam to escape.
- Microwave on high for 1 minute.
- Remove and stir with a wet spatula. The mixture should start to look thicker.
- Microwave again for 1 more minute. Stir again.
- Microwave for a final 30 seconds to 1 minute, until the dough is shiny, stretchy, and slightly translucent.
Step 3: Roll Out the Mochi
- Dust a clean work surface with cornstarch or potato starch.
- Transfer the hot mochi dough onto the surface and dust the top with more starch to prevent sticking.
- Roll the dough into a thin, even layer about ¼-inch thick.
- Let the dough cool for about 30 minutes.
Step 4: Cut and Wrap the Mochi Ice Cream
- Use a round cutter (or a small bowl) to cut circles from the dough.
- Place a frozen ice cream ball in the center of each circle.
- Carefully wrap the mochi around the ice cream, pinching the edges together to seal.
- Wrap each mochi ice cream in plastic wrap and freeze for at least 1 hour.
Step 5: Serve and Enjoy
- Remove from the freezer a few minutes before serving to allow the mochi to soften slightly.
- Dust off any excess starch and enjoy your homemade mochi ice cream.
The remaining sections will cover serving ideas, pairing suggestions, storage tips, common mistakes, and pro tips.
How to Serve
Mochi ice cream is a treat that can be enjoyed in many different ways, whether as a quick snack, an elegant dessert, or a fun addition to a party spread. Here are some of the best ways to serve it:
- On Its Own – The simplest and most traditional way to enjoy mochi ice cream is just as it is. Take it out of the freezer, let it sit for a couple of minutes to soften slightly, and enjoy the chewy, creamy goodness.
- With a Drizzle of Sauce – Add a little extra indulgence by drizzling some chocolate syrup, caramel sauce, or honey over the top. A light dusting of powdered sugar or matcha powder also makes for a beautiful presentation.
- Paired with Fresh Fruit – Serve mochi ice cream alongside fresh berries, mango slices, or banana for a refreshing contrast. The combination of fresh fruit and sweet mochi ice cream creates a balanced and visually appealing dessert.
- On a Dessert Platter – If you’re hosting guests, arrange different flavors of mochi ice cream on a wooden board with fresh fruit, nuts, and small cookies. It makes for a beautiful, colorful dessert platter that’s easy to share.
Pairing Suggestions
Mochi ice cream pairs well with a variety of beverages and complementary flavors. Here are some delicious pairing ideas to enhance your mochi experience:
Beverage Pairings
- Green Tea – The slightly bitter, earthy notes of green tea (especially matcha or sencha) contrast beautifully with the sweetness of mochi ice cream. This is a classic combination in Japan.
- Milk or Bubble Tea – A cold glass of milk or a creamy bubble tea (like taro, matcha, or Thai tea) pairs perfectly with mochi ice cream and makes for a satisfying treat.
- Coffee or Espresso – The boldness of coffee complements the delicate sweetness of mochi ice cream. Try pairing it with an espresso shot or a latte.
Dessert Pairings
- Japanese Cheesecake – Light and fluffy Japanese cheesecake pairs beautifully with mochi ice cream for an elegant dessert plate.
- Dorayaki (Japanese Pancakes) – These fluffy pancakes filled with sweet red bean paste offer a lovely contrast to the smooth, creamy ice cream inside the mochi.
- Taiyaki – This fish-shaped pastry filled with custard, red bean, or Nutella is a fun addition to a mochi ice cream dessert spread.
Storage, Freezing & Reheating Instructions
Homemade mochi ice cream stores well in the freezer, but proper storage is key to maintaining its texture and preventing it from getting too hard or too sticky.
Storage Tips
- Wrap Individually – Each piece of mochi ice cream should be wrapped tightly in plastic wrap to prevent freezer burn and maintain its chewiness.
- Use an Airtight Container – After wrapping each piece, place them in an airtight container or freezer-safe bag to keep them fresh.
- Label and Date – Mochi ice cream can last up to 3 months in the freezer, but for the best texture and flavor, try to consume it within 4-6 weeks.
Freezing Instructions
- If you’re making a large batch, place freshly assembled mochi ice cream on a baking sheet in a single layer and freeze for about 30 minutes before wrapping them individually.
- Once frozen solid, transfer them to a container for long-term storage.
How to Serve After Freezing
- Remove the mochi ice cream from the freezer and let it sit at room temperature for 3-5 minutes before eating. This softens the mochi and brings back its chewy texture.
- If the mochi is too hard, wrap it in a damp paper towel and microwave for 5-7 seconds on low power. This can help bring back its elasticity without melting the ice cream inside.
Common Mistakes to Avoid
Even though mochi ice cream is relatively easy to make, a few common mistakes can affect the final result. Here’s what to watch out for:
- Not Freezing the Ice Cream Long Enough – If the ice cream balls aren’t frozen solid, they’ll melt too quickly when you wrap them in mochi dough, making assembly difficult.
- Using Too Much Starch – While starch prevents sticking, using too much can make the mochi taste powdery. Be sure to brush off excess starch before serving.
- Rolling the Dough Too Thick or Too Thin – Thick dough makes the mochi too chewy, while thin dough can tear when wrapping. Aim for about ¼-inch thickness.
- Overcooking the Mochi Dough – If microwaved too long, the dough becomes too stiff and hard to work with. Microwave in short bursts and stir frequently.
- Not Sealing the Mochi Properly – If the edges aren’t pinched together well, the mochi can open up in the freezer. Make sure to seal it tightly before freezing.
Pro Tips
Want to make your mochi ice cream even better? Here are some expert tips:
- Keep Your Hands Cold – When handling ice cream, wear gloves or dip your hands in ice water to prevent melting.
- Work Quickly – Assemble the mochi ice cream as fast as possible to prevent the ice cream from melting before sealing the dough.
- Use Different Ice Cream Flavors – Try using flavors like green tea, red bean, black sesame, or cookies and cream for variety.
- Add Flavor to the Dough – Matcha powder, cocoa powder, or fruit puree can be mixed into the mochi dough for extra flavor.
- Use a Dumpling Mold – If shaping mochi by hand is tricky, use a dumpling mold to help create uniform shapes.
Frequently Asked Questions (FAQs)
Can I use regular rice flour instead of glutinous rice flour?
No, regular rice flour will not give the chewy texture needed for mochi. You must use glutinous rice flour (Mochiko or Shiratamako).
Can I make mochi ice cream dairy-free?
Yes! Use dairy-free ice cream alternatives like coconut, almond, or oat milk ice cream.
How do I keep my mochi soft?
Make sure to store it properly by wrapping it well and keeping it in an airtight container. Let it sit at room temperature before eating to regain its chewiness.
Why is my mochi cracking?
The dough may be too dry or too cold. Make sure to knead it well and let it rest before wrapping the ice cream.
Conclusion & Call to Action
Now that you know how to make mochi ice cream from scratch, it’s time to give it a try. Whether you stick to classic flavors or experiment with new combinations, making mochi ice cream at home is a rewarding and fun experience.
Try out this recipe and share your creations! Let us know in the comments what flavors you used, and don’t forget to tag your homemade mochi ice cream on social media. Enjoy!
Print
Homemade Mochi Ice Cream
- Total Time: 2 hours (including freezing)
- Yield: 8 mochi ice cream pieces 1x
- Diet: Gluten Free
Description
This homemade mochi ice cream recipe features a soft and chewy glutinous rice dough wrapped around creamy ice cream. It’s easy to make, customizable, and naturally gluten-free!
Ingredients
- For the Mochi Dough:
- 1 cup glutinous rice flour (Mochiko)
- ¼ cup granulated sugar
- 2 tablespoons powdered sugar
- 1 cup water
- Cornstarch or potato starch (for dusting)
- Food coloring (optional)
- For the Filling:
- 1 pint ice cream of choice (pre-scooped and frozen)
Instructions
- Freeze Ice Cream: Scoop small balls of ice cream onto a parchment-lined tray. Freeze for at least 1 hour.
- Make the Mochi Dough: Mix glutinous rice flour, sugar, and water in a microwave-safe bowl. Microwave in intervals, stirring, until thick and sticky.
- Roll and Cut: Dust a surface with cornstarch, roll out the dough to ¼-inch thickness, and cut into circles.
- Assemble: Place frozen ice cream in the center of each circle, wrap, and pinch to seal. Wrap in plastic and freeze for another hour.
- Serve: Let sit for a few minutes before eating for the perfect chewy texture.
Notes
- Use cornstarch to prevent sticking.
- Matcha, cocoa, or fruit puree can be added to the dough for extra flavor.
- Work quickly to prevent the ice cream from melting.
- Prep Time: 45 minutes
- Cook Time: 5 minutes
- Category: Dessert
- Method: Freezing, Microwave
- Cuisine: Japanese