
Homemade Rainbow Sherbet is an amazing way to cool down during hot summer days. This delightful treat will excite your taste buds with its bright colors and refreshing flavors. Each scoop is a special blend of fruitiness that brings a joyful experience to any occasion. Whether you’re serving it at a family gathering, birthday party, or as an after-dinner indulgence, this vibrant sherbet is sure to impress. Imagine sharing the deliciousness of Rainbow Sherbet with friends and family, and witnessing their smiles as they savor every bite.
If you’ve ever enjoyed the sweet and tangy essence of Rainbow Sherbet, you’ll understand why this recipe is worth making at home. It’s not just about a dessert; it’s about creating cherished memories with loved ones. As you embark on this culinary adventure, you’ll discover how easy and fulfilling it can be to whip up your own homemade version. The vibrant hues along with the incredibly refreshing flavor profile make it a standout treat that anyone can enjoy. Let’s explore why this homemade Rainbow Sherbet recipe is truly special and how you can create it in your own kitchen.
Why You’ll Love This Recipe
Homemade Rainbow Sherbet offers numerous reasons to fall in love with it! Each characteristic contributes to making this dessert not only delicious but also an enjoyable experience. Here are some reasons why you’ll adore this recipe:
1. Natural Ingredients: Made with fresh fruit, there are no artificial flavors or colors.
2. Customizable Flavors: You can easily adjust the flavors to suit your taste or dietary preferences.
3. Easy to Make: The straightforward steps allow both novice and experienced cooks to create it effortlessly.
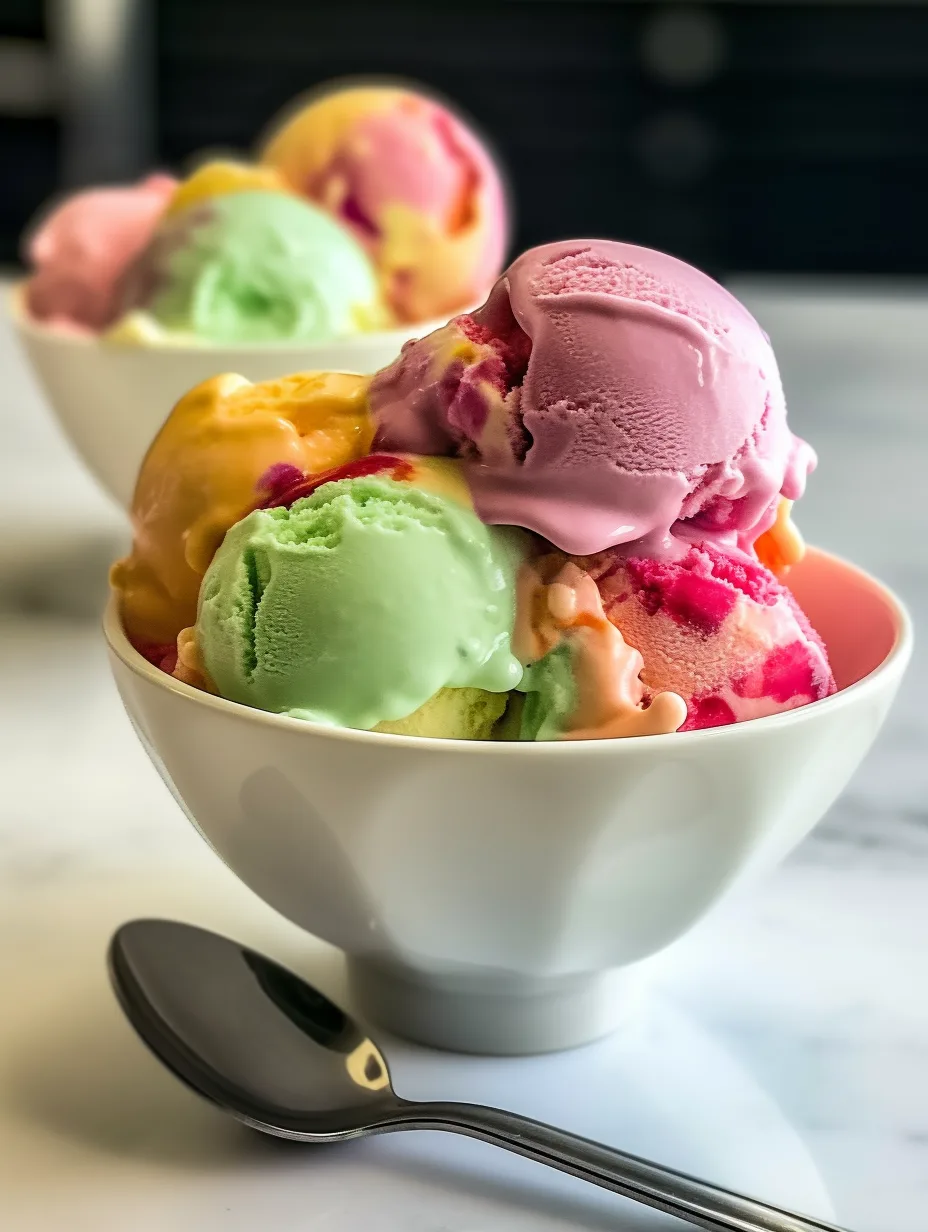
4. Visually Stunning: The bright, colorful layers are a feast for the eyes.
5. Perfect for Everyone: Whether you’re a fruit lover or have dietary restrictions, this treat can cater to all.
6. Refreshing and Light: Unlike many heavy desserts, this sherbet is light and serves as a perfect palate cleanser.
With these appealing aspects in mind, it’s easy to see why homemade Rainbow Sherbet is a favorite among dessert lovers.
Preparation and Cooking Time
When planning to make homemade Rainbow Sherbet, consider the total time needed for preparation and freezing. Here’s a breakdown of the time required:
– Preparation Time: 15-20 minutes
– Freezing Time: 4-6 hours (or overnight for best results)
– Total Time: Approximately 4-6 hours plus prep time
These times may vary slightly depending on your kitchen equipment, but you can achieve delicious results with this basic estimate.
Ingredients
– 1 ½ cups fresh fruit puree (such as strawberries, oranges, and blueberries)
– 1 cup granulated sugar
– 2 cups whole milk
– 1 cup heavy cream
– 2 tablespoons fresh lemon juice
– 1 teaspoon vanilla extract
– Pinch of salt
– Food coloring (optional for additional vibrancy)
Step-by-Step Instructions
Creating homemade Rainbow Sherbet can be straightforward if you follow these clear steps:
1. Prepare the Fruit Puree: Start by washing and chopping your chosen fruits. Blend them until smooth, then strain to remove seeds if necessary.
2. Make the Base: In a mixing bowl, combine the freshly blended fruit puree, milk, heavy cream, sugar, lemon juice, vanilla extract, and a pinch of salt. Mix until well combined.
3. Separate the Mixture: Split the mixture into equal parts based on how many flavors/colors you want. You can use three or more batches for a vibrant rainbow effect.
4. Add Colors: If desired, add food coloring to each portion to enhance the visual appeal. Stir until you achieve the preferred shades.
5. Layering the Sherbet: In a freezer-safe container, start layering the colors. Pour one layer in at a time, ensuring to freeze each layer slightly before adding the next to maintain distinct colors.
6. Freeze: Cover the container with a lid or plastic wrap. Freeze the sherbet for at least 4-6 hours, or until it’s firm.
7. Serve: Once frozen solid, use an ice cream scoop to serve. If too hard, let it sit at room temperature for a few minutes before scooping.
These steps will guide you in creating incredible homemade Rainbow Sherbet that everyone will love!
How to Serve
To present your homemade Rainbow Sherbet in a spectacular way, consider the following serving tips:
1. Presentation: Scoop the sherbet into colorful bowls or cones to match its vibrant hues. Consider using glass serving dishes to showcase the layers visually.
2. Accompaniments: Serve with fresh fruit slices or a drizzle of chocolate syrup for added taste and appeal.
3. Garnish Options: Top with mint leaves or sprinkles to enhance the dessert’s visual appeal. A whipped topping also pairs wonderfully.
4. Beverage Pairings: This sherbet pairs well with refreshing drinks like lemonade or iced tea, completing the summer experience.
By focusing on presentation and accompaniments, you can elevate the enjoyment of your homemade Rainbow Sherbet, making it a memorable treat for everyone!
Additional Tips
– Use Fresh Fruits: For vibrant flavor, opt for ripe, seasonal fruits when making your puree. The fresher the fruits, the tastier the sherbet!
– Experiment with Herbs: Adding fresh herbs like mint or basil to your fruit puree can elevate the flavor and provide an unexpected twist.
– Adjust Sweetness: Depending on your fruit’s natural sweetness, you may want to adjust the amount of sugar in the base mixture to taste.
– Non-Dairy Option: Substitute the whole milk and heavy cream with coconut milk or almond milk for a dairy-free version of this delicious dessert.
– Serve with a Twist: Get creative by adding a splash of your favorite liqueur to the mixture before freezing for a fun adult version of sherbet.
Recipe Variation
Mix things up with these exciting variations of Homemade Rainbow Sherbet:
1. Tropical Twist: Use purees made from pineapple, mango, and coconut for a tropical version that will remind you of paradise.
2. Berry Blast: Instead of the standard fruits, use raspberries, blackberries, and strawberries for a berry-infused sherbet that packs a punch.
3. Citrus Delight: Combine key lime, lemon, and orange puree for a refreshingly tart and tangy sherbet.
4. Chocolate Swirl: Add a layer of chocolate ganache between the fruity layers for a rich, decadent contrast to the fruity flavors.
Freezing and Storage
– Storage: To keep your homemade Rainbow Sherbet fresh, store it in an airtight container. It can last up to 2 weeks in the freezer.
– Avoid Freezer Burn: Ensure the container is well sealed. Placing a piece of parchment paper directly on the surface can help prevent freezer burn.
– Thawing: If the sherbet is too hard to scoop, let it sit at room temperature for 5-10 minutes. This makes it easier to serve.
Special Equipment
To make your homemade Rainbow Sherbet, you’ll need a few essential tools:
– High-Speed Blender or Food Processor: For pureeing fruits smoothly.
– Mixing Bowls: To combine the fruit purees and the base mixture.
– Freezer-Safe Container: To store the layers of sherbet while freezing.
– Spatula: For scooping and layering the mixtures.
– Measuring Cups and Spoons: For accurate ingredient measurements to ensure success.
Frequently Asked Questions
Can I use frozen fruits instead of fresh?
Yes, frozen fruits work well! Just let them thaw slightly before blending.
How long can I leave the mixtures in the freezer?
You can leave the sherbet in the freezer for up to 2 weeks. After that, it may start to lose texture and flavor.
Can children help with this recipe?
Absolutely! Kids can assist in measuring ingredients, blending fruit, and layering the sherbet, making it a fun family activity.
What toppings pair well with Rainbow Sherbet?
Consider serving with whipped cream, fresh berries, or even chocolate drizzle for added flavor and presentations.
Is this recipe vegan-friendly?
To make it vegan, you can swap out regular milk and cream for plant-based alternatives like coconut milk or almond milk. Be mindful of sugar types as well.
Conclusion
Homemade Rainbow Sherbet is not only a scrumptious treat but also a creative opportunity for family fun in the kitchen. Its natural fruit flavors combined with the vibrant colors make it perfect for any celebration or a simple summer dessert. With endless possibilities for flavors and easy-to-follow steps, you can whip up this delightful sherbet and create lasting memories while sharing it with friends and family.

Homemade Rainbow Sherbet: An Incredible Ultimate Recipe
- Total Time: 15 minutes
Ingredients
– 1 ½ cups fresh fruit puree (such as strawberries, oranges, and blueberries)
– 1 cup granulated sugar
– 2 cups whole milk
– 1 cup heavy cream
– 2 tablespoons fresh lemon juice
– 1 teaspoon vanilla extract
– Pinch of salt
– Food coloring (optional for additional vibrancy)
Instructions
Creating homemade Rainbow Sherbet can be straightforward if you follow these clear steps:
1. Prepare the Fruit Puree: Start by washing and chopping your chosen fruits. Blend them until smooth, then strain to remove seeds if necessary.
2. Make the Base: In a mixing bowl, combine the freshly blended fruit puree, milk, heavy cream, sugar, lemon juice, vanilla extract, and a pinch of salt. Mix until well combined.
3. Separate the Mixture: Split the mixture into equal parts based on how many flavors/colors you want. You can use three or more batches for a vibrant rainbow effect.
4. Add Colors: If desired, add food coloring to each portion to enhance the visual appeal. Stir until you achieve the preferred shades.
5. Layering the Sherbet: In a freezer-safe container, start layering the colors. Pour one layer in at a time, ensuring to freeze each layer slightly before adding the next to maintain distinct colors.
6. Freeze: Cover the container with a lid or plastic wrap. Freeze the sherbet for at least 4-6 hours, or until it’s firm.
7. Serve: Once frozen solid, use an ice cream scoop to serve. If too hard, let it sit at room temperature for a few minutes before scooping.
These steps will guide you in creating incredible homemade Rainbow Sherbet that everyone will love!
- Prep Time: 15 minutes
- Cook Time: 0 minutes
Nutrition
- Serving Size: 8 servings
- Calories: 150 kcal
- Fat: 5g
- Protein: 3g