
Mini Grilled Cheese is an incredible twist on the classic comfort food that everyone loves. These little cheesy delights are perfect for parties, snack time, or even a cozy night in. The beauty of Mini Grilled Cheese lies in its simplicity and versatility, allowing you to customize each bite to your liking. Whether you prefer a classic cheese blend or want to jazz it up with additional ingredients, this recipe opens up a world of flavor possibilities.
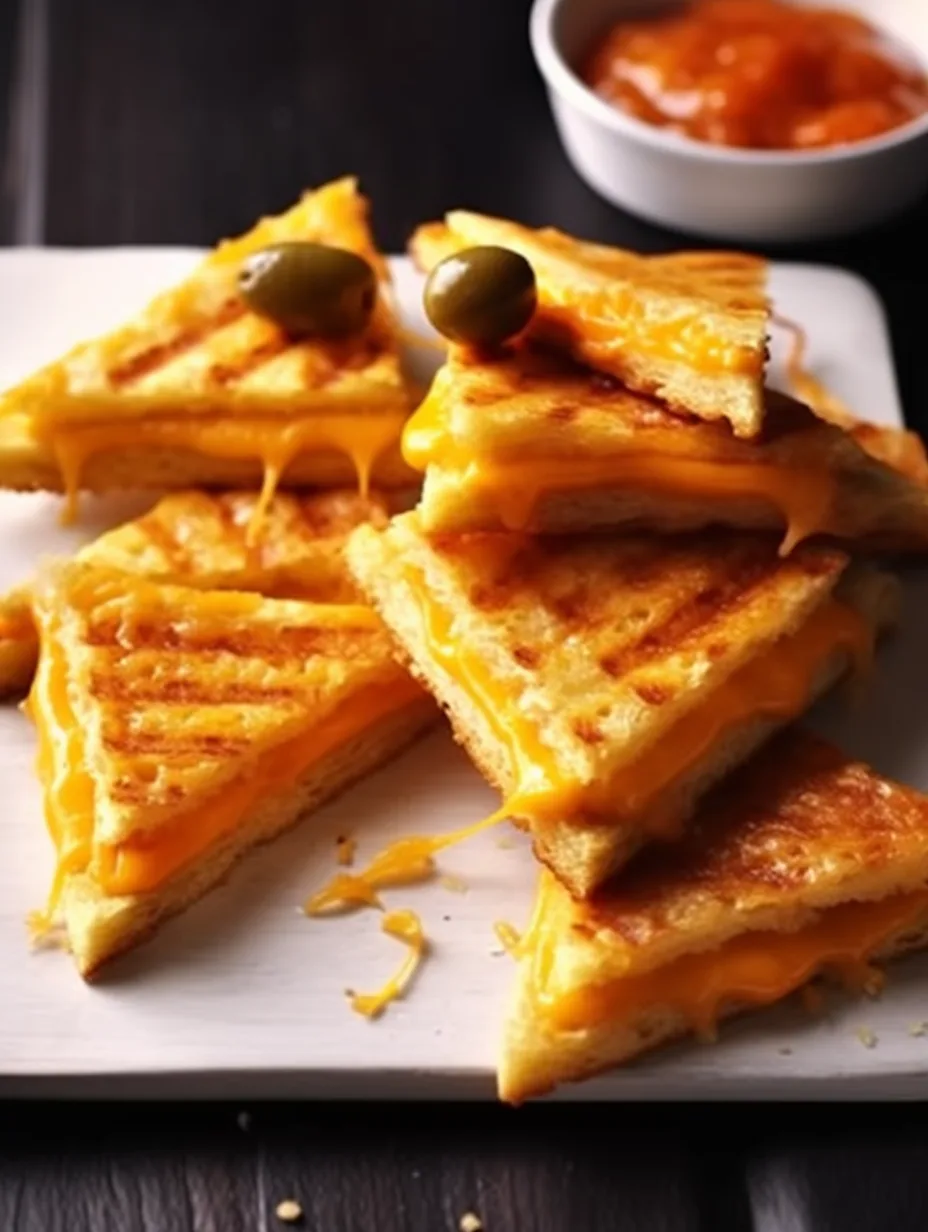
Imagine sinking your teeth into a perfectly crispy, buttery slice, oozing with gooey melted cheese inside. A bite-sized version makes it even better, offering the ideal balance of crunch and creaminess. Mini Grilled Cheese not only satisfies your cravings but also brings people together, making them an irresistible treat for gatherings. If you’re ready to elevate your snacking game, this guide will walk you through the steps to create these delectable delights.
Each mini sandwich is a treasure of flavor, and the best part is that you can easily prepare them in no time. With a few simple ingredients and straightforward instructions, you’ll be well on your way to creating a platter that impresses your family and friends. Whether served as an appetizer or paired with a bowl of tomato soup, Mini Grilled Cheese is a delightful snack option that everyone will adore.
Why settle for ordinary when you can create extraordinary moments with Mini Grilled Cheese? Let’s dive into everything you need to know about this amazing recipe and get cooking!
Why You’ll Love This Recipe
There are countless reasons to fall in love with Mini Grilled Cheese. Whether you’re a cheese aficionado or just someone looking for a delicious snack, this recipe ticks all the boxes. Here are a few highlights that make this dish stand out:
1. Quick and Easy: This recipe comes together in minutes, making it perfect for busy weeknights or last-minute gatherings.
2. Variety of Flavors: You can mix and match cheeses, adding ingredients like tomatoes, bacon, or herbs for unique flavor profiles.
3. Perfect for Sharing: Mini portions are perfect for sharing, allowing everyone to try different variations.
4. Kid-Friendly: Even picky eaters adore these bite-sized sandwiches, making it a great addition to any family meal.
5. Customizable: Adjust ingredients to accommodate dietary restrictions, such as gluten-free bread or vegan cheese.
Mini Grilled Cheese opens up endless possibilities. From simple cheese to gourmet combinations, every bite is a little piece of heaven. Get ready to impress your guests and satisfy your cravings all at once!
Preparation and Cooking Time
Preparing Mini Grilled Cheese doesn’t take much time at all. Here’s a breakdown of what to expect in terms of time commitment:
– Preparation Time: 10 minutes
– Cooking Time: 10-15 minutes
– Total Time: 20-25 minutes
This quick turnaround means you won’t be waiting long to enjoy these delightful miniatures, making it ideal for any occasion!
Ingredients
– 8 slices of bread (white, whole wheat, or gluten-free)
– 8 ounces of cheese (cheddar, mozzarella, or your choice)
– 4 tablespoons of unsalted butter
– Optional fillings: sliced tomatoes, cooked bacon, or fresh herbs
Step-by-Step Instructions
Creating these delightful Mini Grilled Cheese sandwiches is simple! Just follow these easy steps:
1. Prepare the Ingredients: Gather all your ingredients. Slice the cheese if necessary.
2. Butter the Bread: Spread butter on one side of each slice of bread.
3. Assemble the Sandwiches: On the unbuttered side of four slices, place a layer of cheese. Add any optional fillings if desired. Top with the remaining slices, butter side facing out.
4. Preheat the Pan: Heat a skillet or griddle over medium heat.
5. Cook the Sandwiches: Place the assembled sandwiches in the skillet. Cook for 3-4 minutes until golden brown.
6. Flip: Carefully flip the sandwiches using a spatula, and cook the other side for another 3-4 minutes or until golden and the cheese has melted.
7. Remove from Heat: Transfer the sandwiches to a cutting board. Let them cool slightly before slicing into smaller pieces.
8. Repeat: Continue the process with any remaining sandwiches.
9. Serve Immediately: Enjoy your Mini Grilled Cheese while they are warm!
Each step ensures that your mini sandwiches turn out crispy and full of melty cheese goodness. The options for customization are plenty!
How to Serve
Serving Mini Grilled Cheese can be just as fun as making them! Here are some ideas to elevate your serving game:
1. Presentation: Arrange the mini sandwiches on a large platter with a side of dipping sauces, such as marinara or ranch.
2. Dipping Sauces: Offer a selection of sauces for dipping, making it interactive and engaging for your guests.
3. Garnish: Add fresh herbs or sprinkle with freshly cracked pepper for an elevated touch.
4. Pairing: Serve alongside bowl of tomato soup or a fresh salad for a complete meal.
5. Creative Combinations: Have fun mixing cheeses and fillings to create a small bar where guests can select their favorites.
With these serving tips, your Mini Grilled Cheese will not only taste amazing but also look visually appealing. Enjoy the smiles and compliments from your family and friends as they savor each delicious bite!
Additional Tips
– Choose the Right Bread: Experiment with different types of bread, like sourdough, ciabatta, or rye, for unique flavor profiles.
– Use a Mixture of Cheeses: Combining different cheeses, like cheddar, gouda, and fontina, can enhance the richness of your Mini Grilled Cheese.
– Grill Evenly: To achieve even cooking, press down gently on the sandwiches with a spatula during grilling, ensuring they toast perfectly on each side.
– Don’t Rush the Cooking: Cooking over medium heat helps prevent burning and ensures the cheese melts perfectly.
Recipe Variation
Explore these delightful variations to add some twist to your Mini Grilled Cheese!
1. Gluten-Free Version: Use gluten-free bread and cheese to accommodate dietary restrictions without compromising taste.
2. Add Sweet Elements: Consider pairing your grilled cheese with fruit like apple slices or pear to contrast the savory cheese flavor.
3. Spicy Kick: Add sliced jalapeños or sriracha sauce to kick up the heat for those who love a spicy flavor profile.
4. Herb Infused: Mix fresh herbs like basil or dill into your cheese melt for an aromatic touch that elevates the flavor.
Freezing and Storage
– Storage: Mini Grilled Cheese can be stored in an airtight container in the refrigerator for up to 3 days, maintaining their flavor and texture.
– Freezing: For longer storage, freeze the assembled but uncooked sandwiches. Wrap each in plastic wrap then in aluminum foil, and they can last up to 1 month. Just reheat on a skillet or bake after thawing.
Special Equipment
To make your Mini Grilled Cheese with ease, you might need the following equipment:
– Skillet or Griddle: For evenly toasting the sandwiches.
– Spatula: To flip the sandwiches without losing any filling.
– Cutting Board: To slice your sandwiches after they’re cooked.
– Sharp Knife: For cutting the sandwiches into bite-sized pieces.
Frequently Asked Questions
Can I use different types of cheese?
Yes! Mini Grilled Cheese is incredibly versatile, and you can use any variety of cheese that melts well.
What can I serve with Mini Grilled Cheese?
These delicious bites pair perfectly with tomato soup, marinara sauce, or even a side salad for a lighter meal.
How can I make them vegan?
Use vegan cheese and dairy-free butter as substitutes. There are many great plant-based options available.
Can I make Mini Grilled Cheese ahead of time?
While it’s best to enjoy them fresh, you can prepare the sandwiches in advance and refrigerate them. Just grill them right before serving.
What is the best way to reheat leftover Mini Grilled Cheese?
Reheat them in a skillet over low heat to ensure they don’t get soggy while the cheese melts back to gooey perfection.
Conclusion
Mini Grilled Cheese sandwiches are a delightful twist on a beloved classic. They’re not only quick and easy to make, but they also allow for endless variations and options. Whether for a cozy evening or a lively gathering, these tiny treats will certainly impress. With a little creativity and simple techniques, you can elevate this snack into a culinary adventure that everyone will love. Gather your ingredients, unleash your inner chef, and enjoy the magic of Mini Grilled Cheese!

Mini Grilled Cheese: The Ultimate Amazing Recipe for Everyone
- Total Time: 20 minute
Ingredients
– 8 slices of bread (white, whole wheat, or gluten-free)
– 8 ounces of cheese (cheddar, mozzarella, or your choice)
– 4 tablespoons of unsalted butter
– Optional fillings: sliced tomatoes, cooked bacon, or fresh herbs
Instructions
Creating these delightful Mini Grilled Cheese sandwiches is simple! Just follow these easy steps:
1. Prepare the Ingredients: Gather all your ingredients. Slice the cheese if necessary.
2. Butter the Bread: Spread butter on one side of each slice of bread.
3. Assemble the Sandwiches: On the unbuttered side of four slices, place a layer of cheese. Add any optional fillings if desired. Top with the remaining slices, butter side facing out.
4. Preheat the Pan: Heat a skillet or griddle over medium heat.
5. Cook the Sandwiches: Place the assembled sandwiches in the skillet. Cook for 3-4 minutes until golden brown.
6. Flip: Carefully flip the sandwiches using a spatula, and cook the other side for another 3-4 minutes or until golden and the cheese has melted.
7. Remove from Heat: Transfer the sandwiches to a cutting board. Let them cool slightly before slicing into smaller pieces.
8. Repeat: Continue the process with any remaining sandwiches.
9. Serve Immediately: Enjoy your Mini Grilled Cheese while they are warm!
Each step ensures that your mini sandwiches turn out crispy and full of melty cheese goodness. The options for customization are plenty!
- Prep Time: 15 minutes
- Cook Time: 10-15 minutes
Nutrition
- Serving Size: 4 mini sandwiches
- Calories: 250 kcal per serving
- Fat: 12g
- Protein: 10g