
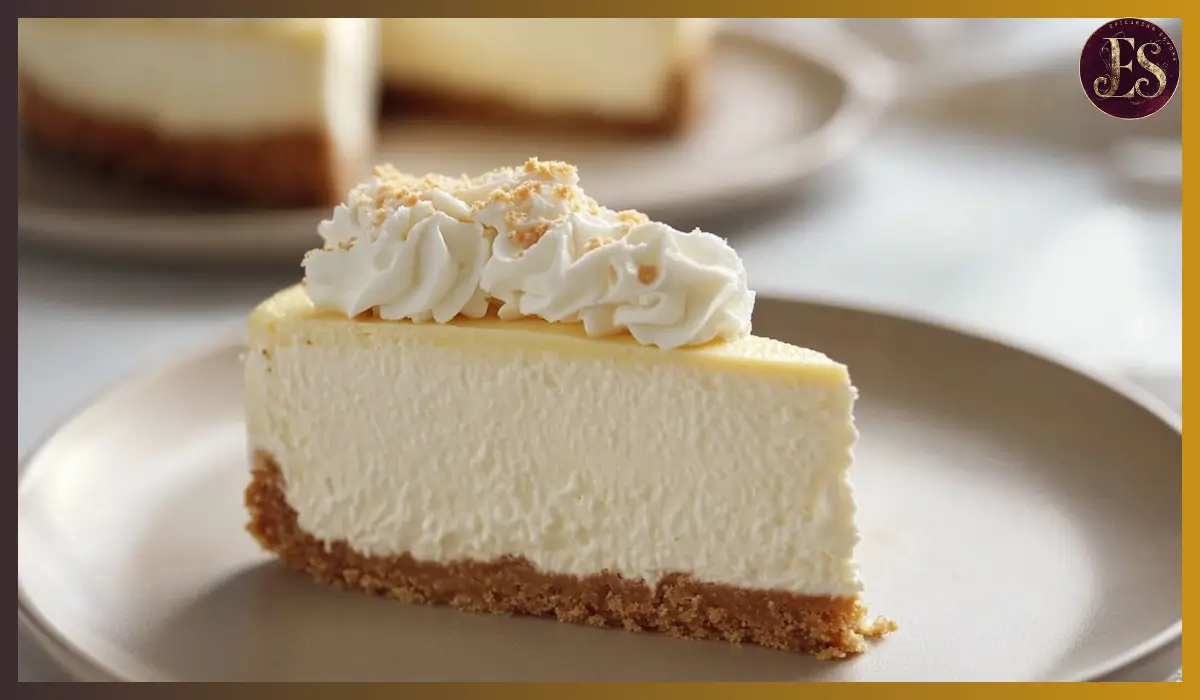
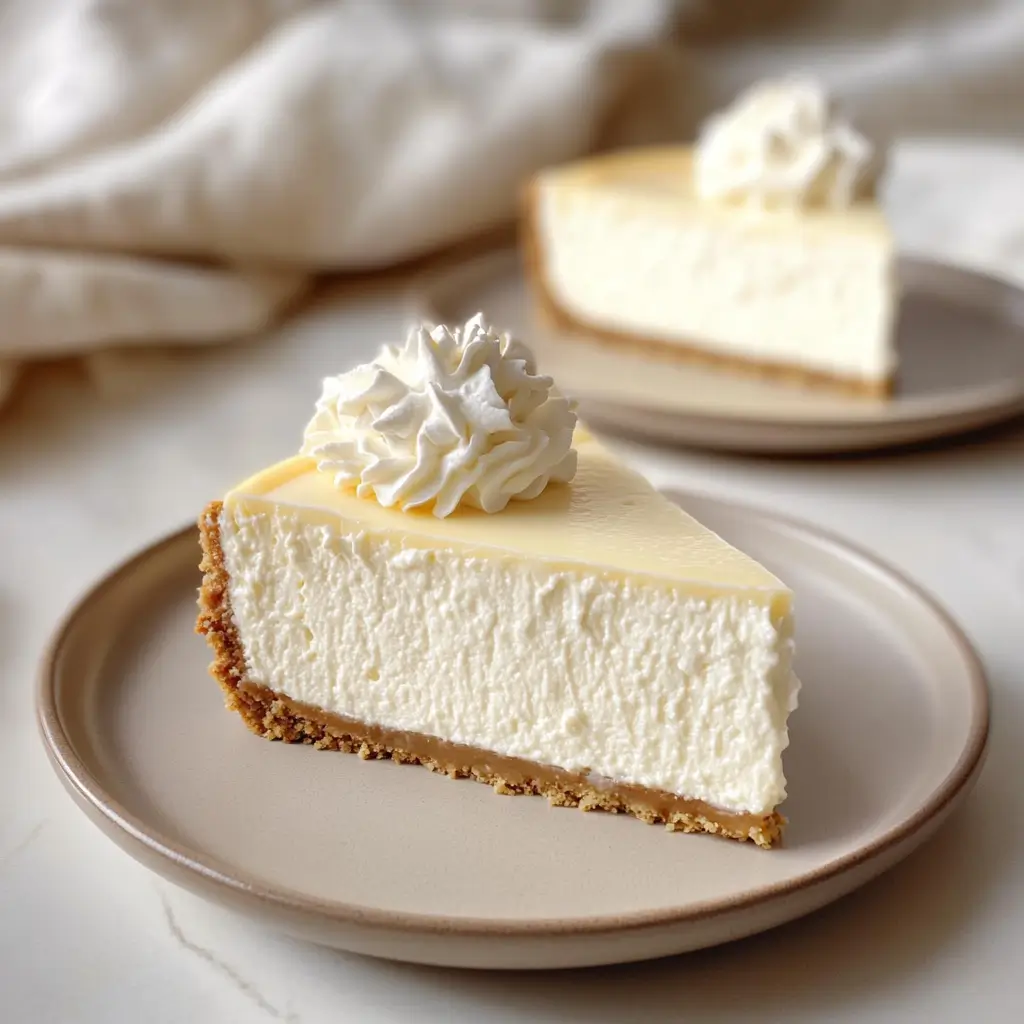
There’s something undeniably magical about cheesecake. It’s rich, smooth, and indulgent—like a luxurious bite of happiness that melts in your mouth. And when it comes to creating the perfect version of this classic dessert, New York-style cheesecake reigns supreme. This particular recipe by Zoha is more than just another cheesecake—it’s a carefully crafted dessert born from passion, experimentation, and an unwavering love for creamy, dreamy sweets.
What sets this New York Style Cheesecake apart is its impeccable balance of texture and flavor. It’s not overly sweet or dense. Instead, you get a velvety, melt-in-your-mouth interior with just enough tang to keep each bite interesting. The base is a crisp, buttery graham cracker crust that adds just the right amount of crunch to contrast the smooth filling. And perhaps the best part? You don’t need any fancy tools or hard-to-find ingredients. This recipe uses simple, straightforward steps and pantry staples, making it accessible even for beginner bakers.
For me, cheesecake has always been more than dessert—it’s a celebration. I remember baking my first New York-style cheesecake for a family gathering. I was nervous, of course, but the way everyone lit up after that first bite? Pure joy. Since then, I’ve made this exact recipe countless times, and it never disappoints. Whether you’re prepping for a holiday dinner, a birthday, or just treating yourself, this is the ultimate cheesecake experience.
Why You’ll Love This Recipe
This New York-style cheesecake isn’t just delicious—it’s a masterpiece of texture, flavor, and simplicity. Here’s why you’ll want to make it again and again:
1. Creamy, Dreamy Texture: The filling is incredibly smooth and luscious, thanks to full-fat cream cheese, sour cream, and a gentle baking process. It’s rich without being heavy and firm without feeling dry.
2. Perfectly Balanced Flavor: This cheesecake strikes a beautiful balance between sweet and tangy. The addition of lemon juice and sour cream keeps it bright and fresh-tasting, never cloying.
3. Easy-to-Follow Instructions: Even if you’re not a seasoned baker, you’ll find the process approachable. Each step is clearly laid out, and there’s no need for complicated techniques or obscure equipment.
4. No Fancy Toppings Needed: While you can absolutely dress it up with whipped cream or berries, this cheesecake is stunning all on its own. The flavor and texture truly shine without any extras.
5. Reliable Every Time: Once you understand the method, you’ll find this cheesecake is nearly foolproof. Follow the tips, and you’ll get perfect results every time.
Health Benefits
Okay, let’s be honest: cheesecake isn’t health food—but that doesn’t mean it can’t fit into a balanced lifestyle. When enjoyed in moderation, this dessert offers some nutritional perks worth noting:
1. Protein-Rich: Thanks to the full-fat cream cheese, sour cream, and eggs, each slice delivers a decent dose of protein, which helps you feel satisfied.
2. Fats for Satiety: The healthy fats from dairy make this dessert more filling than many sugary treats, reducing the urge to overindulge.
3. No Artificial Ingredients: This homemade version skips preservatives, artificial flavors, and additives commonly found in store-bought cheesecakes. You’re using real, whole ingredients.
4. Portion Control: Because this cheesecake is so rich, you naturally need a smaller serving to feel satisfied—another built-in check on overindulgence.
So while it’s definitely an indulgent dessert, it can absolutely be part of a joyful, balanced diet.
Preparation Time, Servings, and Nutritional Information
Total Time:
Preparation: 30 minutes
Baking: 75–80 minutes
Cooling & Chilling: Overnight (at least 6–8 hours)
Servings:
Makes 12 slices
Nutritional Information (per slice):
Calories: 430
Protein: 7g
Carbohydrates: 34g
Fat: 31g
Sugar: 22g
Ingredients List
Here’s everything you’ll need to create this show-stopping New York Style Cheesecake. Make sure to use room temperature ingredients for the best texture.
For the Crust:
- 2 cups graham cracker crumbs (or digestive biscuits)
- 2 tablespoons sugar
- ½ cup unsalted butter, melted
Why it matters: The crust adds structure and a satisfying crunch. Graham crackers provide that signature toasty-sweet base.
For the Filling:
- 4 blocks (8 oz each) full-fat cream cheese (room temperature)
- 1 cup granulated sugar
- ¼ teaspoon salt
- 1 tablespoon pure vanilla extract
- 4 large eggs (lightly whisked, room temperature)
- 1 cup sour cream (full-fat)
- ½ cup heavy cream
- 1 tablespoon lemon juice (freshly squeezed)
- 1 tablespoon cornstarch
Why these matter: Full-fat cream cheese and sour cream create that ultra-creamy texture. The lemon juice adds brightness, while cornstarch helps with structure without making the filling too firm.
Step-By-Step Cooking Instructions
Step 1: Preheat and Prepare Pan
Preheat your oven to 325°F (163°C). Wrap the bottom of a 9-inch springform pan tightly with heavy-duty foil to prevent water from seeping in during the water bath. Lightly grease the inside of the pan.
Step 2: Make the Crust
In a mixing bowl, combine graham cracker crumbs, sugar, and melted butter. Stir until the crumbs are evenly coated and the mixture resembles wet sand.
Pour into your prepared pan and use the bottom of a flat glass to press the crumbs firmly into the bottom. Bake the crust for 10 minutes, then let it cool while you prepare the filling.
Step 3: Mix the Cream Cheese Base
In a large mixing bowl, beat the cream cheese until smooth and creamy—about 2–3 minutes. Add sugar, salt, and vanilla. Beat again until the mixture is light and fluffy, scraping down the sides as needed.
Step 4: Add the Eggs
Add the lightly whisked eggs one at a time, mixing on low speed. Be gentle here—you don’t want to incorporate too much air, which can cause cracking. Mix just until combined.
Step 5: Finish the Batter
Add sour cream, heavy cream, lemon juice, and cornstarch. Fold gently with a spatula or mix on low speed until just combined. The batter should be smooth, creamy, and pourable.
Step 6: Pour and Smooth
Pour the cheesecake batter into the cooled crust. Tap the pan lightly on the counter to release any trapped air bubbles and smooth the top with a spatula.
Step 7: Prepare the Water Bath
Place the springform pan into a larger roasting pan. Carefully pour hot water into the roasting pan until it reaches halfway up the sides of the cheesecake pan. This creates a moist baking environment that prevents cracks.
Step 8: Bake the Cheesecake
Bake at 325°F for 75 to 80 minutes. The edges should be set, and the center should still jiggle slightly when nudged. Avoid opening the oven during baking.
Step 9: Cool Gradually
Once baked, turn off the oven and crack the door. Let the cheesecake sit inside for 1 hour. This gradual cooling helps prevent cracks. Then remove it from the oven and water bath. Let it cool to room temperature.
Step 10: Chill Overnight
Refrigerate the cheesecake, still in the pan, for at least 6 hours or ideally overnight. This step is crucial—it allows the flavors to develop and the texture to firm up.
Step 11: Serve and Enjoy
After chilling, run a knife around the edge of the pan, then gently remove the springform ring. Slice with a sharp, clean knife for best results.
How to Serve
There are so many beautiful ways to serve this cheesecake. Try one of these ideas:
- Keep it classic and serve plain. The rich flavor stands on its own.
- Add a dollop of unsweetened whipped cream for a light, airy contrast.
- Top with fresh berries or a berry compote.
- Drizzle with a tangy raspberry or strawberry sauce.
- Add a spoonful of fruit jam or lemon curd for an extra burst of flavor.
Pairing Suggestions
To complement the richness of the cheesecake, try these pairing options:
Beverages:
- Herbal tea, like chamomile or mint
- Fresh lemonade or sparkling citrus water
- A glass of non-alcoholic sparkling cider
Side Treats:
- Light fruit salad with melon and berries
- Almond biscotti or butter cookies for a sweet crunch
- A handful of toasted nuts on the side
Storage, Freezing & Reheating Instructions
Storage:
Cover leftover cheesecake tightly with plastic wrap or store in an airtight container in the refrigerator. It will stay fresh for up to 5 days.
Freezing:
To freeze, wrap the whole cheesecake or individual slices in plastic wrap, then again in foil. Freeze for up to 3 months. Thaw overnight in the fridge before serving.
Reheating:
Cheesecake is best enjoyed cold or at room temperature. If you prefer a slightly warm slice, microwave for 10–15 seconds, but be careful not to overheat—it can become too soft.
Common Mistakes to Avoid
- Overmixing the batter: This adds too much air, leading to cracks or a spongy texture.
- Skipping the water bath: The steam keeps the texture moist and prevents the top from cracking.
- Using cold ingredients: Cold cream cheese won’t blend smoothly. Room temperature is key.
- Underbaking or overbaking: Look for set edges and a jiggly center. Overbaking leads to dry, crumbly texture.
- Skipping the chill time: This step is essential. It allows the cheesecake to firm up and flavors to deepen.
Pro Tips
- Use a sharp knife dipped in warm water to slice cleanly. Wipe between each cut.
- If graham crackers aren’t available, use digestive biscuits or vanilla wafers.
- Let the cheesecake come to room temperature for 15–20 minutes before serving to enhance its creaminess.
- For an extra-smooth filling, sift the cornstarch before adding.
- Want a clean top? Place a paper towel over the pan before wrapping with plastic wrap to absorb condensation.
Frequently Asked Questions (FAQs)
Can I use low-fat cream cheese?
It’s not recommended. Full-fat cream cheese is essential for the rich texture and flavor. Low-fat versions can result in a thinner, less creamy filling.
Do I need a springform pan?
Yes, it’s the best option for cheesecake. It allows for easy removal without damaging the cake.
What if I don’t have sour cream?
You can substitute with full-fat Greek yogurt, but the flavor and texture will change slightly.
Can I freeze the cheesecake before baking?
No. You should only freeze it after it’s fully baked and chilled.
Why did my cheesecake crack?
Cracks usually come from overbaking or rapid cooling. Always bake in a water bath and cool slowly.
Is a water bath absolutely necessary?
It’s highly recommended. It helps regulate the baking temperature and keeps the texture smooth.
How do I prevent lumps in the batter?
Use room temperature ingredients and beat the cream cheese thoroughly before adding other ingredients.
Can I flavor the cheesecake differently?
Yes! Try adding a touch of almond extract, espresso powder, or even swirl in some fruit puree.
Can I make this recipe halal?
Absolutely. There’s no alcohol or pork-based ingredients here, and you can use halal-certified dairy products.
What’s the best way to transport the cheesecake?
Keep it in the springform base and wrap tightly. Transport in a cooler bag with ice packs if needed.
Conclusion & Call to Action
This New York-style cheesecake is more than just a dessert—it’s a statement. It’s creamy, rich, smooth, and so simple to make. Whether you’re baking it for a celebration, a dinner party, or a quiet weekend at home, it brings joy in every slice. Once you try this version, you may never look at store-bought cheesecake the same way again.
I’d love to hear how your cheesecake turns out. Share your baking adventure in the comments, and don’t forget to snap a photo of your masterpiece. If you’re on Instagram, tag me so I can see your creation—because there’s nothing better than seeing homemade joy come to life in your kitchen.
Print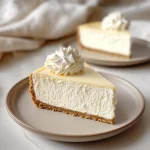
New York Style Cheesecake
- Total Time: 8–10 hours (including chilling)
- Yield: 12 servings 1x
- Diet: Vegetarian
Description
This rich, ultra-creamy New York-style cheesecake has a perfectly balanced flavor, smooth texture, and crisp graham cracker crust—no fancy tools required.
Ingredients
Crust:
-
2 cups graham cracker crumbs
-
2 tbsp sugar
-
½ cup unsalted butter, melted
Filling:
-
4 (8 oz) blocks full-fat cream cheese, room temp
-
1 cup sugar
-
¼ tsp salt
-
1 tbsp vanilla extract
-
4 large eggs, lightly whisked, room temp
-
1 cup sour cream
-
½ cup heavy cream
-
1 tbsp lemon juice
-
1 tbsp cornstarch
Instructions
-
Preheat oven to 325°F. Wrap springform pan with foil and grease.
-
Mix crust ingredients, press into pan, and bake for 10 mins. Cool.
-
Beat cream cheese until smooth, add sugar, salt, and vanilla.
-
Slowly add eggs, mixing on low speed.
-
Fold in sour cream, heavy cream, lemon juice, and cornstarch.
-
Pour batter into crust. Tap to release air bubbles.
-
Place pan in a water bath. Bake 75–80 mins.
-
Turn off oven, crack door, cool inside 1 hr.
-
Cool to room temp, then chill overnight.
-
Remove pan, slice, and serve.
Notes
- Use room temperature ingredients for a lump-free filling.
- Don’t skip the water bath—it ensures a crack-free top.
- Overnight chilling is key to the creamy texture.
- Prep Time: 30 mins
- Cook Time: 80 mins
- Category: Dessert
- Method: Baking
- Cuisine: American