
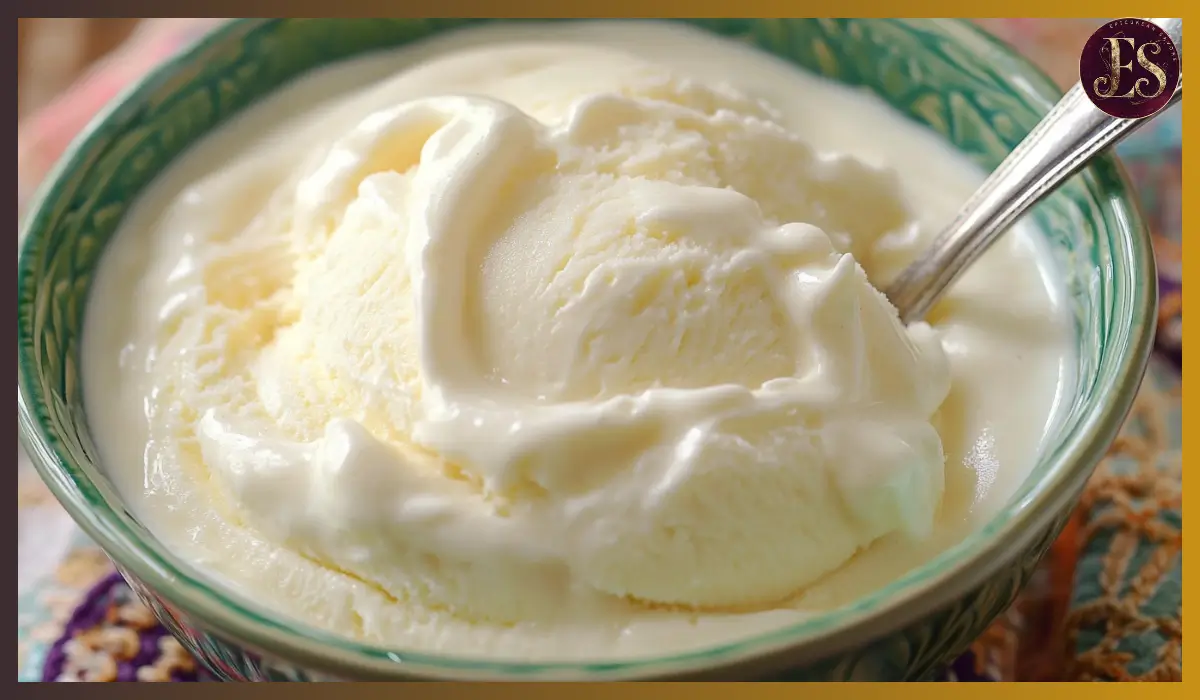
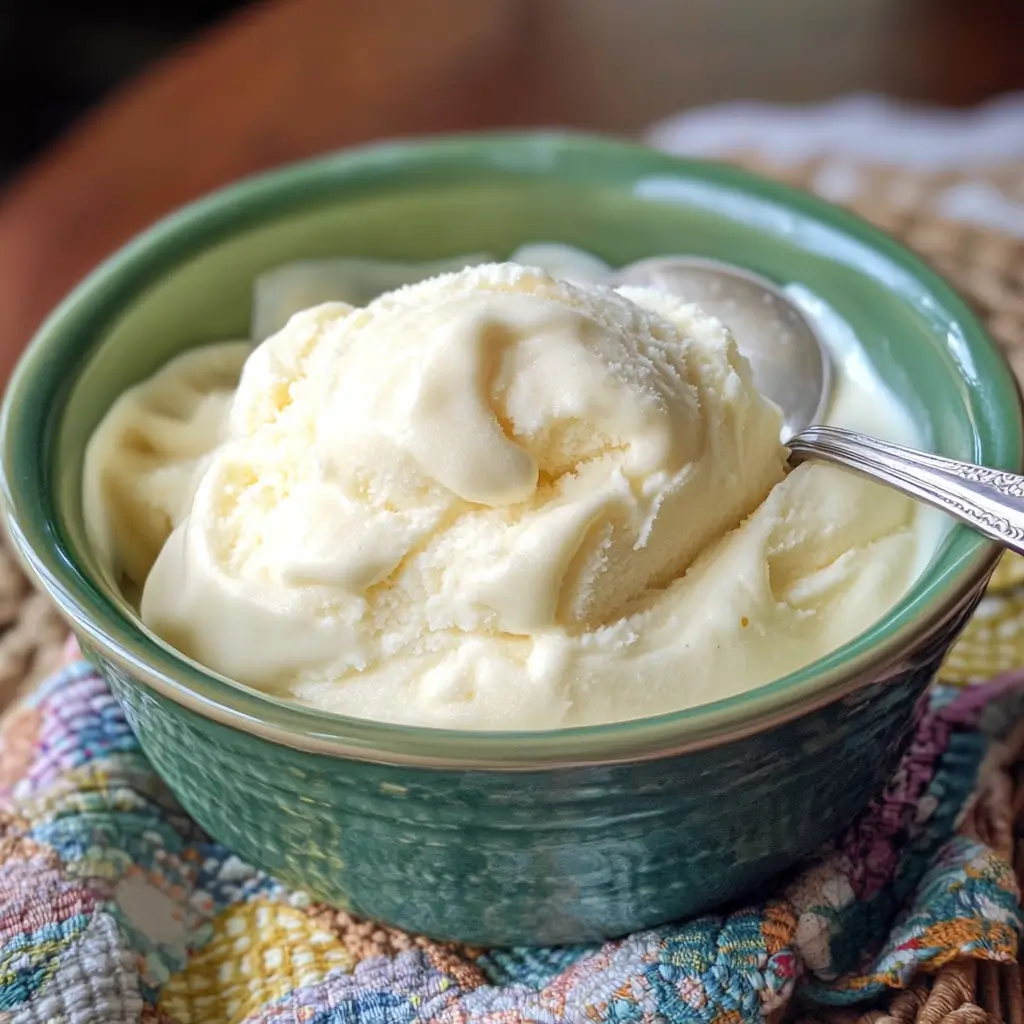
There’s just something magical about a scoop of an Old-Fashioned Homemade Vanilla Ice Cream. It’s smooth, rich, and creamy, with that unmistakable old-fashioned flavor that brings back memories of summer afternoons, backyard cookouts, and family get-togethers. This classic treat isn’t just dessert—it’s tradition, nostalgia, and comfort all in one bowl.
What makes this Old-Fashioned Homemade Vanilla ice cream truly special is its simplicity. You don’t need a long list of ingredients or fancy techniques. In fact, the beauty of this recipe lies in how easy it is to make, yet the flavor rivals anything you’d get from an ice cream shop. All you need is an old-fashioned ice cream maker, a handful of pantry staples, and a bit of time.
I first made this recipe with my grandmother when I was barely tall enough to see over the kitchen counter. She had an old hand-crank ice cream maker, and we’d take turns spinning it while the ice and salt worked their magic. I remember how the kitchen would fill with the sweet scent of vanilla as we waited, and how we could never quite resist sneaking a spoonful straight from the canister.
Now, every time I make this vanilla ice cream, it takes me right back to those sunny afternoons. Whether you’re creating new memories or reliving cherished ones, this recipe is the perfect way to bring a little joy to your table.
Why You’ll Love This Recipe
There are so many reasons to fall in love with this Old-Fashioned Homemade Vanilla ice cream recipe.
First, it’s incredibly easy to make. You don’t need an electric ice cream maker—though you can absolutely use one if you have it. This recipe is designed to work beautifully with a traditional ice cream churn, the kind that uses crushed ice and rock salt.
Second, it uses simple, wholesome ingredients that you probably already have on hand. We’re talking eggs, sugar, vanilla, milk, and two canned dairy products that add a rich, velvety texture—evaporated milk and sweetened condensed milk.
Third, the flavor is absolutely out of this world. The vanilla comes through beautifully—especially if you splurge on a high-quality extract—and the texture is creamy, soft, and luscious. It’s the kind of ice cream that doesn’t need anything fancy to shine. Though, of course, it’s also a perfect blank canvas for toppings, mix-ins, and pairing with your favorite desserts.
Finally, it’s a crowd-pleaser. Kids love it, adults love it, and everyone comes back for seconds. Whether you’re hosting a summer cookout or just want a cozy treat at home, this vanilla ice cream is sure to hit the spot.
Health Benefits
While ice cream is definitely a treat, this homemade version offers a few benefits over store-bought varieties.
To start, you’re in complete control of the ingredients. There are no artificial preservatives, stabilizers, or unpronounceable additives here—just real, whole foods. That means fewer chemicals and a cleaner ingredient list, which can be especially helpful for people with dietary sensitivities.
Old-Fashioned Homemade Vanilla ice cream also tends to be richer and more satisfying, which means you might be satisfied with a smaller portion. The protein from the eggs and milk adds a little nutritional value too, and you can even make small adjustments to lighten it up, like using reduced-fat milk or cutting back on sugar.
Of course, moderation is key. This is still a dessert—but it’s one you can feel better about serving to your family and friends because it’s made from scratch with love.
Preparation Time, Servings, and Nutritional Information
Total Time:
Prep Time: 20 minutes
Churning Time: 30–45 minutes
Freezing Time (optional for firmer texture): 3–4 hours
Servings:
Makes approximately 12 servings (1/2 cup each)
Nutritional Information (Per Serving):
Calories: 280
Protein: 6g
Carbohydrates: 28g
Fat: 16g
Sugar: 26g
Sodium: 180mg
Ingredients List
- 6 large eggs
- 1¼ cups cane sugar
- 4 teaspoons vanilla extract (preferably high-quality, like Mexican vanilla)
- 1 can (14 ounces) sweetened condensed milk
- 2 cans (12 ounces each) evaporated milk
- 1 teaspoon sea salt
- 6 cups whole milk
For Freezing:
- Approximately 16 pounds of crushed ice
- 3 cups of rock salt
Why These Ingredients Work
Eggs: These provide a creamy, custard-like base and help with the texture.
Sugar: Adds sweetness and also helps keep the ice cream soft.
Vanilla Extract: This is the star of the show, so opt for a good one.
Sweetened Condensed Milk: Gives richness and enhances sweetness.
Evaporated Milk: Adds body and a slight caramel-like depth.
Whole Milk: Brings balance and keeps the texture light but creamy.
Salt: Enhances flavor and balances the sweetness.
Crushed Ice and Rock Salt: Essential for the freezing process in a traditional ice cream maker.
Step-By-Step Cooking Instructions
1. Mix the Base
- In a large mixing bowl, whisk the eggs and sugar together until they are light in color and well combined.
- Add the vanilla extract, sweetened condensed milk, evaporated milk, and salt. Stir until everything is thoroughly mixed.
- Pour the mixture into the metal canister of your ice cream maker.
- Add whole milk until the canister is about three-quarters full, leaving space for expansion during freezing. Stir gently to combine.
2. Prepare the Ice Cream Maker
- Place the canister inside the ice cream maker’s bucket.
- Surround the canister with alternating layers of crushed ice and rock salt. This is crucial—it creates the freezing environment necessary for churning.
- Attach the motor or hand crank, depending on your model, and begin the churning process.
3. Churn the Ice Cream
- Let the machine run until it stops (for electric models) or becomes difficult to turn (for hand-cranked ones), which usually takes about 30 to 45 minutes.
- Once the motor stops or the churning is complete, unplug the machine.
- Carefully remove the lid and churning paddle. Use a spatula to scrape off the ice cream clinging to the sides and paddle.
4. Serve or Store
- You can serve the ice cream immediately for a soft-serve consistency. It will be smooth, creamy, and delicious.
- For a firmer texture, transfer the ice cream to an airtight container and freeze for 3 to 4 hours before serving.
How to Serve
- Serve in bowls or cones for a classic presentation.
- Top with fresh berries, chocolate chips, or a drizzle of honey.
- Add a sprinkle of cinnamon or crushed nuts for extra flavor.
- Use it as the base for an ice cream sundae with your favorite toppings.
- Pair with warm desserts like cobblers, brownies, or fruit pies for the ultimate treat.
Pairing Suggestions
This Old-Fashioned Homemade Vanilla ice cream is incredibly versatile, and it pairs beautifully with a variety of dishes and beverages:
- Desserts: Serve alongside peach cobbler, blueberry crumble, or apple pie.
- Beverages: Enjoy with a hot espresso for an affogato, or alongside a chilled glass of milk or iced tea.
- Mix-Ins: Stir in crushed cookies, brownie bits, or fruit compotes before freezing for a custom flavor twist.
- For Kids: Let them top their bowls with sprinkles, mini marshmallows, or chocolate syrup for a fun treat.
Storage, Freezing & Reheating Instructions
Storage:
Place leftover ice cream in airtight containers and store it in the freezer. It will keep well for up to one month, though it’s best within the first two weeks.
Freezing:
For a firmer texture right away, freeze freshly churned ice cream in an airtight container for 3–4 hours. Line the surface with parchment paper to prevent ice crystals.
Reheating:
Ice cream doesn’t require reheating, but if it becomes too hard, let it sit at room temperature for 5–10 minutes before scooping. This softens it slightly without melting the edges.
Common Mistakes to Avoid
- Overfilling the Canister: Always leave space in the canister for expansion. Overfilling can lead to messy spills.
- Using Low-Quality Vanilla: The flavor of this ice cream relies on the vanilla, so don’t skimp here.
- Skipping the Salt: The salt doesn’t just enhance flavor—it also helps the ice freeze.
- Not Stirring the Base Enough: Make sure the mixture is smooth and fully combined before churning.
- Underchurning: Stop churning too soon, and the ice cream may be slushy rather than creamy.
Pro Tips
- Chill the Base: For faster freezing and smoother texture, chill your mixture in the fridge for 2–3 hours before churning.
- Use a Fine Mesh Strainer: If you’re concerned about egg safety, temper the eggs and then strain the mixture to catch any cooked bits.
- Layer the Ice and Salt Well: Alternate layers for consistent churning. Use more salt on hot days to speed up freezing.
- Customize the Flavor: Add a pinch of cinnamon, nutmeg, or cardamom for a unique twist on classic vanilla.
- Double the Recipe: Hosting a crowd? This recipe doubles easily—just make sure your canister is large enough.
Frequently Asked Questions (FAQs)
Can I make this without an ice cream maker?
Yes. Pour the mixture into a freezer-safe dish and stir every 30–45 minutes until frozen. The texture won’t be quite as creamy but will still be delicious.
Is it safe to use raw eggs?
If you’re concerned, you can temper the eggs by heating the mixture to 160°F while stirring constantly, then chill before churning.
Can I use non-dairy milk?
While possible, it may alter the texture. Full-fat coconut milk is the best substitute for a creamy result.
What if I don’t have rock salt?
Rock salt is ideal, but coarse kosher salt can work in a pinch. Avoid table salt, as it melts the ice too quickly.
Can I reduce the sugar?
You can reduce it slightly, but don’t cut it too much or it will affect the texture and freezing point.
How long does it take to churn?
Usually 30–45 minutes, depending on your machine and the outside temperature.
Can I add fruit to the base?
Yes, but puree or mash the fruit first and mix it in after churning for best results.
Why is my ice cream too hard?
Homemade ice cream freezes harder due to the lack of stabilizers. Let it soften slightly before serving.
What’s the best vanilla to use?
High-quality pure vanilla extract, especially Mexican or Madagascar, offers the best flavor.
Can I use pasteurized eggs?
Absolutely. Pasteurized eggs are safe and work perfectly in this recipe.
Conclusion & Call to Action
Making Old-Fashioned Homemade Vanilla ice cream is a tradition that never goes out of style. With just a few simple ingredients and a little time, you can create a dessert that’s rich, creamy, and full of nostalgic charm. Whether you’re serving it straight from the churn on a warm summer day or pairing it with a cozy pie in the fall, this old-fashioned recipe is sure to bring smiles to every table.
Now it’s your turn—grab your ice cream maker, gather your ingredients, and give this recipe a try. I’d love to hear how it turns out for you. Share your thoughts in the comments or tag your creations online. Nothing makes me happier than seeing your homemade ice cream joy in action!
Print
Old-Fashioned Homemade Vanilla Ice Cream
- Total Time: 1 hour 5 minutes
- Yield: 12 servings (½ cup each) 1x
- Diet: Vegetarian
Description
This old-fashioned vanilla ice cream is rich, creamy, and full of nostalgic flavor. Made with eggs, milk, and vanilla, it’s the perfect summer treat and an easy crowd-pleaser for any occasion.
Ingredients
-
6 large eggs
-
1¼ cups cane sugar
-
4 teaspoons vanilla extract
-
1 can (14 oz) sweetened condensed milk
-
2 cans (12 oz each) evaporated milk
-
1 teaspoon sea salt
-
6 cups whole milk
-
For freezing: ~16 lbs crushed ice + 3 cups rock salt
Instructions
-
In a bowl, whisk eggs and sugar until smooth.
-
Stir in vanilla, condensed milk, evaporated milk, and salt.
-
Pour into ice cream maker canister.
-
Add whole milk until ¾ full.
-
Place in bucket, surround with ice and salt.
-
Churn until set (about 30–45 minutes).
-
Serve soft or freeze for 3–4 hours for firmer texture.
Notes
- Use high-quality vanilla for best flavor.
- Chill base for quicker churning.
- Let ice cream soften slightly before scooping from freezer.
- For egg safety, temper eggs by heating base to 160°F.
- Prep Time: 20 minutes
- Cook Time: 45 minutes (churning)
- Category: Dessert
- Method: Churning
- Cuisine: American