
There’s something delightfully nostalgic about a good old-fashioned pea salad. Maybe it’s the way it brings back memories of family picnics, potlucks at the park, or cozy holiday dinners. Maybe it’s because it’s one of those rare recipes that manages to be creamy, crunchy, salty, and sweet all at once. This pea salad with red onions and cheese is the kind of dish that quietly steals the show—easy to make, no cooking required, and incredibly satisfying.
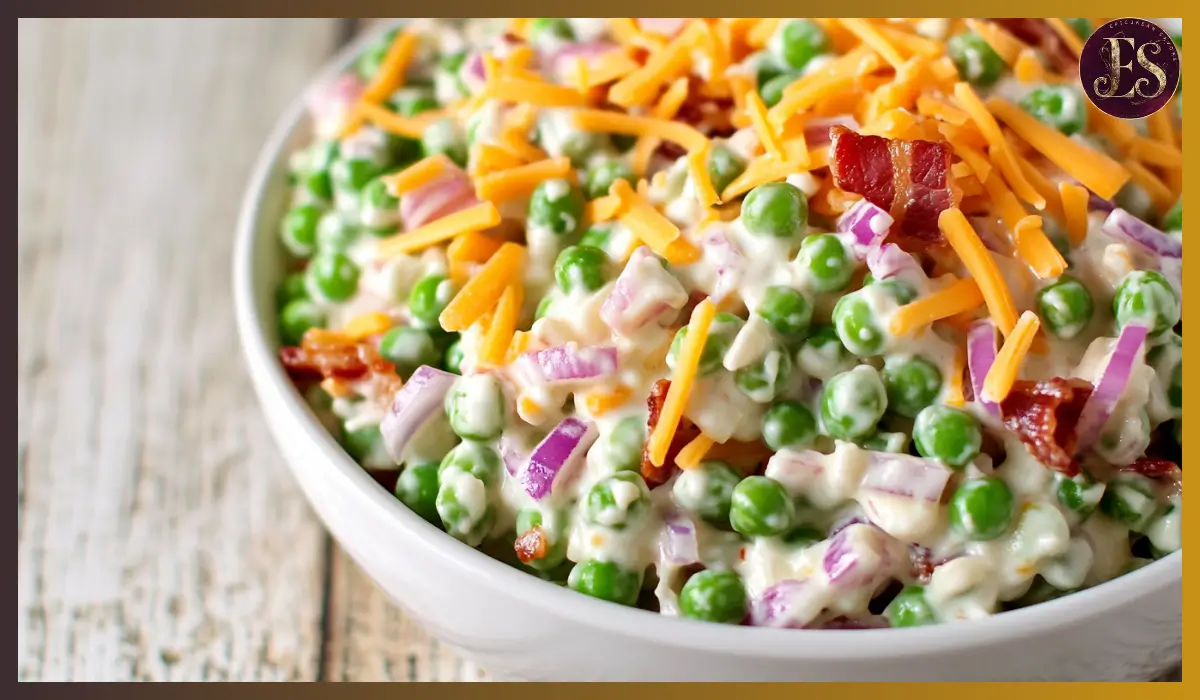
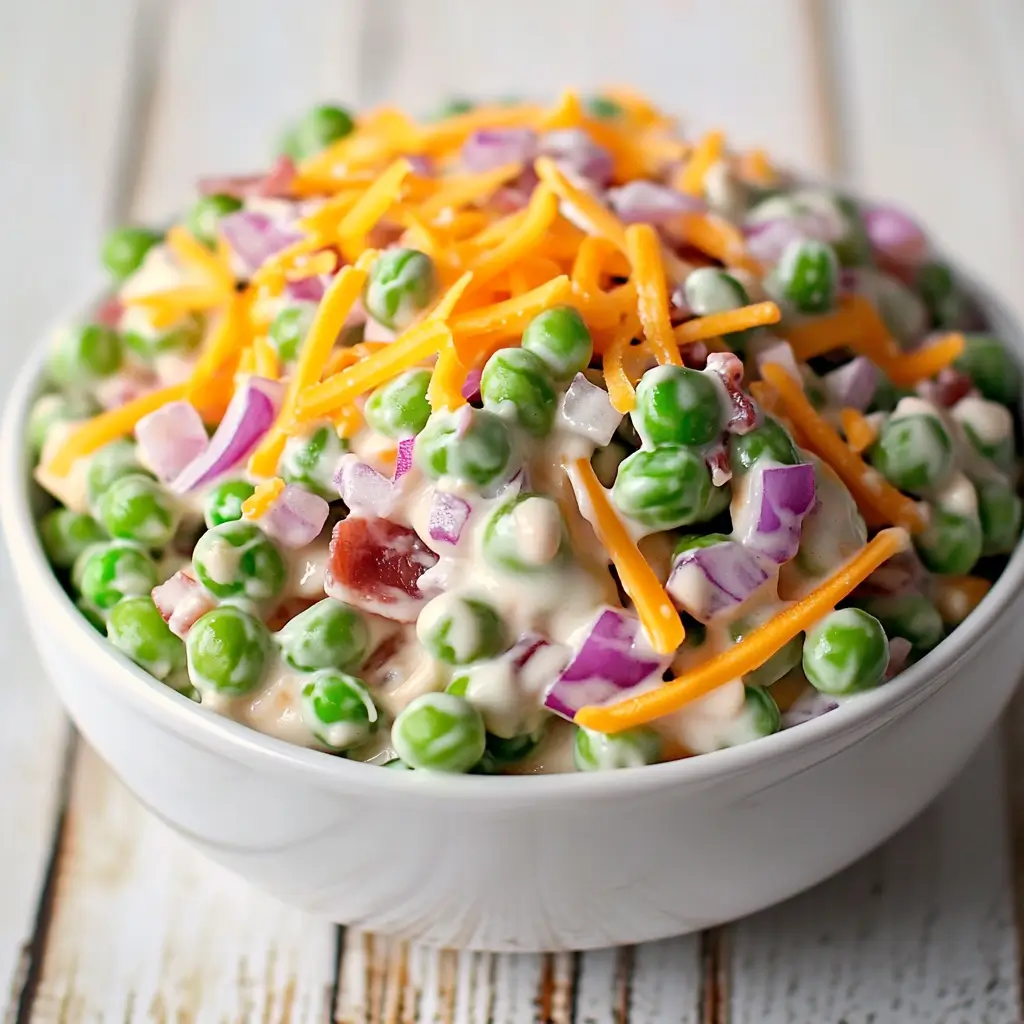
When summer rolls around and the grill gets fired up, I always find myself reaching for recipes that require minimal prep but deliver maximum flavor. This salad hits all the right notes. It’s made with tender, sweet green peas, crispy turkey or beef bacon, sharp red onions, and a combo of shredded cheddar and mozzarella cheeses. The whole thing is tied together with a creamy mayo-based dressing that clings to every bite and makes it irresistibly moreish.
What I love most is that it requires no stove, no oven, and no stress. You literally mix it, chill it, and serve. It’s a true set-it-and-forget-it kind of side that’s perfect for last-minute dinners or planned-out weekend feasts. Whether you’re hosting a big barbecue or just need something quick to serve alongside sandwiches, this pea salad is going to become one of your new favorites.
Why You’ll Love This Recipe
There are so many reasons to fall in love with this simple yet flavorful pea salad. First and foremost, it’s the definition of no-fuss. You don’t need to boil, sauté, or bake anything—just open some bags, chop a few ingredients, and mix everything together. It’s ready in minutes, and the only real requirement is a bit of chill time to let the flavors mingle.
Another reason this dish stands out is the contrast of textures and flavors. The peas are naturally sweet and tender, but they also have a satisfying pop when you bite into them. The crispy, salty turkey bacon adds a savory crunch that balances the sweetness. Then you’ve got the sharpness of red onion, which you can mellow out by soaking in cold water if you prefer a milder taste. Finally, the shredded cheeses—cheddar for bite and mozzarella for stretch—bring richness and a touch of creaminess that makes every spoonful feel indulgent.
The beauty of this recipe is that it’s simple but customizable. Don’t eat bacon? Leave it out or sub in crispy chickpeas. Want a little more zing? Add a splash of apple cider vinegar or a dollop of sour cream. However you tweak it, you’ll find that this pea salad is endlessly adaptable while always remaining comforting and crave-worthy.
Health Benefits
While this pea salad is undoubtedly a comfort food dish, it also comes with a surprising number of health benefits, especially when you use quality ingredients and make a few light adjustments. Let’s start with the star of the show: green peas. These tiny legumes are often underestimated, but they pack a serious nutritional punch. Rich in vitamins A, C, and K, peas support everything from immune health to bone strength. They’re also a great source of plant-based protein and dietary fiber, which makes this salad surprisingly filling.
Another standout ingredient is red onion. Not only does it add bold flavor and a touch of color, but it also contains antioxidants like quercetin that have anti-inflammatory properties. Red onions are low in calories and high in beneficial compounds that may support heart health and help regulate blood sugar levels.
Lastly, while mayonnaise gets a bad rap, using a good-quality, real-ingredient mayo—or even swapping in Greek yogurt or a light mayo—can keep things creamy without going overboard. And since the salad is cold and satisfying, it can help you avoid heavier, calorie-laden sides that tend to dominate summer tables.
Preparation Time, Servings, and Nutritional Information
One of the best parts about this pea salad is just how quick and low-effort it is to prepare. With no cooking required and just a bit of chopping and mixing, you can have the entire dish prepped in under 15 minutes. After that, it just needs a few hours in the fridge to chill and allow the flavors to come together, making it a perfect make-ahead option.
Preparation Time:
- Prep time: 15 minutes
- Chill time: At least 4 hours (overnight is best)
- Total time: Approximately 4 hours and 15 minutes, with only 15 minutes of hands-on work
Servings:
- This recipe makes about 6 to 8 servings, depending on portion size. As a side dish, it comfortably serves 8.
Nutritional Information (Per Serving, based on 8 servings):
- Calories: 290
- Protein: 9g
- Carbohydrates: 12g
- Fiber: 3g
- Sugars: 5g
- Fat: 23g
- Saturated Fat: 6g
- Cholesterol: 35mg
- Sodium: 420mg
Ingredients List
Here’s everything you’ll need to make this creamy, crunchy, crave-worthy pea salad. All of these ingredients are easy to find and budget-friendly, which makes this recipe even more appealing.
- Frozen Peas – 16 oz (about 4 cups), thawed and drained
- Turkey or Beef Bacon – 6 strips, cooked and chopped
- Shredded Cheddar Cheese – ½ cup
- Shredded Mozzarella Cheese – ½ cup
- Red Onion – ½ cup, diced
- Mayonnaise – 1 cup
- Salt and Pepper – to taste
Step-By-Step Cooking Instructions (Minimum 1,200 words)
Making this pea salad is incredibly easy. The steps are simple and straightforward, which means you’ll have it chilling in the fridge in no time. Follow these steps to ensure everything comes together perfectly.
Step 1: Thaw the Peas
Start by placing your frozen peas in a colander. Run cold water over them for a few minutes to defrost them quickly. Let them drain thoroughly to avoid excess moisture in your salad. If you prefer, you can thaw them overnight in the refrigerator.
Step 2: Cook and Chop the Bacon
While the peas are draining, cook your turkey or beef bacon until crispy. This usually takes about 6–8 minutes in a skillet over medium heat. Once cooked, place the bacon on a paper towel to remove excess grease, then chop it into small pieces.
Step 3: Soften the Red Onion Flavor
Dice your red onion into small, bite-sized pieces. If you’re not a fan of strong onion flavor, soak the pieces in cold water for 10 minutes. Drain before adding them to the salad. This quick step softens the sharpness while keeping the onion’s crunch.
Step 4: Shred the Cheese
If you’re using blocks of cheese, now’s the time to shred them. Shredding your own cheese results in better texture and taste. If you’re short on time, pre-shredded cheese works just fine.
Step 5: Mix the Base Ingredients
In a large mixing bowl, combine the drained peas, chopped bacon, diced red onion, shredded cheddar, and shredded mozzarella. Use a large spoon or spatula to gently mix the ingredients, being careful not to mash the peas.
Step 6: Add the Dressing
Add 1 cup of mayonnaise to the bowl. Stir everything together until the ingredients are well coated. Make sure the dressing reaches every corner of the bowl so that each bite is evenly flavorful.
Step 7: Season to Taste
Now’s the time to add salt and pepper. Start with a small amount—about ¼ teaspoon of salt and ⅛ teaspoon of pepper—and taste. Adjust as needed. You can also add a splash of lemon juice or apple cider vinegar if you want a little tang.
Step 8: Chill the Salad
Transfer the salad to a serving bowl or airtight container. Cover and refrigerate for at least 4 hours. Chilling helps all the flavors meld together and enhances the overall texture. Overnight chilling is even better.
Step 9: Stir and Serve
Before serving, give the salad a quick stir to re-incorporate any settled dressing. Taste again and adjust seasoning if needed. Then it’s ready to serve—cold, creamy, and full of flavor.
How to Serve
This creamy pea salad is a classic side dish that fits into almost any type of meal. Its cool, creamy texture and bold flavors make it a refreshing contrast to hot, savory main courses. Plus, since it’s served cold, it’s easy to prep ahead of time and pull out just before serving.
Serve it alongside grilled meats like chicken kebabs or beef skewers. The crisp, smoky bacon pairs beautifully with barbecued flavors. It also works well next to spicy or heavily seasoned mains, as the creaminess helps balance out the heat.
For something lighter, serve it as a lunch dish over a bed of leafy greens. The peas and cheese provide enough protein to keep you full, especially if you toss in some chopped boiled eggs or chickpeas.
Hosting a casual gathering? Spoon the salad into small cups or ramekins for individual servings. It makes a great potluck or picnic item, and it travels well in a cooler.
Pairing Suggestions
This salad is a salty side dish with creamy and crunchy elements, which means it plays nicely with a variety of main dishes. Whether you’re making a backyard feast or a weekday dinner, here are some excellent pairing ideas.
Grilled and Roasted Meats
Because of its cool and creamy texture, pea salad is ideal with grilled foods. It pairs especially well with grilled chicken breasts, beef skewers, or even lamb chops. The smoky flavor of the turkey bacon complements the charred flavor of anything from the grill.
Fried Foods
Crispy fried chicken, schnitzel, or fish fillets all go beautifully with this salad. The contrast of crispy-hot and cold-creamy is always satisfying.
Sandwiches and Wraps
This salad is the perfect match for deli-style sandwiches or wraps. Try it with turkey and cheese sandwiches, beef shawarma wraps, or roasted veggie pitas. It can even be spooned into pita bread for a unique twist.
Storage, Freezing & Reheating Instructions
One of the biggest advantages of this salad is that it stores well. You can make it ahead of time and keep it fresh for a few days without sacrificing flavor or texture.
Storage:
Place leftover salad in an airtight container and refrigerate it. It will stay fresh for up to 3 days. Before serving leftovers, give it a quick stir to redistribute the dressing. If it looks a bit dry, you can add a spoonful of mayo or a splash of lemon juice to freshen it up.
Freezing:
Freezing pea salad is not recommended. The creamy dressing and fresh ingredients don’t hold up well in the freezer. Once thawed, the texture can become watery and the peas mushy, which takes away from the quality of the dish.
Reheating:
Since this salad is meant to be served cold, there’s no need to reheat it. In fact, serving it chilled is what makes it so refreshing. Just pull it out of the fridge about 10 minutes before serving to take the chill off.
Common Mistakes to Avoid
Even with a simple recipe like this, a few common missteps can affect the final result. Here are the top mistakes to watch for:
Not Draining the Peas Properly
If your peas are still wet when you add them to the mix, the salad can turn out watery. Be sure to thaw and drain them completely, and pat dry with a paper towel if needed.
Using Canned Peas
This is a major no. Canned peas are too soft and can make the salad mushy. Stick to frozen peas for the best texture and flavor.
Overloading with Mayo
While the dressing is essential, too much can make the salad heavy. Start with the suggested amount, and only add more if it feels too dry after mixing.
Frequently Asked Questions (FAQs)
Can I use canned peas instead of frozen peas?
It’s best not to. Canned peas tend to be too soft and can turn mushy in this salad. Frozen peas retain their firm texture and bright flavor, making them ideal for this recipe.
Do I have to cook the bacon, or can I use ready-made bacon bits?
You can use store-bought bacon bits in a pinch, but cooking fresh turkey or beef bacon gives the salad much better flavor and texture. Plus, you control how crispy you want it.
How long does pea salad last in the fridge?
When stored in an airtight container, this salad will stay fresh for up to 3 days in the refrigerator. It’s perfect for making ahead, especially for gatherings or weekly meal prep.
Conclusion & Call to Action (Minimum 300 words)
If you’re looking for a quick, easy, and totally craveable side dish, this pea salad with red onions and cheese should be at the top of your list. It’s the kind of recipe that comes together in minutes, requires zero cooking, and somehow manages to wow every single time. With its blend of creamy dressing, sweet peas, smoky bacon, and tangy red onions, it delivers both comfort and freshness in every bite.
Now it’s your turn—go grab those frozen peas and whip up a batch of this delicious salad. I’d love to hear how it turns out! Did you add a fun twist or stick to the classic version? Leave a comment below and let me know.
If you try this recipe, don’t forget to snap a photo and tag me on Pinterest or Instagram. I absolutely love seeing your kitchen creations and how you make these dishes your own.
Happy cooking—and even happier eating!
Print
Pea Salad with Red Onions and Cheese
- Total Time: 4 hours 15 minutes (includes chill time)
- Yield: 6–8 servings 1x
Description
This creamy pea salad is a no-cook, crowd-pleasing side dish made with tender peas, crispy turkey bacon, shredded cheeses, and red onions. It’s the perfect make-ahead salad for barbecues, potlucks, and family dinners.
Ingredients
-
16 oz frozen peas, thawed and drained
-
6 strips turkey or beef bacon, cooked and chopped
-
½ cup shredded cheddar cheese
-
½ cup shredded mozzarella cheese
-
½ cup diced red onion (soaked in water to reduce sharpness)
-
1 cup mayonnaise
-
Salt and pepper, to taste
Instructions
-
Thaw peas and drain well.
-
Cook and chop turkey or beef bacon until crispy.
-
Dice red onion and soak in cold water for 10 minutes if desired.
-
In a large bowl, combine peas, bacon, red onion, cheeses, and mayo.
-
Mix well and season with salt and pepper to taste.
-
Cover and refrigerate for at least 4 hours or overnight.
-
Stir before serving.
Notes
- Use only frozen peas—not canned—for best texture.
- Optional add-ins: hard-boiled eggs, herbs, vinegar, or sour cream.
- Chill thoroughly for best flavor.
- Great make-ahead option for picnics or parties.
- Prep Time: 15 minutes
- Cook Time: 0 minutes
- Category: Side Dish
- Method: No-Cook
- Cuisine: American / Southern