
Red Velvet Ice Cream is the perfect blend of rich flavors and creamy texture. This dessert is an extraordinary treat that will elevate any occasion, bringing joy to those who indulge in it. The captivating red hue, reminiscent of classic red velvet cake, adds a festive twist to a favorite frozen delight. Whether you’re hosting a special celebration or just craving something sweet, Red Velvet Ice Cream will not disappoint.
Imagine diving into a scoop of this incredible ice cream, each bite delivering velvety smoothness and a gentle hint of cocoa. The creaminess is imbued with the signature flavors of red velvet cake, creating a nostalgic connection to beloved desserts. The lovely color also makes it visually appealing, perfect for impressing guests or simply enjoying on your own.
In this guide, you will uncover why this Red Velvet Ice Cream recipe stands out, the preparation and cooking time, as well as detailed step-by-step instructions. With easy-to-follow directions, even novice ice cream makers can enjoy delicious homemade ice cream. Ready to indulge in something unique and delightful? Let’s dive into what makes Red Velvet Ice Cream the dessert of your dreams!
Why You’ll Love This Recipe
You’ll fall head over heels for Red Velvet Ice Cream for several reasons that guarantee satisfaction:
1. Decadent Flavor: The combination of velvety cream, sweet vanilla, and cocoa provides a delightful flavor profile.
2. Beautiful Presentation: Its vibrant red color makes it an eye-catching dessert perfect for parties or family gatherings.
3. Easy to Make: With simple ingredients and straightforward instructions, you can create this frozen treat at home.
4. Customizable: Feel free to add mix-ins or toppings like chocolate chips, sprinkles, or cream cheese frosting for an extra flair.
5. Versatile Treat: Enjoy it in a cone, bowl, or use it to create desserts like sundaes or milkshakes.
6. Impressive to Guests: Serve this delightful ice cream at your next gathering, and watch as your guests rave about it.
Once you experience the magic of Red Velvet Ice Cream, you’ll understand why this recipe is cherished by many. Each scoop is not just ice cream; it’s a celebration of flavors that will leave you wanting more.
Preparation and Cooking Time
Creating Red Velvet Ice Cream will only take about 30 minutes of active preparation time, but you’ll need to account for the freezing time. Here’s a breakdown of the estimated time required:
– Preparation Time: 30 minutes
– Churning Time: 20-25 minutes
– Freezing Time: 4 hours
This timeline is designed to make the process smooth and achievable, so you can enjoy this delightful dessert in no time!
Ingredients
– 2 cups heavy cream
– 1 cup whole milk
– 1 cup granulated sugar
– 1 teaspoon vanilla extract
– 2 tablespoons unsweetened cocoa powder
– 1 teaspoon red gel food coloring (or to desired color)
– ½ teaspoon salt
– Optional: ½ cup chopped cream cheese (for frosting flavor)
Step-by-Step Instructions
Follow these easy steps to create your delicious Red Velvet Ice Cream:
1. In a medium bowl, whisk together the heavy cream, whole milk, and granulated sugar until the sugar is completely dissolved.
2. Add the vanilla extract, unsweetened cocoa powder, red gel food coloring, and salt to the mixture. Whisk until fully combined and the color is uniform.
3. If desired, gently fold in the chopped cream cheese until just combined for an extra creamy texture with a hint of frosting flavor.
4. Transfer the mixture to an ice cream maker. Churn according to the manufacturer’s instructions until it reaches a soft-serve consistency (approximately 20-25 minutes).
5. Once churned, transfer the ice cream to an airtight container.
6. Smooth the top and seal the container. Place the ice cream in the freezer for at least 4 hours to firm up.
7. When you’re ready to enjoy, remove the ice cream from the freezer and let it sit for a few minutes before scooping to soften slightly.
These simple steps will guide you in creating a velvety smooth Red Velvet Ice Cream that embodies the essence of this beloved dessert!
How to Serve
To enhance your experience with Red Velvet Ice Cream, consider the following serving suggestions:
1. Presentation: Serve in elegant bowls or cones for an aesthetically pleasing dessert option.
2. Toppings: Drizzle with chocolate sauce, sprinkle with crushed cookies, or add a dollop of whipped cream for extra indulgence.
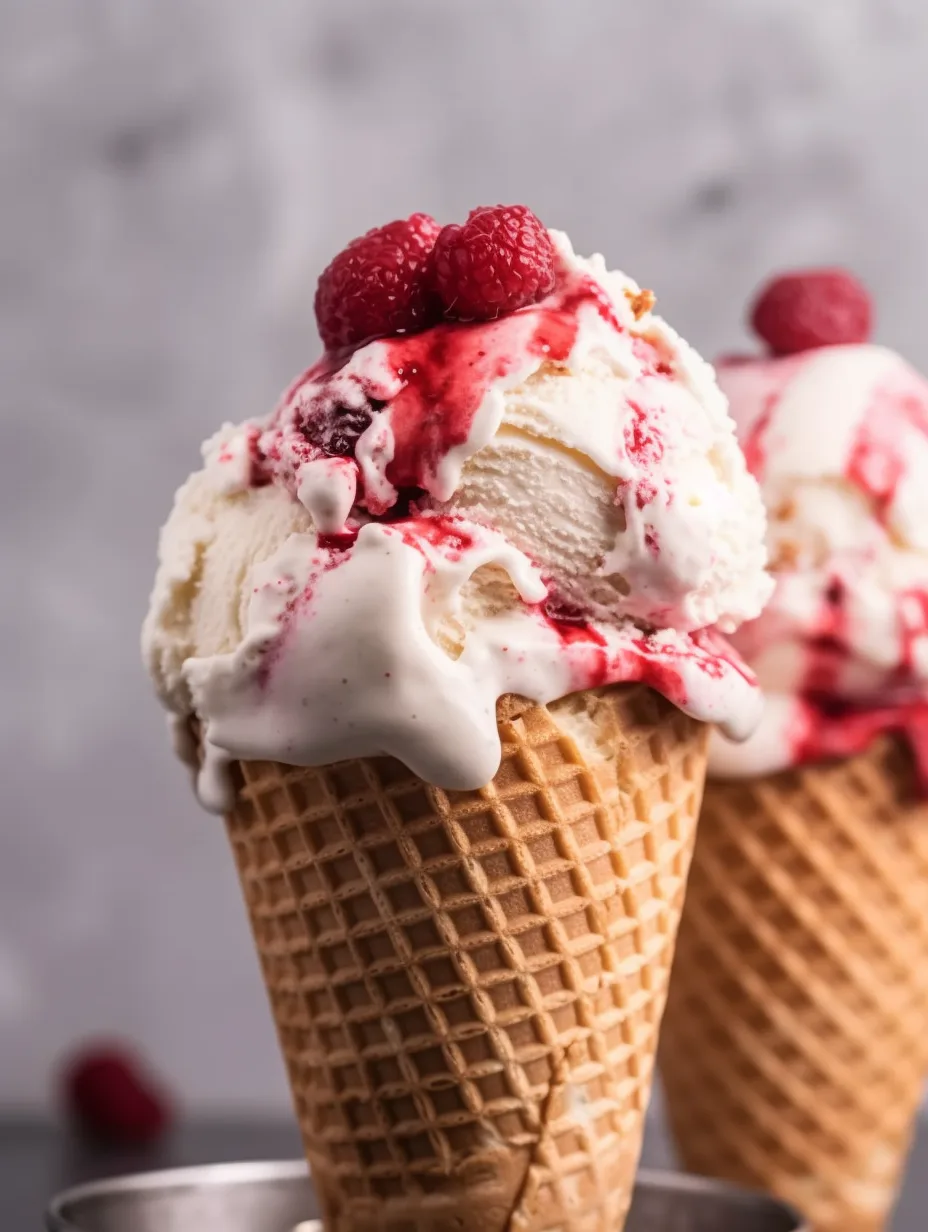
3. Garnishes: Garnish with fresh berries or mint leaves for a pop of color and freshness that complements the rich flavors.
4. Dessert Platter: Serve alongside slices of red velvet cake or chocolate brownies for a delicious dessert platter that will impress your guests.
5. Pairing Options: This ice cream pairs beautifully with coffee, hot chocolate, or dessert wines, enhancing your evening’s sweet experiences.
By incorporating these serving ideas, you can truly elevate your experience with Red Velvet Ice Cream, making it a memorable treat for yourself and those you share it with! Enjoy!
Additional Tips
– Use Quality Ingredients: To achieve the best flavor, select high-quality heavy cream and cocoa powder for your Red Velvet Ice Cream.
– Chill Ingredients: For optimal results, chill your mixing bowl and ingredients in advance to enhance emulsification.
– Taste Test: Don’t hesitate to taste the mixture before churning. You can adjust the sugar or cocoa to suit your preferences.
– Mix-Ins: Get creative with mix-ins like chocolate chunks or crushed cookies. These add texture and excitement.
– Garnish Creatively: Experiment with garnishes like crushed peppermint or edible flowers for unique presentations.
Recipe Variation
Feel free to customize this Red Velvet Ice Cream recipe according to your preferences. Here are some exciting variations:
1. Cream Cheese Swirl: Incorporate a cream cheese frosting swirl by softening cream cheese and gently folding it into the ice cream mixture before churning.
2. Chocolate Chips: For a delightful crunch, fold in mini chocolate chips just prior to transferring the ice cream to the freezer.
3. Red Velvet Cake Chunk: Add small chunks of red velvet cake to the ice cream during the last few minutes of churning for added texture.
4. Vegan Option: Substitute heavy cream and whole milk with coconut cream and almond milk for a vegan-friendly version.
Freezing and Storage
– Storage: Store your Red Velvet Ice Cream in an airtight container to keep it fresh. It’s best consumed within two weeks for optimal flavor and texture.
– Freezing: If you have leftovers, ensure they are tightly sealed to prevent ice crystals from forming. Enjoy them within three weeks for the best quality.
Special Equipment
To make your Red Velvet Ice Cream, you’ll need some essential tools:
– Ice Cream Maker: This is crucial for combining air into the mixture for that creamy texture.
– Mixing Bowls: Use these for blending your ingredients before churning.
– Whisk: A good whisk helps in aerating the mixture efficiently.
– Airtight Container: To store your ice cream once it’s churned.
Frequently Asked Questions
Can I skip the food coloring?
Yes, you can omit the food coloring if you prefer a less vibrant appearance; the flavor will remain delicious.
What can I use if I don’t have an ice cream maker?
You can use a shallow container and stir the mixture every 30 minutes until it’s frozen solid. This method will take longer to achieve smooth results.
How long will the ice cream last in the freezer?
Properly stored, your Red Velvet Ice Cream can last up to two weeks in the freezer before it starts losing texture.
Can I make this in advance for a party?
Absolutely! You can prepare the ice cream a day or two before your event and keep it frozen until serving.
Does this ice cream melt faster than regular ice cream?
Due to the higher fat content and the addition of cream cheese (if used), this ice cream may have a different melting profile, but it should hold together well for serving.
Conclusion
Red Velvet Ice Cream is not just a dessert; it’s an experience that delights the senses. Its rich flavors and beautiful color make it a fantastic addition to any gathering or a sweet treat for a quiet night in. By following this comprehensive guide, you’re well-equipped to create this luxurious ice cream that will have everyone asking for seconds. Enjoy the process, get creative, and indulge in a scoop (or two) of this remarkable dessert!

Red Velvet Ice Cream: The Amazing Ultimate Recipe You Need to Try
- Total Time: 9 minute
Ingredients
– 2 cups heavy cream
– 1 cup whole milk
– 1 cup granulated sugar
– 1 teaspoon vanilla extract
– 2 tablespoons unsweetened cocoa powder
– 1 teaspoon red gel food coloring (or to desired color)
– ½ teaspoon salt
– Optional: ½ cup chopped cream cheese (for frosting flavor)
Instructions
Follow these easy steps to create your delicious Red Velvet Ice Cream:
1. In a medium bowl, whisk together the heavy cream, whole milk, and granulated sugar until the sugar is completely dissolved.
2. Add the vanilla extract, unsweetened cocoa powder, red gel food coloring, and salt to the mixture. Whisk until fully combined and the color is uniform.
3. If desired, gently fold in the chopped cream cheese until just combined for an extra creamy texture with a hint of frosting flavor.
4. Transfer the mixture to an ice cream maker. Churn according to the manufacturer’s instructions until it reaches a soft-serve consistency (approximately 20-25 minutes).
5. Once churned, transfer the ice cream to an airtight container.
6. Smooth the top and seal the container. Place the ice cream in the freezer for at least 4 hours to firm up.
7. When you’re ready to enjoy, remove the ice cream from the freezer and let it sit for a few minutes before scooping to soften slightly.
These simple steps will guide you in creating a velvety smooth Red Velvet Ice Cream that embodies the essence of this beloved dessert!
- Prep Time: 15 minutes
- Cook Time: 20-25 minutes
Nutrition
- Serving Size: 8
- Calories: 260 kcal
- Fat: 18g
- Protein: 3g